Respond to action items
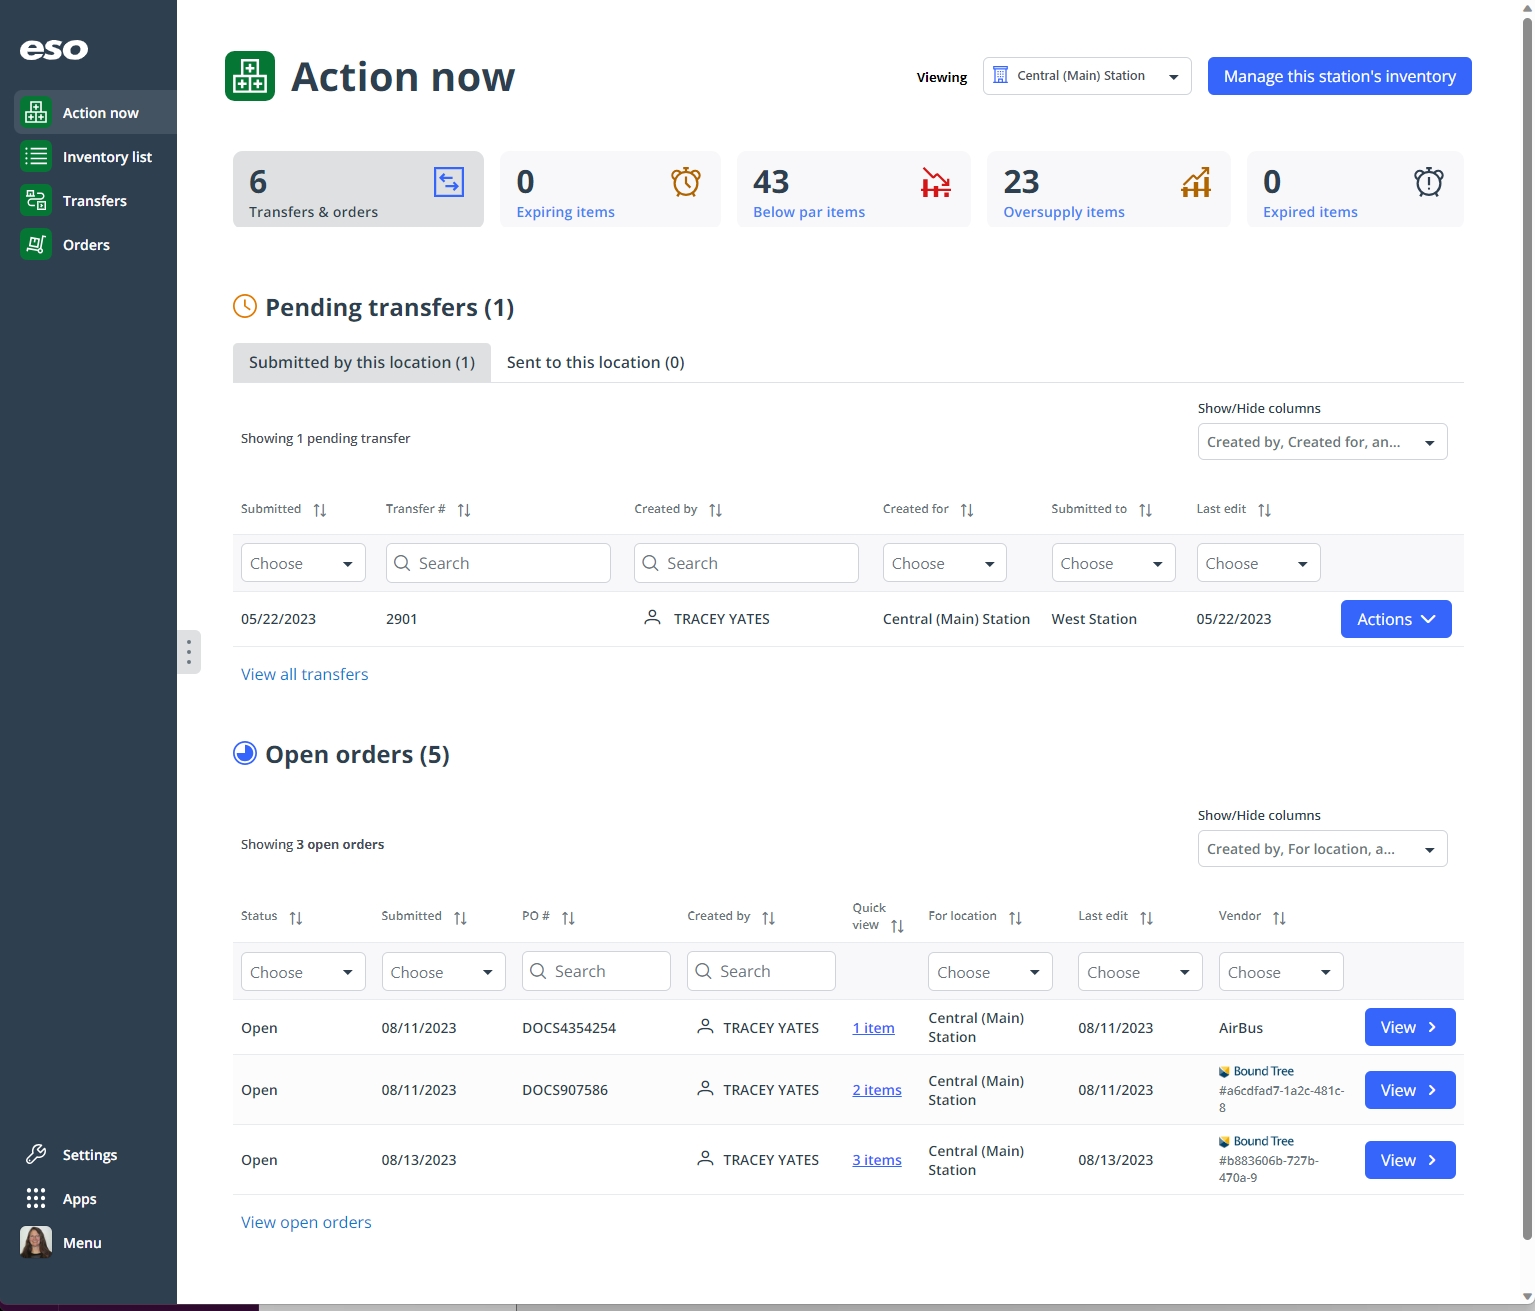
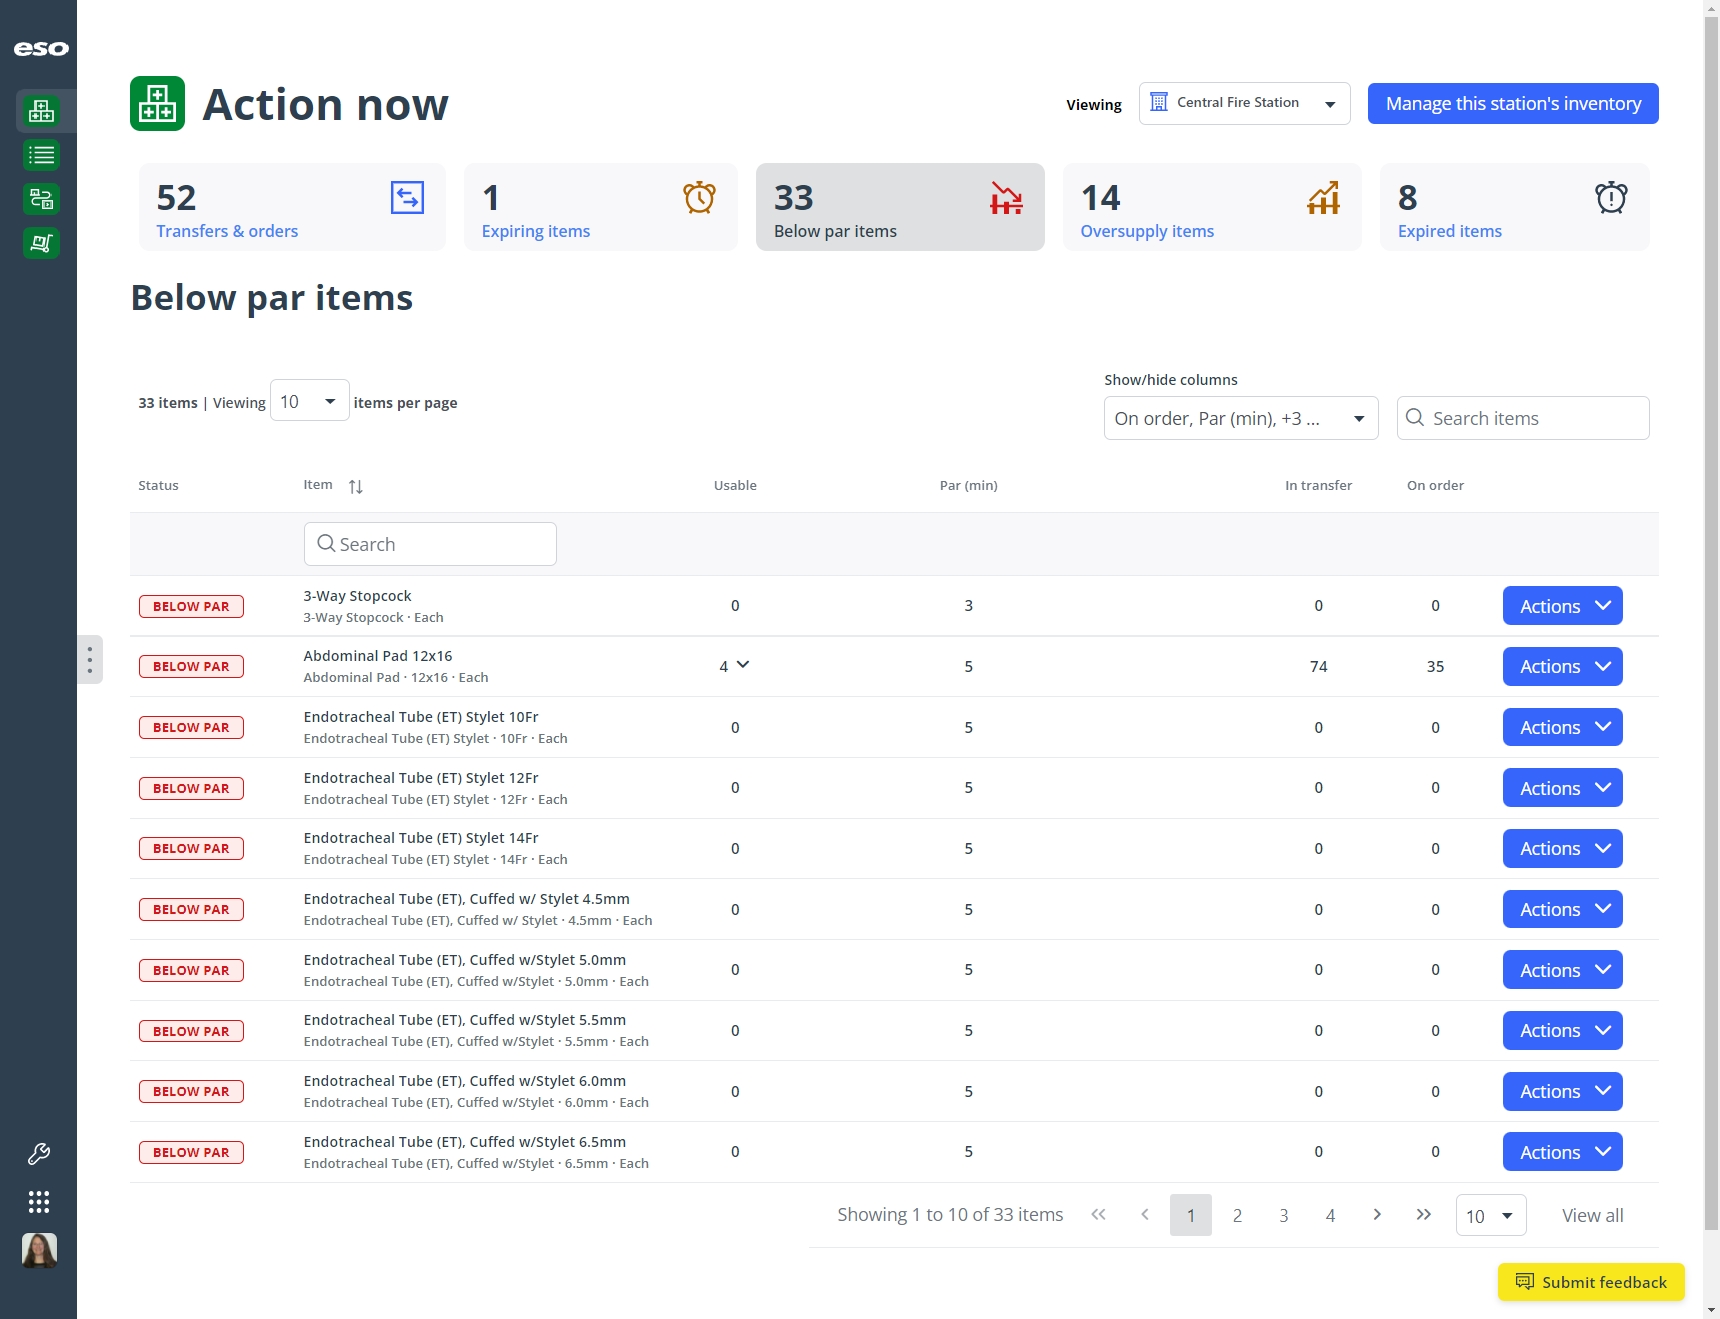
When you first access the Inventory module, the Action now page appears, displaying a summary of the processes and items in the inventory that require a higher level of attention from you.
This includes items that:
-
Have reached or are nearing their expiration date.
-
Are below par and need to be resupplied through transfers between locations or ordering to vendors.
-
Are oversupplied at some locations and need to be transferred to other locations.
-
Are in the process of being transferred between locations or ordered from external vendors.
You can review and manage these higher-priority processes and items directly from the Action now page. You can also manage lower-priority and multiple-stage processes from the other pages in the Inventory module, as described in Work with the inventory list, Transfer items between locations, and Order new inventory items.
-
 If you have not done so already) Access the Inventory module in the ESO Suite.
-
Do one of the following.
-
(If you are already working in the ESO Suite) Click the Home icon in the upper left corner of the screen.

-
(If you have not yet logged in) Log in to the ESO Suite.
-
In a web browser, go to https://www.esosuite.net/EsoSuite.
The ESO Suite login screen appears.
-
Enter your user name, password, and agency name, then click Let's Go.
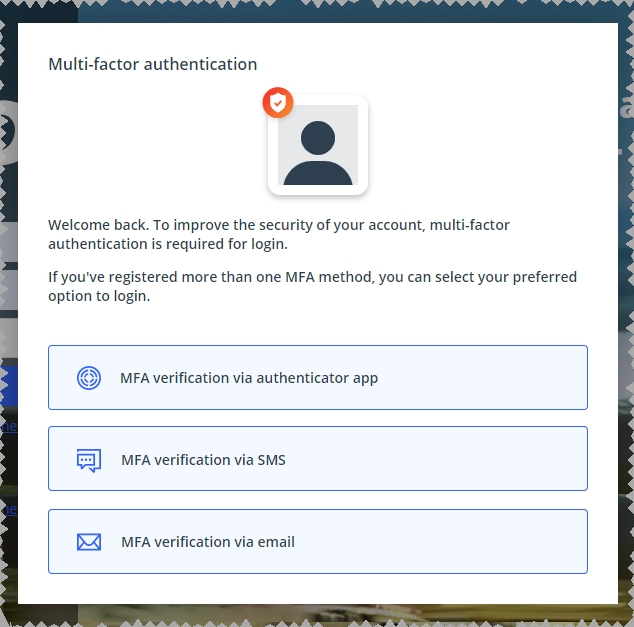
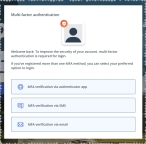
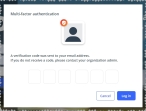
If MFA is enabled, the Multi-factor authentication dialog box appears, displaying one or more methods you can use to verify your login credentials. The number of methods that appear in the dialog box depends on what MFA methods your ESO Suite administrators enabled in the Admin module.
Click graphics
to open them.Information on enabling MFA and specific MFA methods is available in the Admin module online help, in Configure multiple-factor authentication.
Note: If your ESO Suite administrators have disabled MFA ("opted-out"), this dialog does not appear.
-
(If the Multi-factor authentication dialog box appears) Depending on which buttons appear in the dialog box, verify your login in one of the following ways.
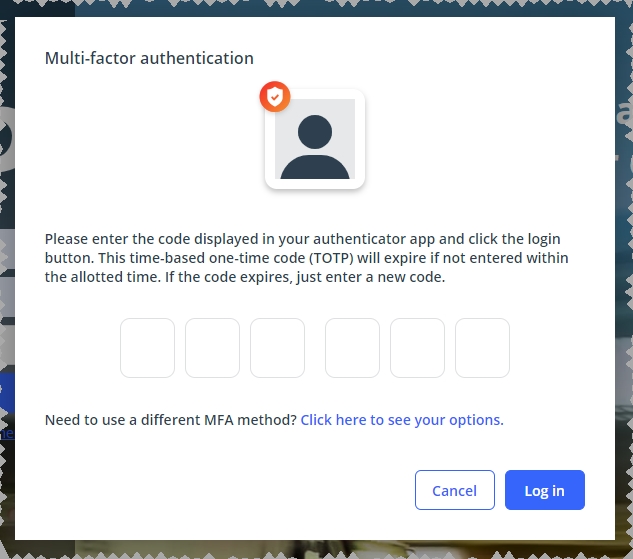
With an authenticator application.
-
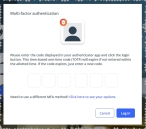
Click MFA verification via authenticator app.
The dialog box updates with boxes for entering the numbers of the authentication code, and the ESO Suite sends an authentication code to the authenticator application installed on your device.
-
Open your authenticator application and note the authentication code currently displayed.
-
Enter the authentication code displayed in the authenticator application.
-
Click Log In.
With a text message (SMS).
-
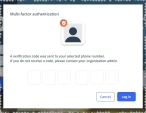
Click MFA verification via SMS.
The dialog box updates with boxes for entering the numbers of the authentication code, and the ESO Suite sends an authentication code to the phone number recorded in your PM records and identified with MFA codes.
-
Enter the authentication code sent to your MFA-registered phone number.
-
Click Log In.
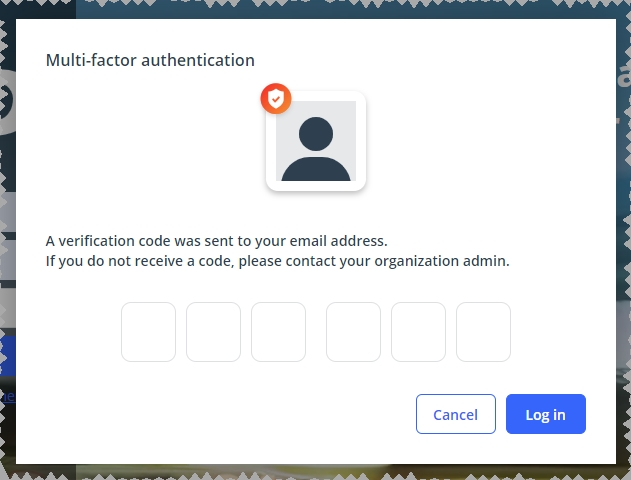
With an email message.
-
Click MFA verification via email.
The dialog box updates with boxes for entering the numbers of the authentication code, and the ESO Suite sends an authentication code to your agency or department email address, recorded in your PM records.
-
Enter the authentication code sent to your agency or department email address.
-
Click Log In.
-
-
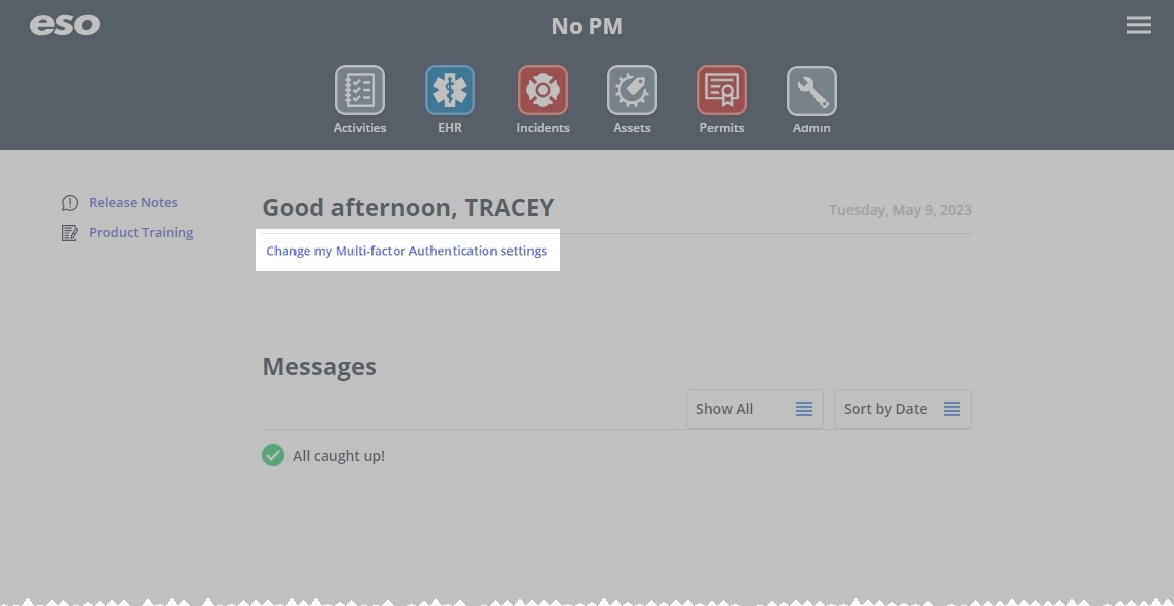
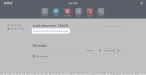
The ESO Suite landing screen appears.
Click graphics
to open them.Note: If MFA is enabled, you can access and manage your MFA options through the PM module, on the Settings > Account page, as described in Manage a user account. If your agency or department has enabled MFA but has not purchased the full-featured version of the PM module, you can access your own MFA settings by clicking Change my Multi-Factor Authentication settings on the landing screen, then using the Settings > Account page that appears. If your agency has not enabled MFA, the Change my Multi-Factor Authentication settings link does not appear on the landing screen.
-
-
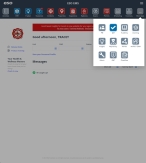
On the top side of the home screen, click Inventory.
 Tip: (On a narrow screen or browser window) Display more module icons.
If your screen or browser window is too narrow to display all your agency's ESO Suite module icons, the More Apps icon appears on the right side of the icon bar. If you click this icon, a menu appears containing additional module icons.
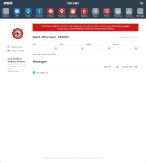
The Inventory module opens, displaying the Action now page.

Click graphics
to open them.
-
-
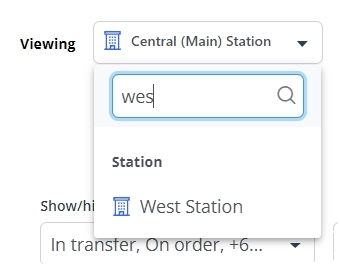
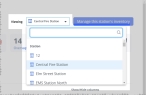
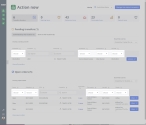
In the upper right corner of the page, from the Viewing menu, choose the location you want to work with.
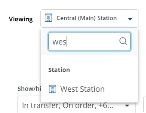
 Tip: Search the list of locations.
-
At the top of the menu, in the search field, type the combination of characters you want to search the options for.
As you type each character, the list of menu options reduces to only those whose names contain that combination of characters.
The contents of the page updates to display the high-priority actions for that location.
-
-
(Optional) Manage the amount of data displayed on a tab.
On the Transfers & orders tab, you can search more than one column, sort and filter column contents, and hide and display columns. On the Expiring items, Expired items, Below par items, and Oversupply items tabs, you can control how much data appears on the tab, search for items in the entire list, search and sort the Item column, and hide and display columns in the table.
-
Depending on what tab you are on and what data you want to view on it, do one or more of the following.
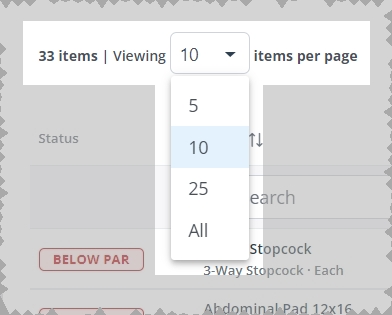
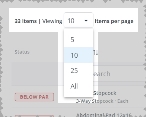
Change the maximum number of items displayed on the page.
Note: This feature is not available on the Transfers & orders tab.
-
Above the list of items, on the left side, from Viewing number items per page, choose the number of items you want to display on the page.
Search the entire list for a character combination.
Note: This feature is not available on the Transfers & orders tab.
You can search the entire list for a specific combination of characters, regardless of what column the data appears in. The search includes only items not already added to the This search includes the item name and any agency "preferred names" the Inventory module administrator configured for items on the Settings pages.
Example: If you perform a full-list search for
500, 26 results would return because the search looks at multiple data points, including the preferred name and data that is not displayed on the page.The search does not include numerical values from the other columns on the page.
-
Above the list of items, on the right side, in the Search items field, type the combination of characters you want to search the entire list for.
As you type each character, the list of items on the page reduces to only those whose names or values contain that combination of characters.
Example: If you typed the characters
6., the entire list reduces to display only the items whose names or values contain these characters.
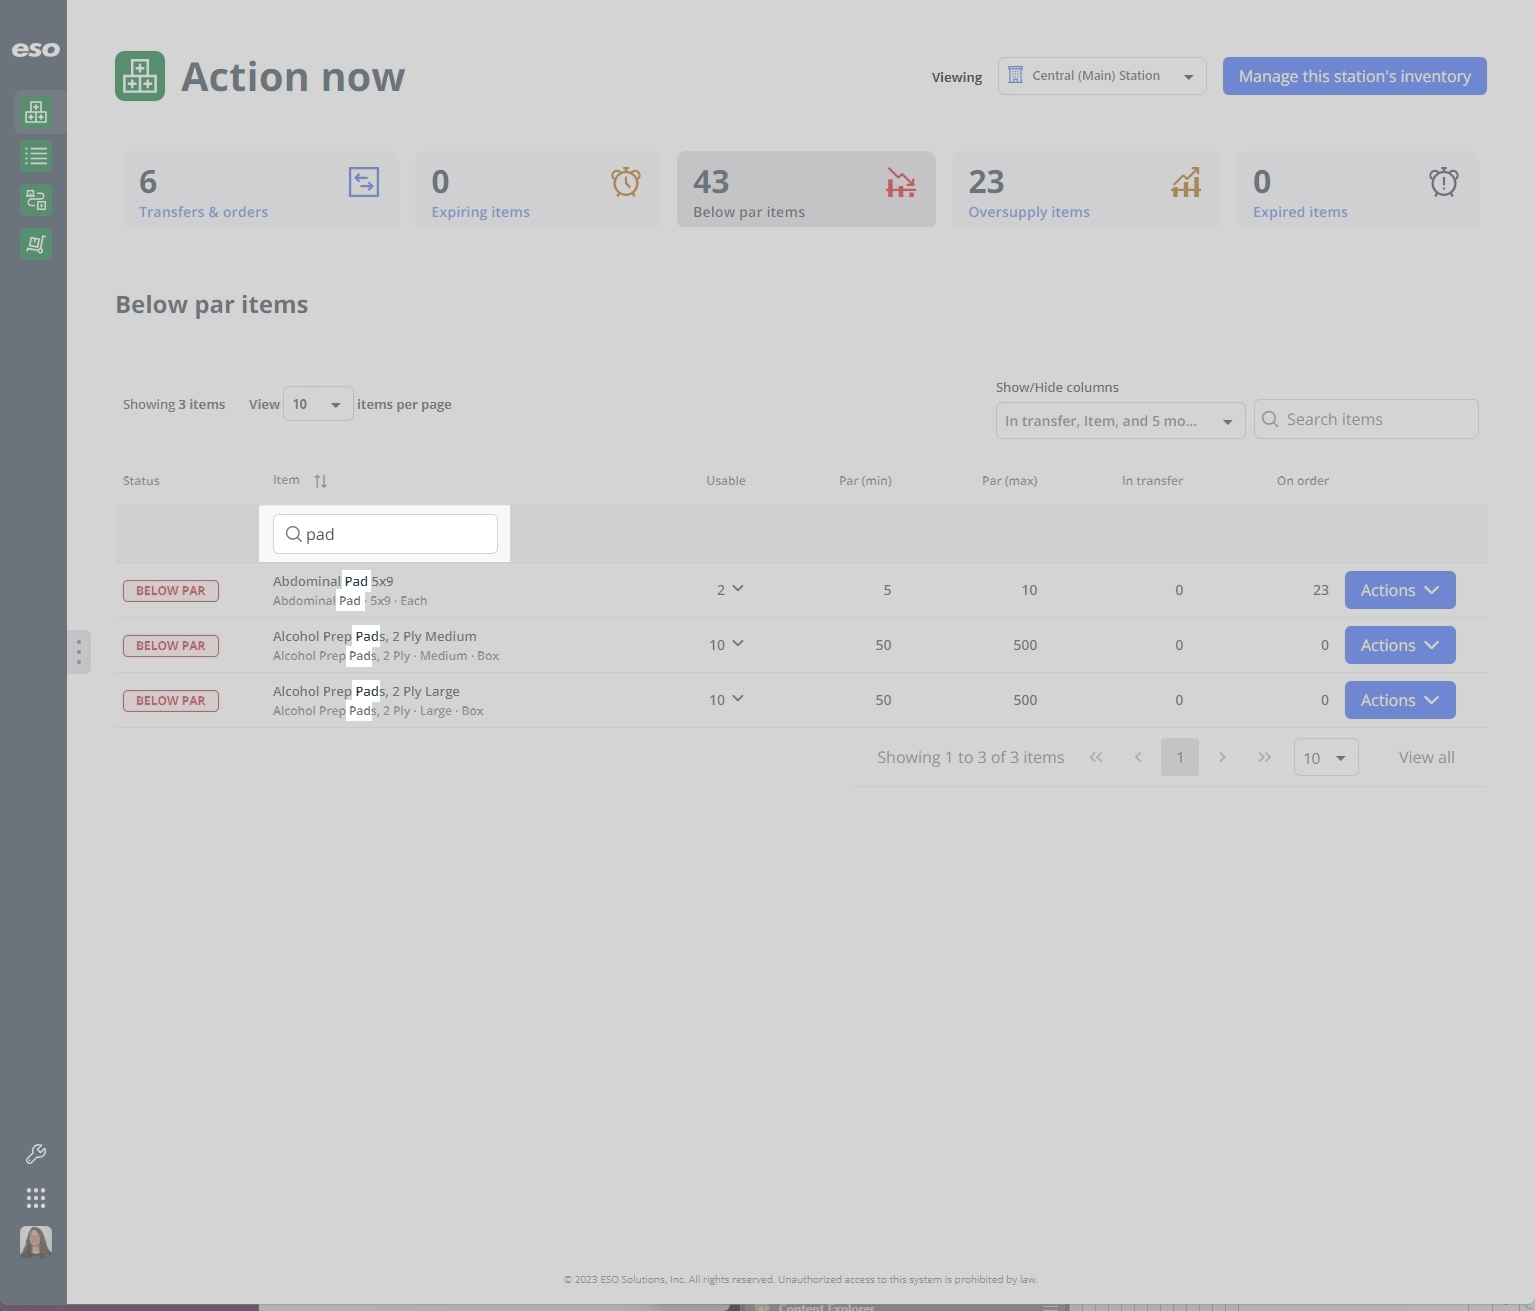
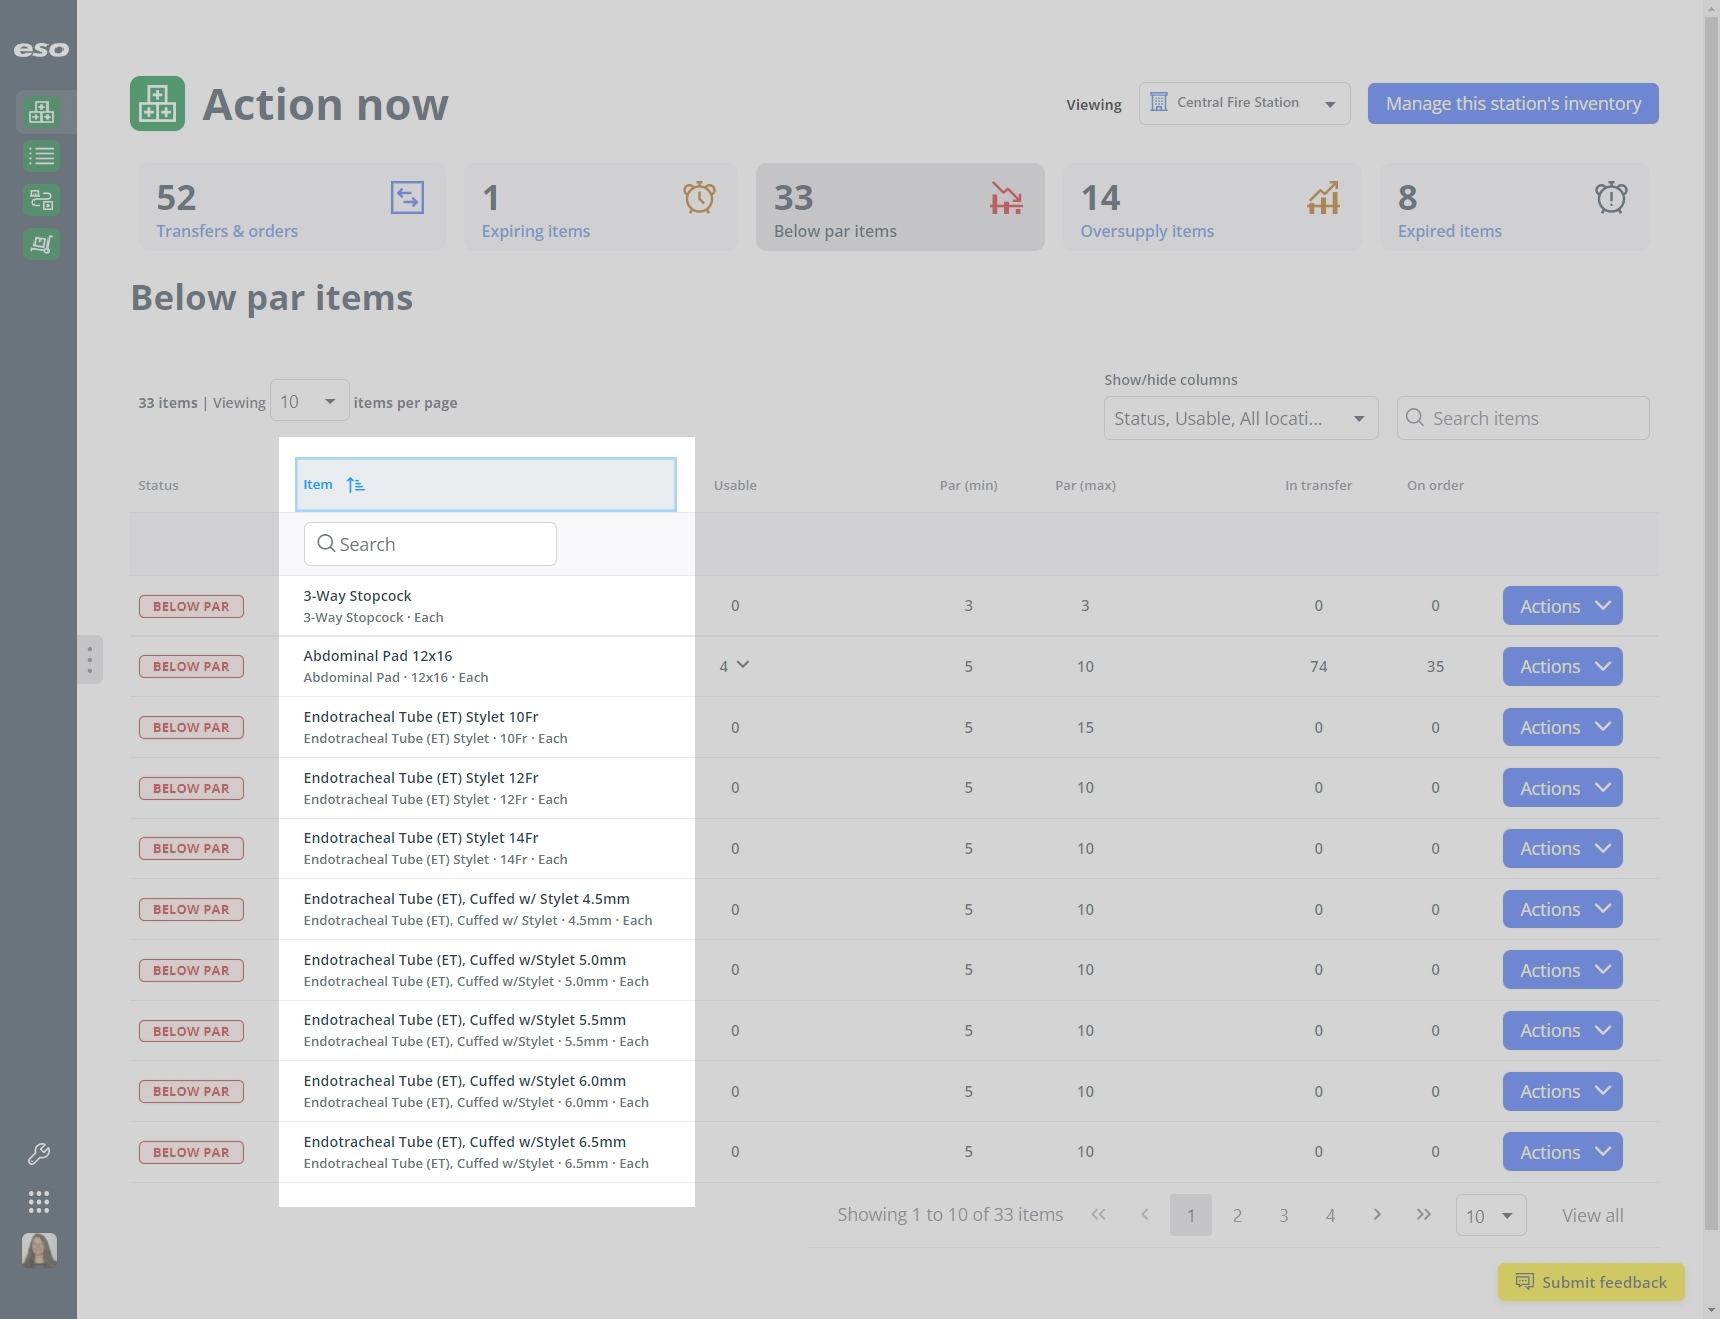
Search within the Item column for a character combination.
Note: This feature is not available on the Transfers & orders tab.
The text that appears in the Item column is a combination of multiple pieces of data. The text in bold characters is the name of the medicine, ingredient, or medical supply item. If your Inventory module administrator had configured any agency "preferred names" for items on the Settings pages, those names replace the default medicine or medical supply item names. The original (default) names for items still appear as the lighter text below the bold item names. These original names are particularly important for medicines, as these names include dosage and strength information, which can reduce mistakes that might be introduced from preferred names.
Note: While the Item column can display multiple pieces of data grouped together, the Item column search can only search on the ingredient, medical supply, or preferred names.
Example: If you perform a full-list search for
500, 26 results would return because the search looks at multiple data points, including the preferred name and data that is not displayed on the page. If you perform a search for500at the top of the Item column, no results are found because the column search only looks at ingredient, medical supply, or preferred name, not the strength or dosage information also appearing in the Item column.-
At the top of the column you want to search, in Search, type the combination of characters you want to search the entire list for.
As you type each character, the list of items in the column reduces to only those whose names or values contain that combination of characters.
Example: If you typed the characters
pad, the entire list reduces to display only the items that contain these characters in the ingredient name or medical supply name.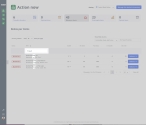
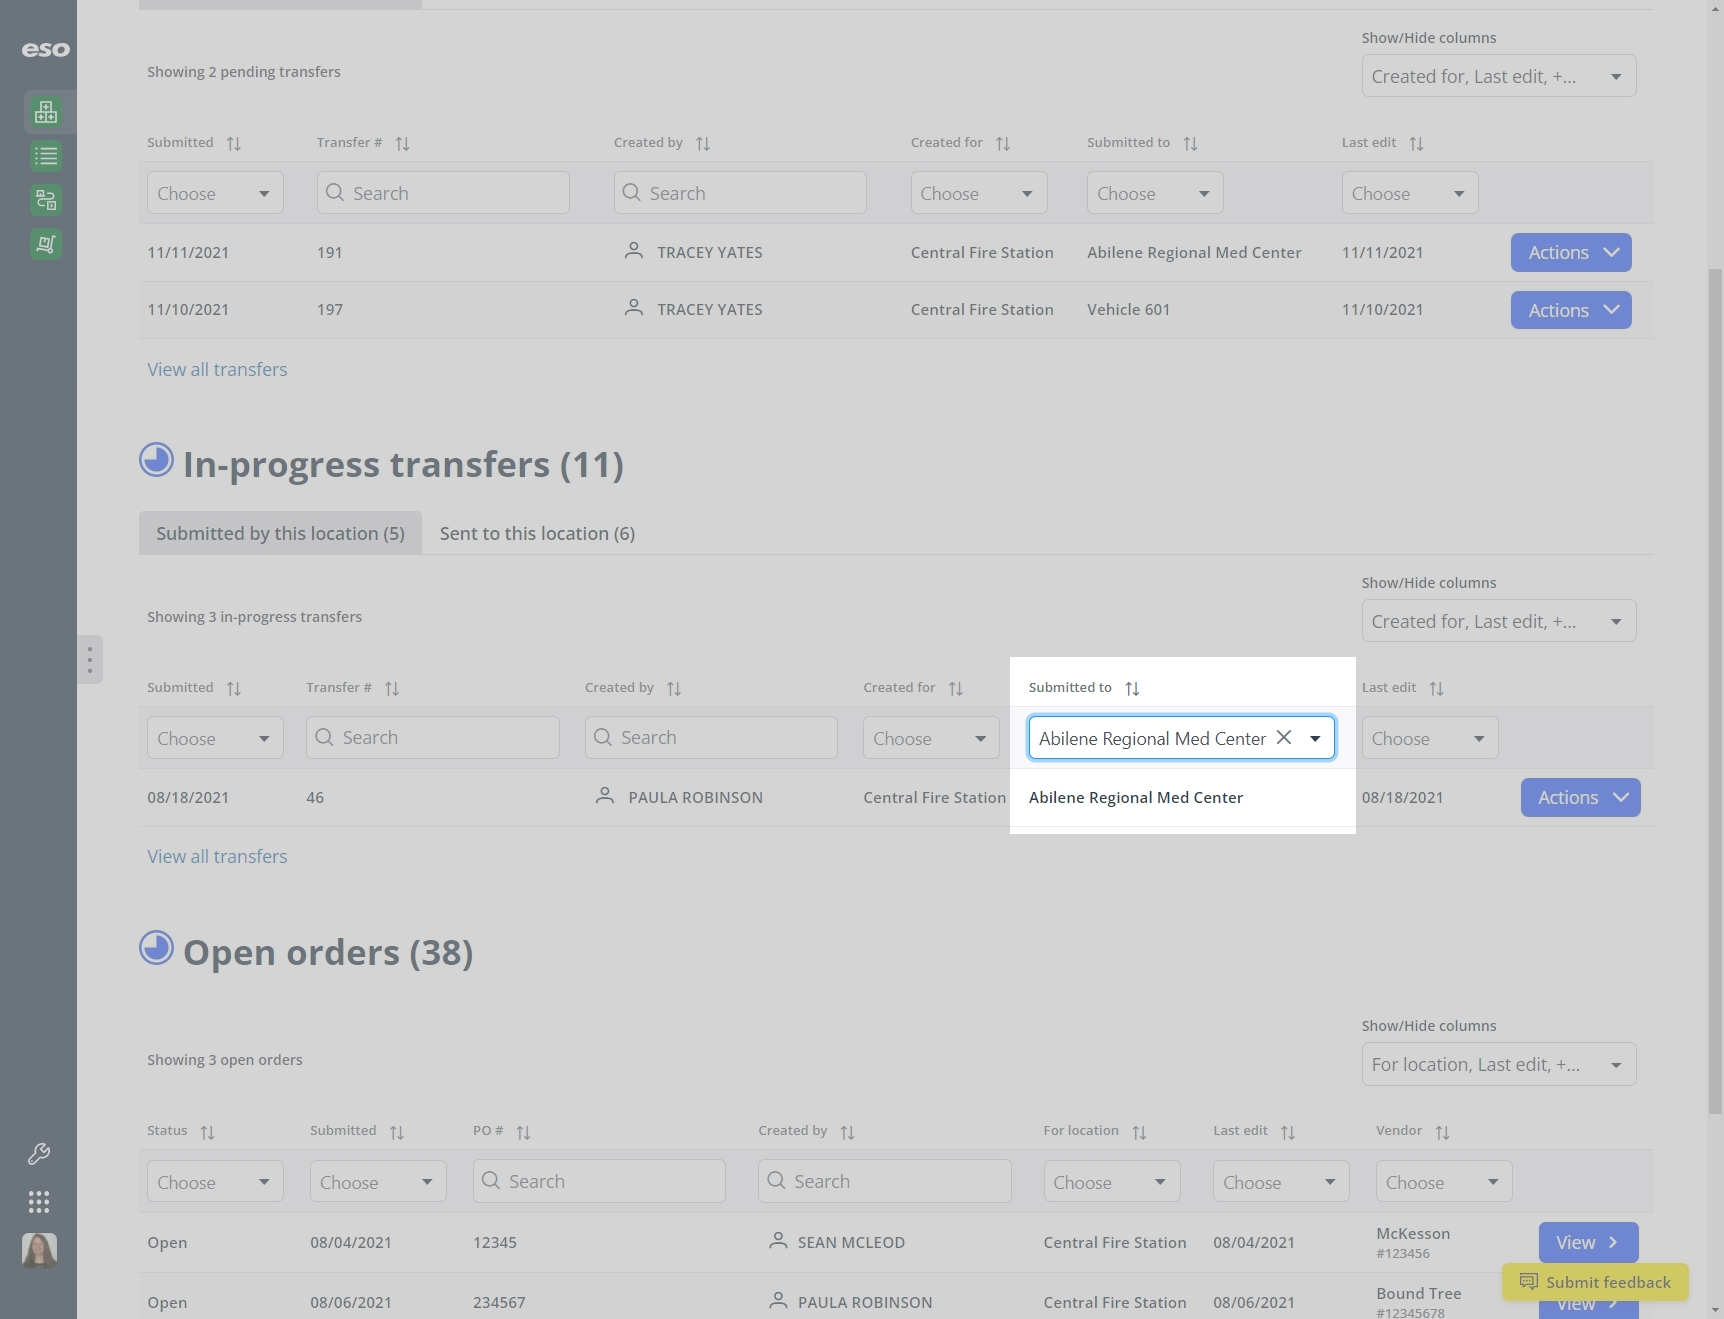
Search within other columns for a character combination.
Note: This feature is not available on the Expiring items, Expired items, Below par items, and Oversupply items tabs.
You can also search within a column, to find items already added to the table, which contain a specific combination of characters.
-
At the top of the column you want to search, in Search, type the combination of characters you want to search the entire list for.
As you type each character, the list of items in the column reduces to only those whose names or values contain that combination of characters.
Example: In the Created by column, if you typed the characters
pau, the entire list reduces to display only the names that contain that character combination.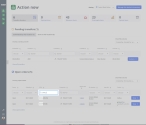
Filter the entire list, based on specific values in a column.
Note: This feature is not available on the Expiring items, Expired items, Below par items, and Oversupply items tabs.
-
At the top of any column with a Choose menu, click the menu and choose an option to filter the list with.
Only the items whose values in those columns match the option you selected appear in the list.

Sort the entire list into ascending or descending order, based on the values in a column.
-
At the top of any column with the (
 ) icon, click the column sort () icon.
 The ascending values (
 ) icon appears and the column sorts from A–Z, or from 1 to the highest numerical value.
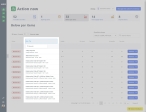
-
Click the ascending values icon to sort the list into descending order.
The descending values (
 ) icon appears and the column sorts from Z–A, or from the highest numerical value to 1.
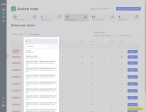
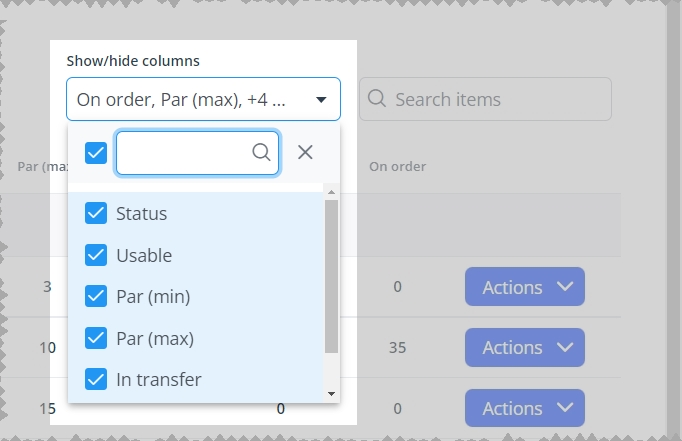
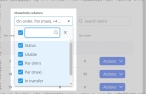
Hide or display entire columns.
You can decide which columns of data you want to display on the page and which columns you do not need, and hide the unnecessary columns. You can also redisplay any columns you hid in past.
-
Above the list of items, on the right side, click the Show/Hide columns menu.
-
(Optional) In the blank (search) field at the top of the menu, type the combination of characters you want to search the entire list for.
As you type each character, the list of options in the menu reduces to only those whose names contain that combination of characters.
Example: If you typed the characters
Or, the list reduces to only the options that contain those characters.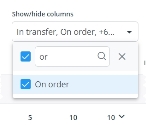
-
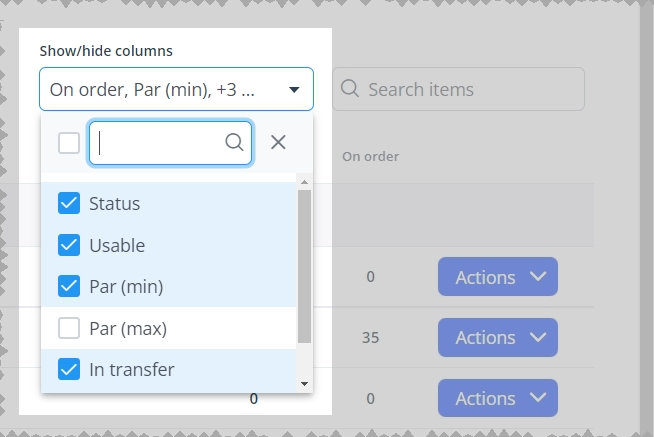
In the menu, select the check boxes for columns you want to display on the page, and clear the check boxes for columns you want to hide.
Only the columns you selected remain visible on the page.
Example: If your agency decides it does not need to know what the max par item levels are at a glance, you do not need to display the Par (max) column on the page. If you clear the check box for the Par (max) option in the menu, the Par (max) column disappears from the page.


-
-
-
Depending on what you want to do with tasks or items for the selected location, do any of the following.