Order new inventory items
When you order items for resupply, your agency or department obtains the stock from a vendor external to the agency. The Inventory module provides a work flow that helps you resupply locations with the items they need when item levels drop below minimum par, and there is not enough stock available within the agency to resupply one location by transferring stock from other locations.
Information on the external vendors your agency or department orders supplies from is available in Build the vendor list.
There are two types of vendors you can order stock from:
-
Integrated vendors: Vendors with which your agency or department has an established relationship, and has configured an integration directly with the Inventory module. With integrated vendors, you can seamlessly order supplies and medications from those vendors from within the Inventory module. The vendor's product lines and pricing appear in the Inventory module, and you can view the vendor's product availability. If a product is on back-order, you can still order the product, and the vendor will ship it when it becomes available.
Information on setting up an integration with an external vendor is available in Integrate with vendors for ordering.
-
Non-integrated vendors: Vendors from which your agency or department orders supplies and medications, but which do not have an integration configured directly with the Inventory module. For these vendors, you must contact the vendor directly through phone, fax, or email, and place the order manually, outside of the Inventory module. The sales order in the Inventory module then serves as a way to track received items as the vendor fulfills the order.
The Inventory module assigns different statuses to orders as they travel through the fulfillment process.
-
Draft: Orders created for the location that needs to increase stock in specific items, but which are not yet placed with a vendor for fulfillment. -
Open: Orders placed with and confirmed by a vendor, but whose items have yet to be received. -
Canceled: Orders that were created, but canceled before the vendor had filled the order. -
Archived: Orders placed with a vendor and partially or completely completed. You can still update orders with this status if some items (such as back-ordered items) arrive after you have changed the order status toArchived. Archived orders are stored for future reference, and to provide an audit trail.
-
 If you have not done so already) Access the Inventory module in the ESO Suite.
-
Do one of the following.
-
(If you are already working in the ESO Suite) Click the Home icon in the upper left corner of the screen.
-
(If you have not yet logged in) Log in to the ESO Suite.
-
In a web browser, go to https://www.esosuite.net/EsoSuite.
The ESO Suite login screen appears.
-
Enter your user name, password, and agency name, then click Let's Go.
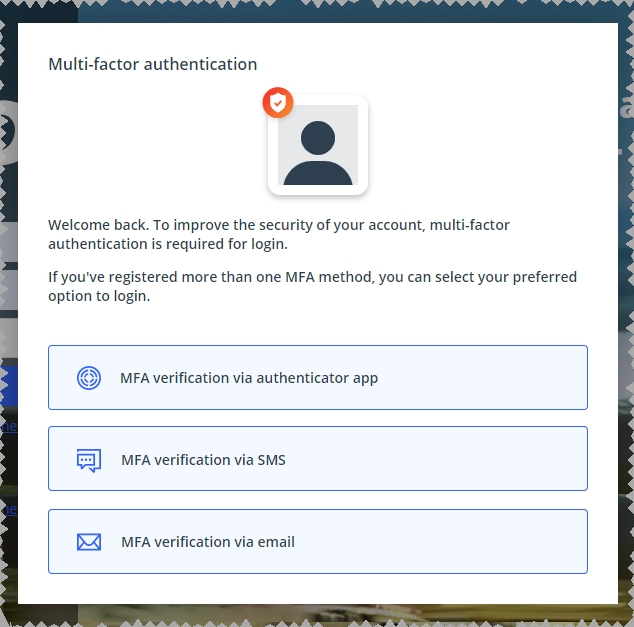
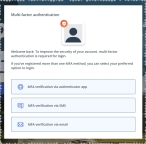
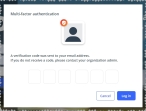
If MFA is enabled, the Multi-factor authentication dialog box appears, displaying one or more methods you can use to verify your login credentials. The number of methods that appear in the dialog box depends on what MFA methods your ESO Suite administrators enabled in the Admin module.
Click graphics
to open them.Information on enabling MFA and specific MFA methods is available in the Admin module online help, in Configure multiple-factor authentication.
Note: If your ESO Suite administrators have disabled MFA ("opted-out"), this dialog does not appear.
-
(If the Multi-factor authentication dialog box appears) Depending on which buttons appear in the dialog box, verify your login in one of the following ways.
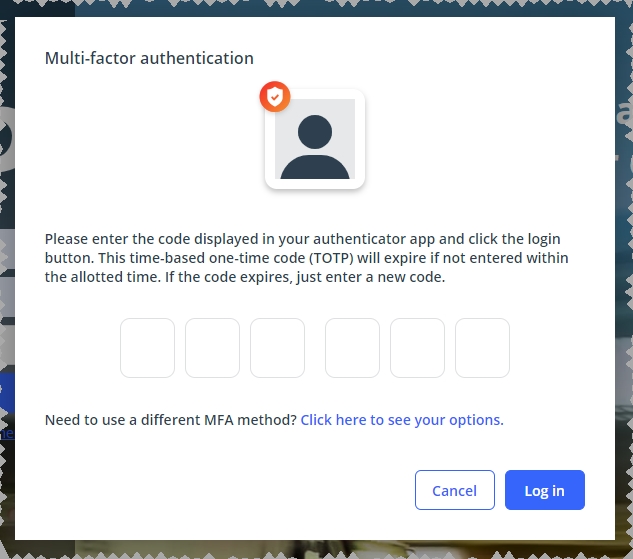
With an authenticator application.
-
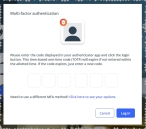
Click MFA verification via authenticator app.
The dialog box updates with boxes for entering the numbers of the authentication code, and the ESO Suite sends an authentication code to the authenticator application installed on your device.
-
Open your authenticator application and note the authentication code currently displayed.
-
Enter the authentication code displayed in the authenticator application.
-
Click Log In.
With a text message (SMS).
-
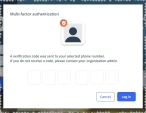
Click MFA verification via SMS.
The dialog box updates with boxes for entering the numbers of the authentication code, and the ESO Suite sends an authentication code to the phone number recorded in your PM records and identified with MFA codes.
-
Enter the authentication code sent to your MFA-registered phone number.
-
Click Log In.
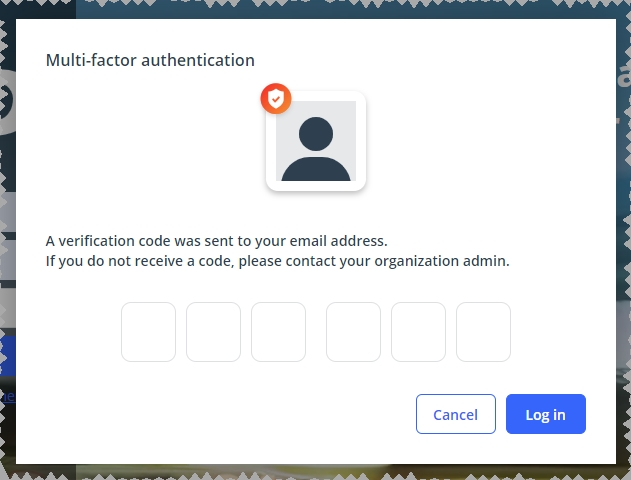
With an email message.
-
Click MFA verification via email.
The dialog box updates with boxes for entering the numbers of the authentication code, and the ESO Suite sends an authentication code to your agency or department email address, recorded in your PM records.
-
Enter the authentication code sent to your agency or department email address.
-
Click Log In.
-
-
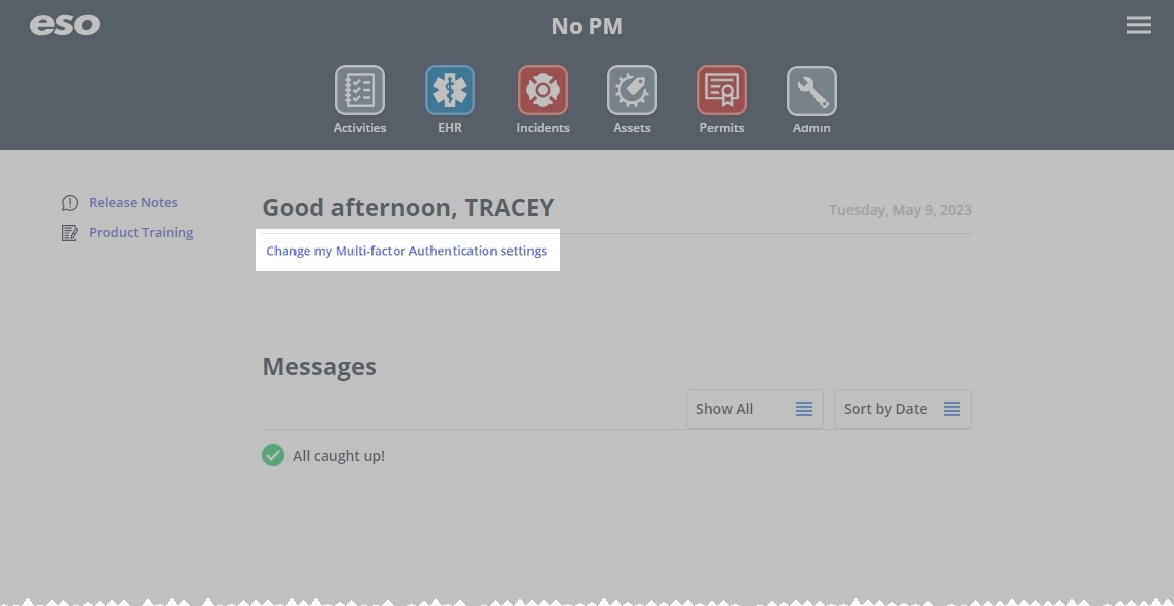
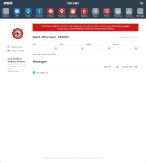
The ESO Suite landing screen appears.
Click graphics
to open them.Note: If MFA is enabled, you can access and manage your MFA options through the PM module, on the Settings > Account page, as described in Manage a user account. If your agency or department has enabled MFA but has not purchased the full-featured version of the PM module, you can access your own MFA settings by clicking Change my Multi-Factor Authentication settings on the landing screen, then using the Settings > Account page that appears. If your agency has not enabled MFA, the Change my Multi-Factor Authentication settings link does not appear on the landing screen.
-
-
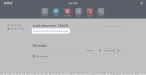
On the top side of the home screen, click Inventory.
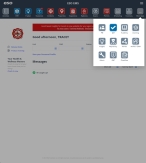
 Tip: (On a narrow screen or browser window) Display more module icons.
If your screen or browser window is too narrow to display all your agency's ESO Suite module icons, the More Apps icon appears on the right side of the icon bar. If you click this icon, a menu appears containing additional module icons.
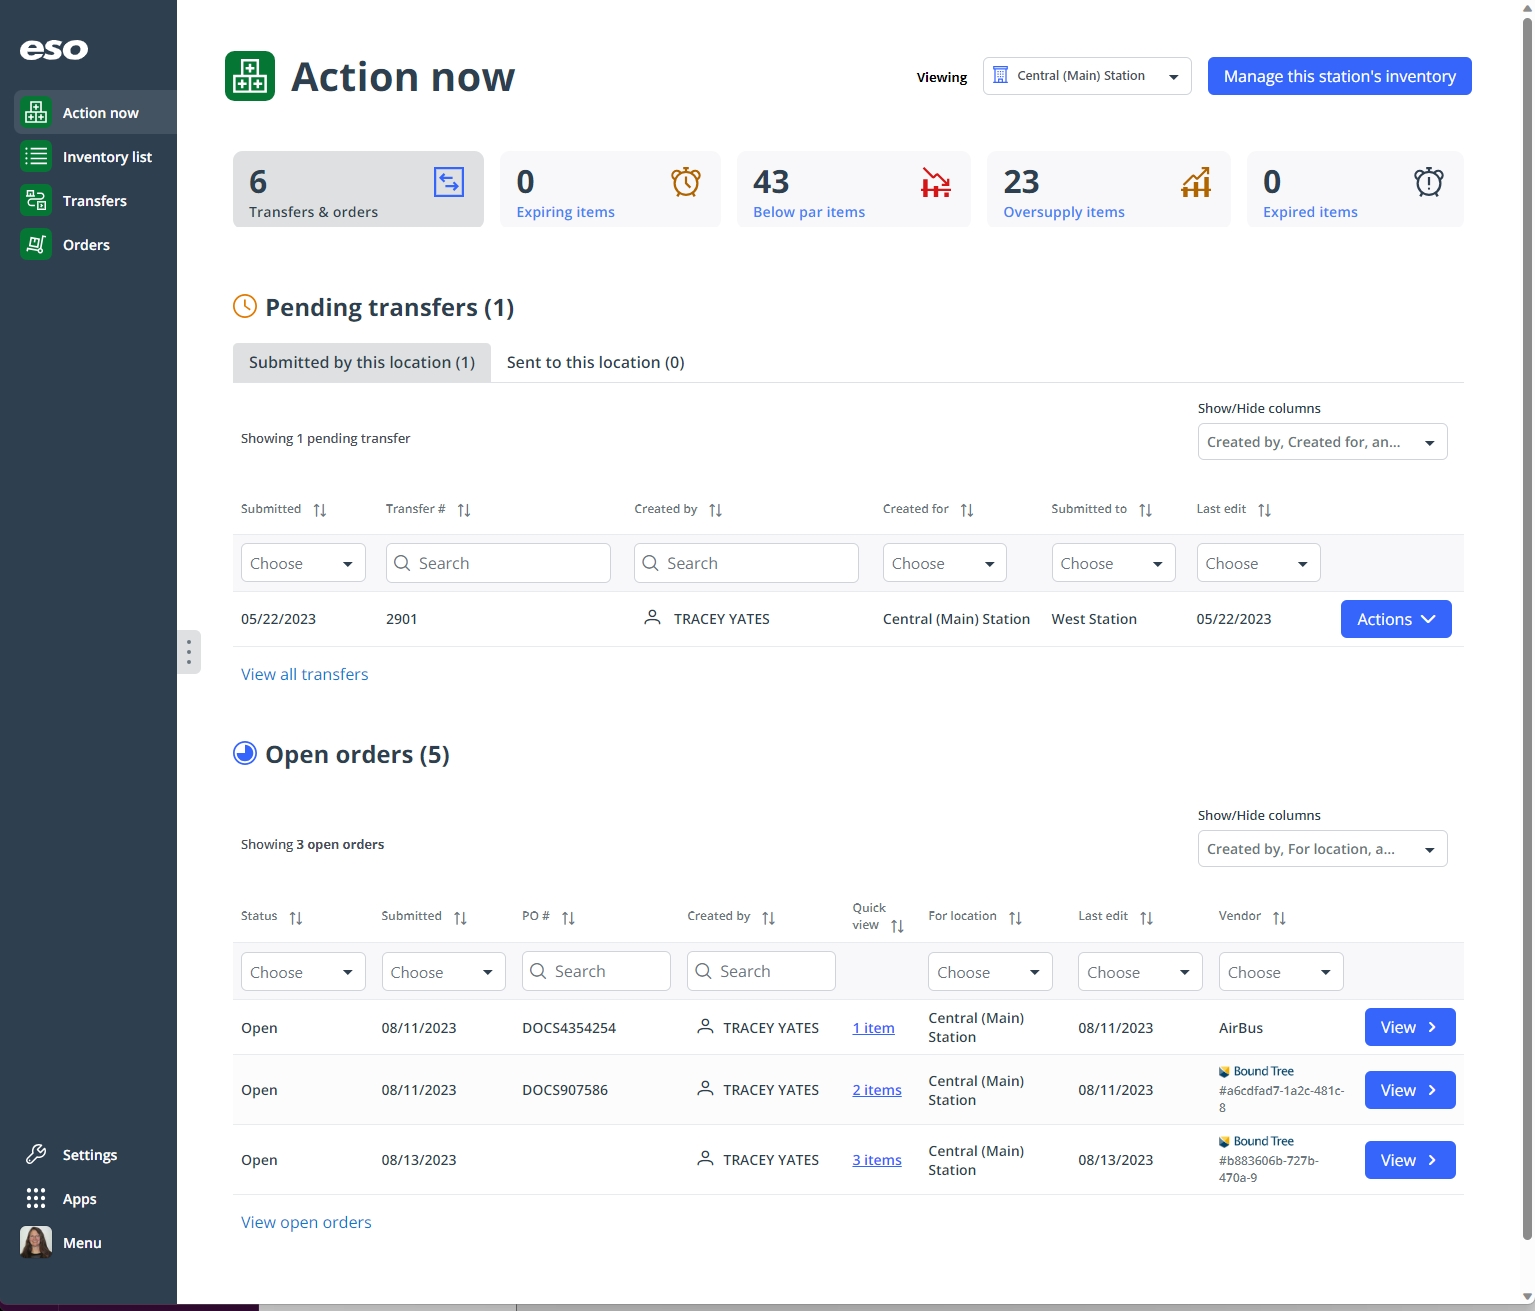
The Inventory module opens, displaying the Action now page.

Click graphics
to open them.
-
-
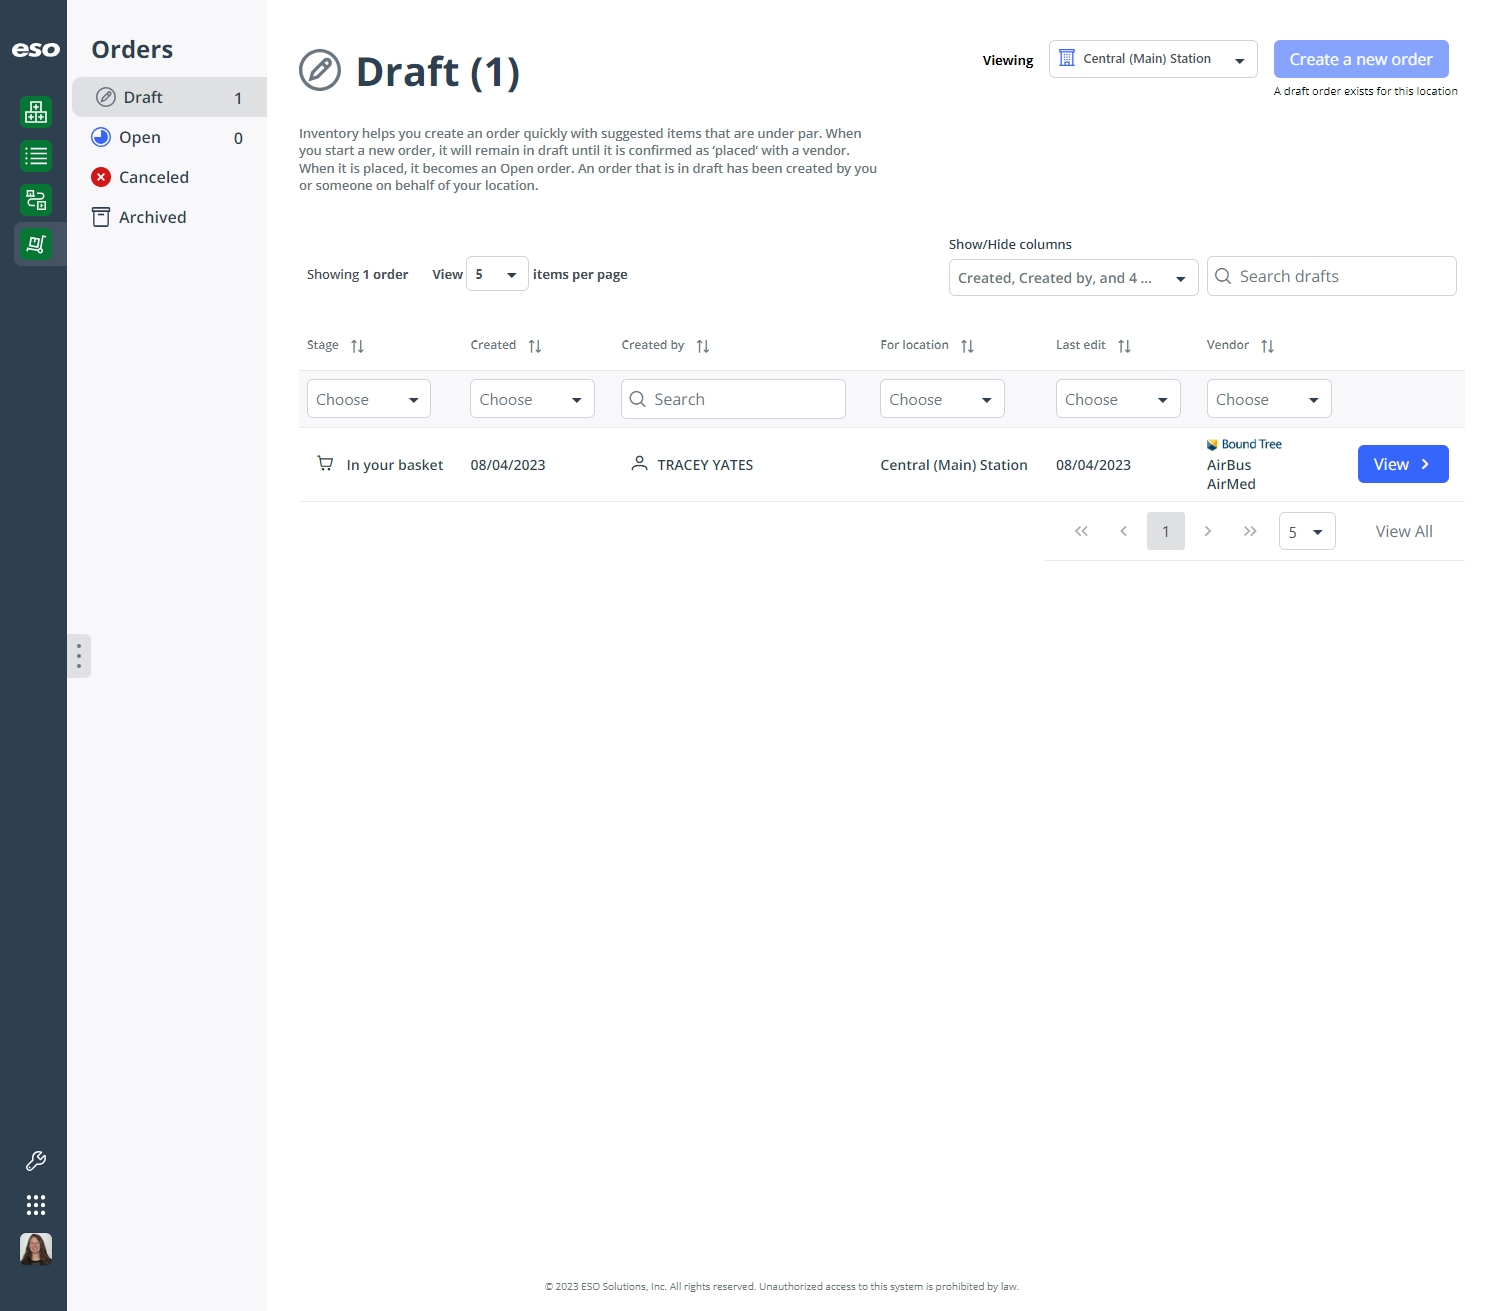
In the upper left corner of the screen, click the Orders icon.

The Orders page appears, and in the left pane, Draft is selected. In the right pane, the Draft page appears, listing any order that is not yet submitted for the location displayed in the Viewing field.
Note: The Viewing field in the upper right corner of the page is the key to what information appears in the table on any page.
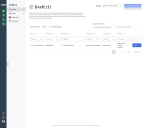
Note: To prevent duplicate orders, a location can have only one open draft order at a time.
-
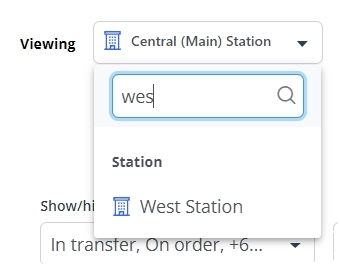
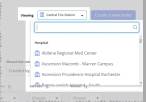
(If necessary) In the upper right corner of the page, from the Viewing menu, choose the location you want to work with.
 Tip: Search the list of locations.
-
At the top of the menu, in the search field, type the combination of characters you want to search the options for.
As you type each character, the list of menu options reduces to only those whose names contain that combination of characters.
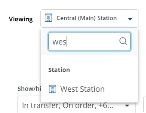
The table on the page updates to display any draft order already created by that location.
-
-
(Optional) Manage the amount of data displayed on the page.
You can control how much data appears on the page, search for items in the entire list, search individual columns, sort and filter column contents, hide and display columns, and so forth.
-
Depending on what data you want to view on the page, do one or more of the following.
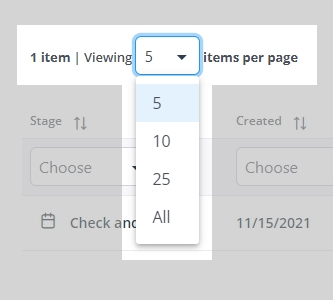
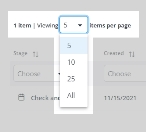
Change the maximum number of items displayed on the page.
-
Above the list of items, on the left side, from Viewing number items per page, choose the number of items you want to display on the page.
Search the entire list for a character combination.
You can search the entire list for a specific combination of characters, regardless of what column the data appears in. The search includes only items not already added to the order. The search includes station names and people names, but does not include dates associated with orders.
-
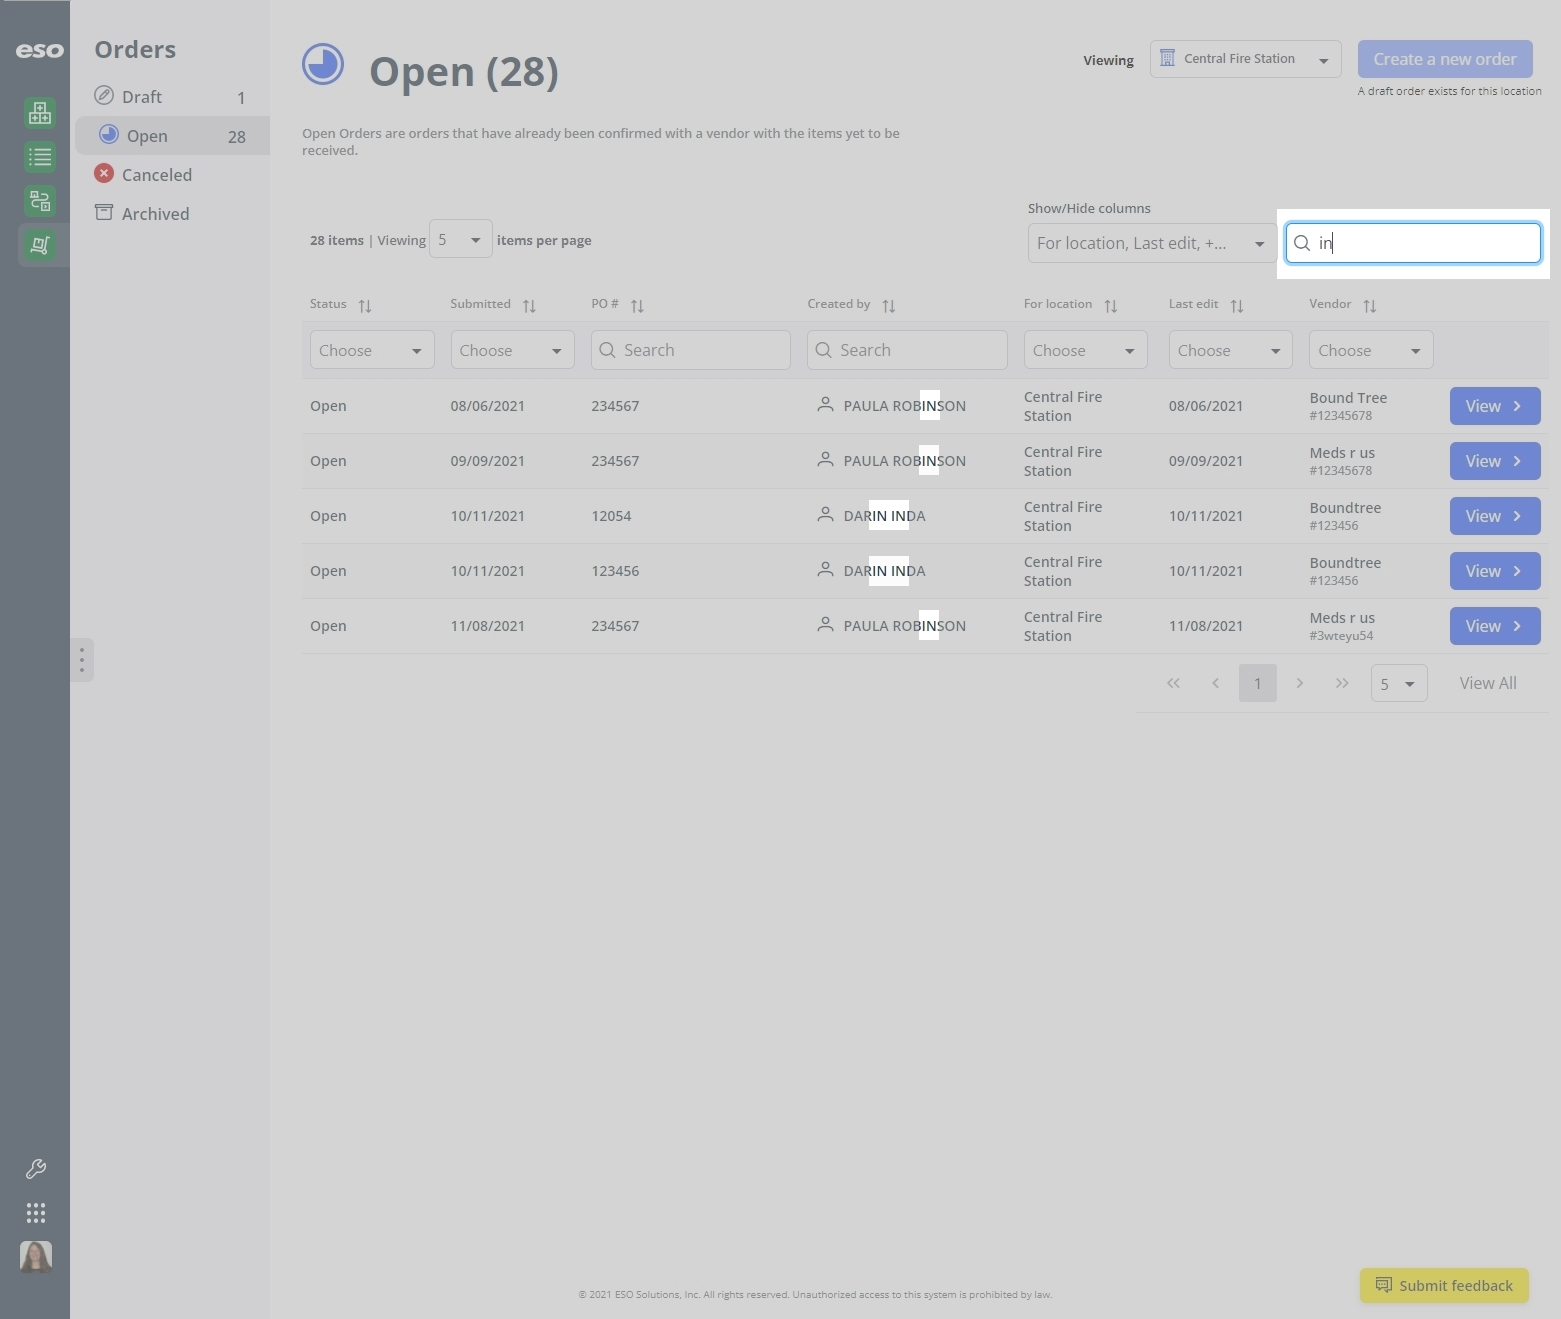
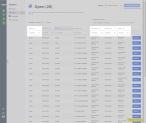
Above the list of items, on the right side, in the Search drafts field, type the combination of characters you want to search the entire list for.
As you type each character, the list of items on the page reduces to only those whose names or values contain that combination of characters.
Example: If you typed the characters
in, the entire list reduces to display only the items whose names or values contain these characters.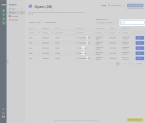
Search within a column for a character combination.
You can also search within a column, to find items already added to the table, which contain a specific combination of characters.
-
At the top of the column you want to search, in Search, type the combination of characters you want to search the entire list for.
As you type each character, the list of items in the column reduces to only those whose names or values contain that combination of characters.
Example: In the Created by column, if you typed the characters
pau, the entire list reduces to display only the names that contain that character combination.
Sort the entire list into ascending or descending order, based on the values in a column.
-
At the top of all the columns, click the column sort (
 ) icon.
 The ascending values (
 ) icon appears and the column sorts from A–Z, or from 1 to the highest numerical value.
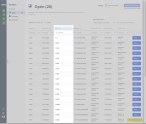
-
Click the ascending values icon to sort the list into descending order.
The descending values (
 ) icon appears and the column sorts from Z–A, or from the highest numerical value to 1.
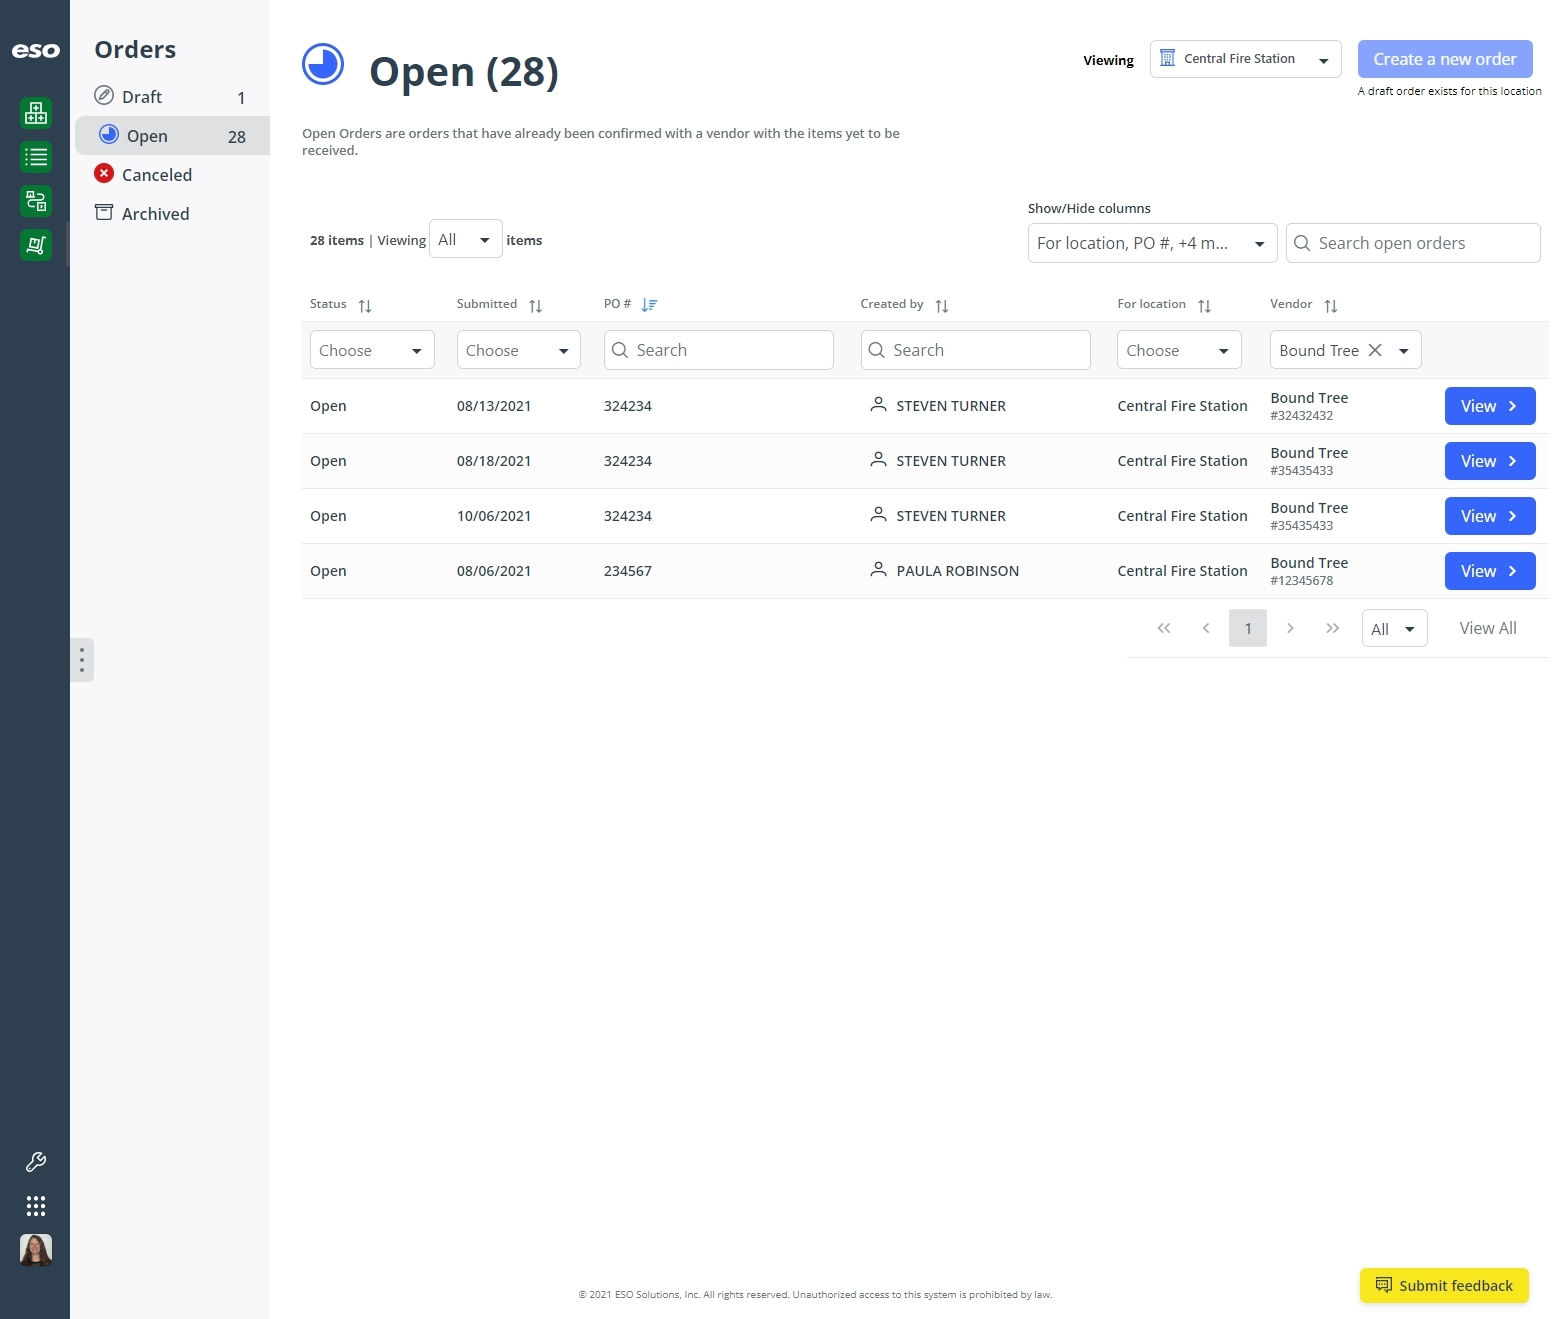
Filter the entire list, based on specific values in a column.
-
At the top of any column with a Choose menu, click the menu and choose an option to filter the list with.
Only the items whose values in those columns match the option you selected appear in the list.
Hide or display entire columns.
You can decide which columns of data you want to display on the page and which columns you do not need, and hide the unnecessary columns. You can also redisplay any columns you hid in past.
-
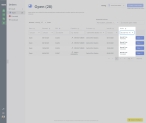
Above the list of items, on the right side, click the Show/Hide columns menu.

-
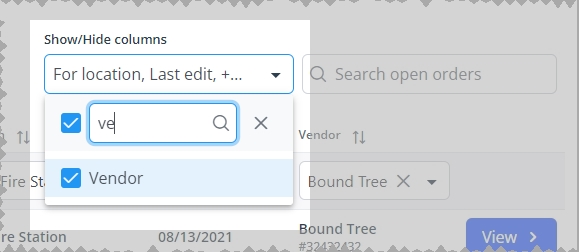
(Optional) In the blank (search) field at the top of the menu, type the combination of characters you want to search the entire list for.
As you type each character, the list of options in the menu reduces to only those whose names contain that combination of characters.
Example: If you typed the characters
Or, the list reduces to only the options that contain those characters.
-
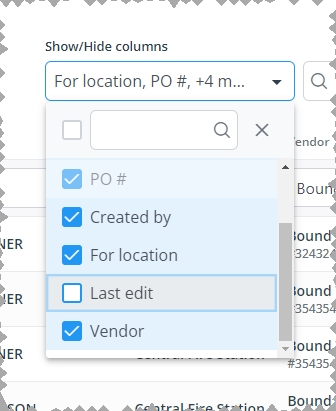
In the menu, select the check boxes for columns you want to display on the page, and clear the check boxes for columns you want to hide.
Only the columns you selected remain visible on the page.
Example: If your agency decides it does not need to know at a glance when a transfer was last edited, you do not need to display the Last edit column on the page. If you clear the check box for the Last edit option in the menu, the Last edit column disappears from the page.


-
-
-
Depending on what you want to do with orders for the selected location, do any of the following.