Add a new personnel record
If you have a new person join your department or agency, you can add a new personnel record for them directly to the module.
Note: You must have the full version of PM to include rank, title, and assignment information when adding a new personnel record.
For information on upgrading to the full version of PM, go to https://www.eso.com/pm-demo/ and fill out the fields to request a demonstration and speak with a sales representative.
-
 (If you have not done so already) Access the PM or PM Basic module in the ESO Suite.
Which version of the module opens depends on whether your agency or department has purchased the PM Basic or full version of the PM module.
-
Do one of the following.
-
(If you are already working in the ESO Suite) Click the Home icon in the upper left corner of the screen.

-
(If you have not yet logged in) Log in to the ESO Suite.
-
In a web browser, go to https://www.esosuite.net/EsoSuite.
The ESO Suite login screen appears.
-
Enter your user name, password, and agency name, then click Let's Go.
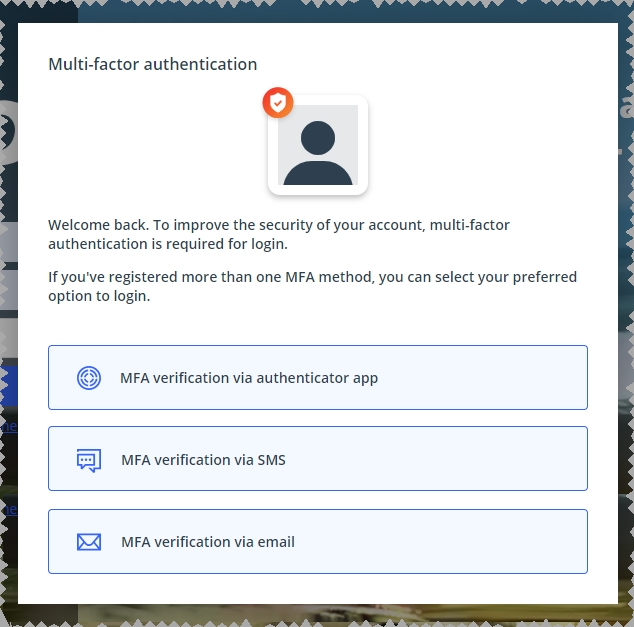
If MFA is enabled, the Multi-factor authentication dialog box appears, displaying one or more methods you can use to verify your login credentials. The number of methods that appear in the dialog box depends on what MFA methods your ESO Suite administrators enabled in the Admin module.

Click graphics
to open them.Information on enabling MFA and specific MFA methods is available in the Admin module online help, in Configure multiple-factor authentication.
Note: If your ESO Suite administrators have disabled MFA ("opted-out"), this dialog does not appear.
-
(If the Multi-factor authentication dialog box appears) Depending on which buttons appear in the dialog box, verify your login in one of the following ways.
With an authenticator application.
-
Click MFA verification via authenticator app.
The dialog box updates with boxes for entering the numbers of the authentication code, and the ESO Suite sends an authentication code to the authenticator application installed on your device.
-
Open your authenticator application and note the authentication code currently displayed.
-
Enter the authentication code displayed in the authenticator application.
-
Click Log In.
With a text message (SMS).
-
Click MFA verification via SMS.
The dialog box updates with boxes for entering the numbers of the authentication code, and the ESO Suite sends an authentication code to the phone number recorded in your PM records and identified with MFA codes.

-
Enter the authentication code sent to your MFA-registered phone number.
-
Click Log In.
With an email message.
-
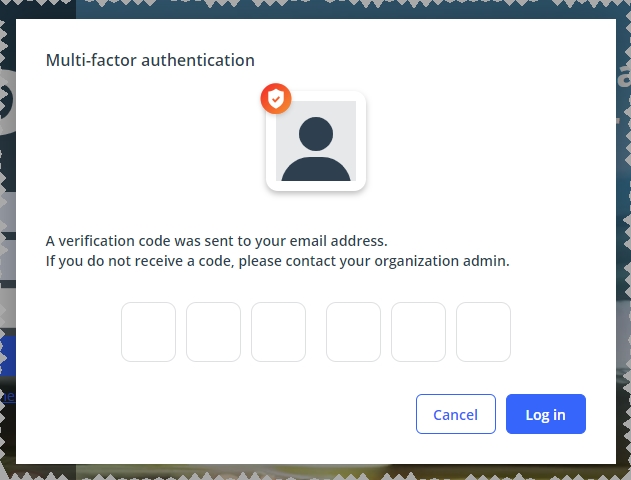
Click MFA verification via email.
The dialog box updates with boxes for entering the numbers of the authentication code, and the ESO Suite sends an authentication code to your agency or department email address, recorded in your PM records.

-
Enter the authentication code sent to your agency or department email address.
-
Click Log In.
-
-
The ESO Suite landing screen appears.
Click graphics
to open them.Note: If MFA is enabled, you can access and manage your MFA options through the PM module, on the Settings > Account page, as described in Manage a user account. If your agency or department has enabled MFA but has not purchased the full-featured version of the PM module, you can access your own MFA settings by clicking Change my Multi-Factor Authentication settings on the landing screen, then using the Settings > Account page that appears. If your agency has not enabled MFA, the Change my Multi-Factor Authentication settings link does not appear on the landing screen.

-
-
On the top side of the home screen, click PM.
Tip: If your screen or browser window is too narrow to display all your agency's ESO Suite module icons, an options icon appears on the right side of the icon bar. If you click the options icon, a menu appears containing additional module icons.

A list of all the personnel in the PM module appears, displayed in a grid format.
PM (full version) PM Basic 

Note: If you can access the full-featured PM module, you can view all your own information in it. The amount of information you can edit in the PM module depends on what roles and permissions your ESO Suite administrator assigned to your user account.
Information on user accounts, roles, and permissions is available in Manage a user account.
-
-
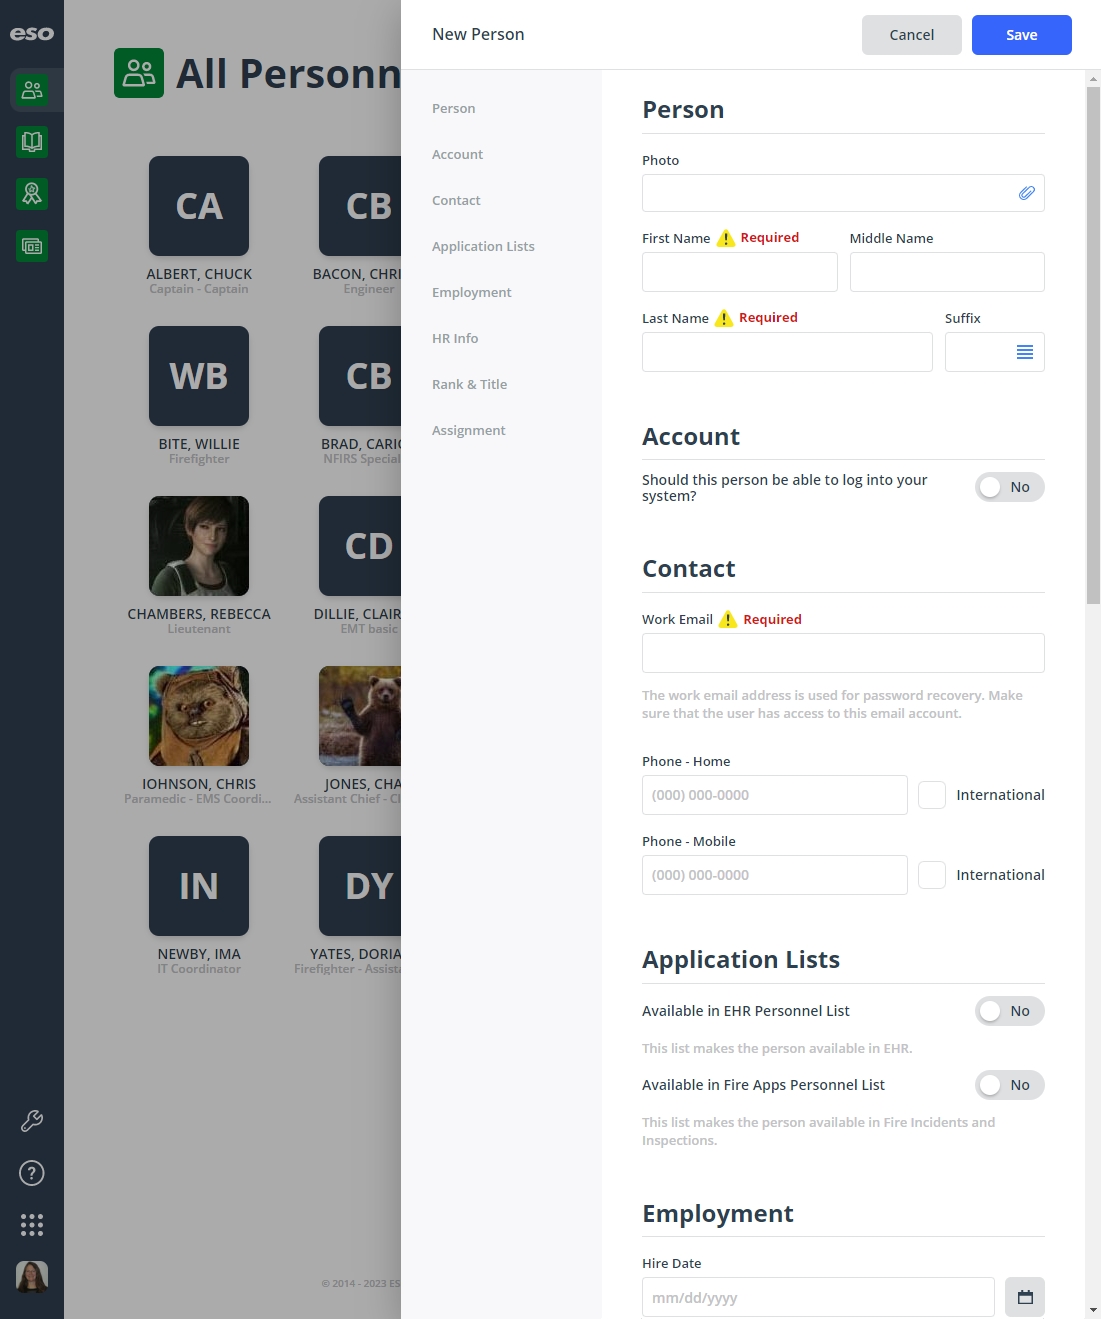
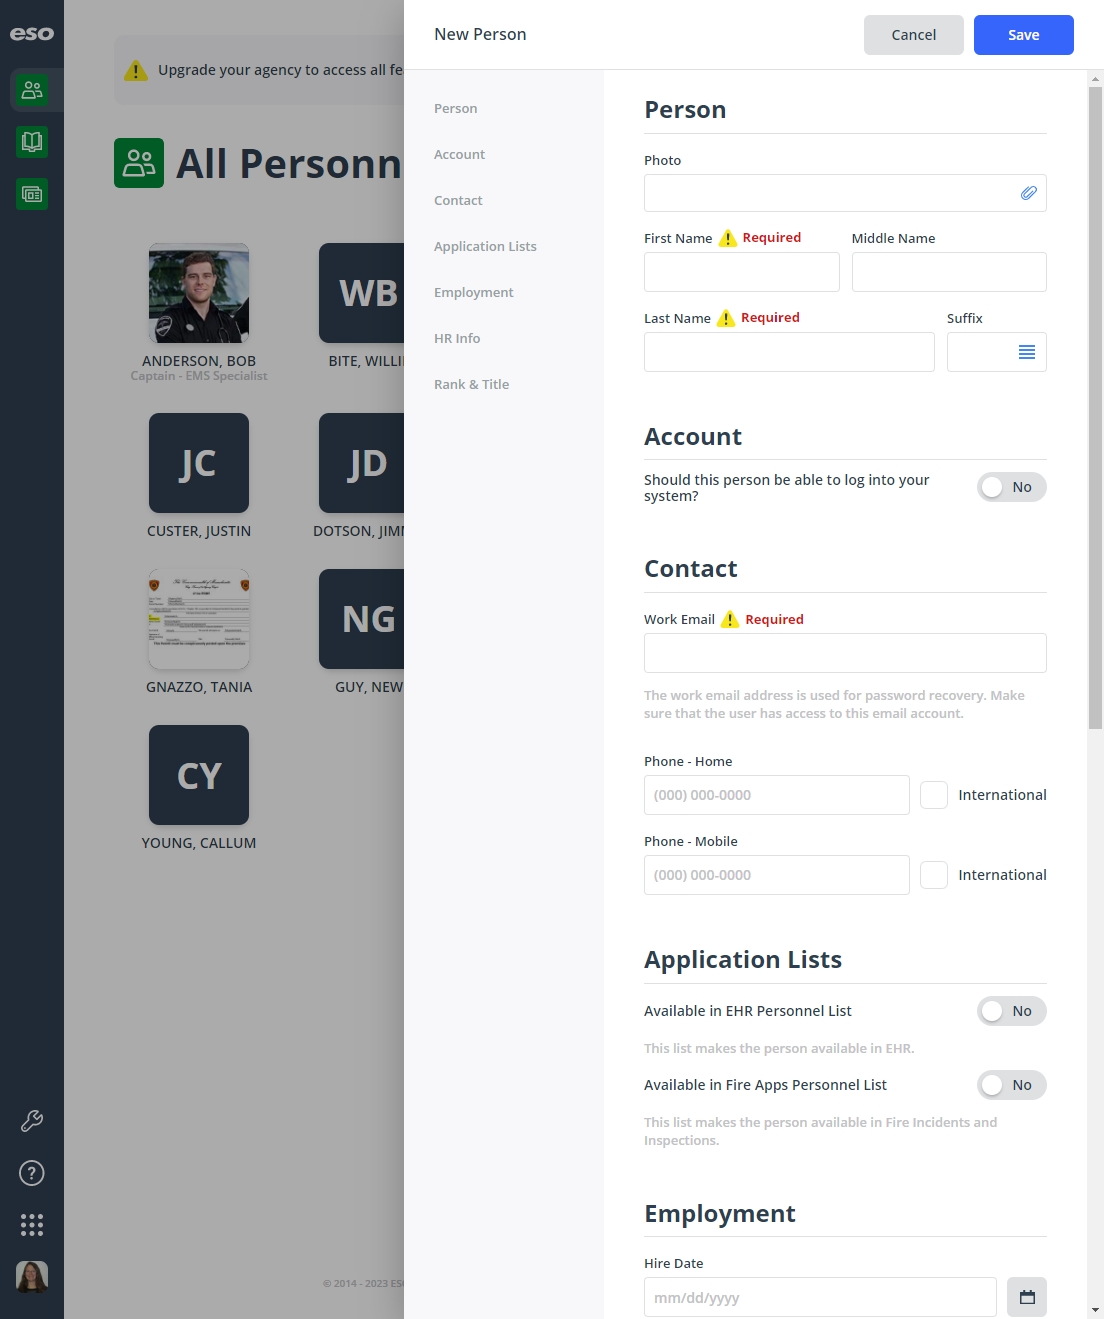
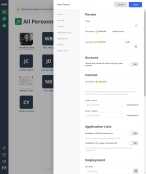
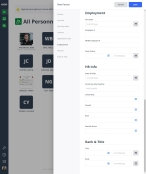
In the upper right corner of the screen, click New Person.
The New Person dialog box appears on the right side of the screen, set to the Person section of the dialog box.
PM (full version) PM Basic 
-
Enter the person's name and upload a photo of them.
- For Photo, click the paperclip (
 ) icon on the right side of the field, then use the file browser that appears to find and select a photo of the person.
 - In First Name, Middle Name, and Last Name, type as much of the person's name as known.
-
(Optional) For Suffix, click the field or the list icon to the right of the field, then select the appropriate single option from the menu that appears.
Example: Jr., Sr., and so forth.
- For Photo, click the paperclip (
-
(If appropriate) Configure an ESO Suite account for the person.
-
In the left pane of the dialog box, click Account.
The right pane scrolls down to the Account section of the dialog box.
PM (full version) PM Basic 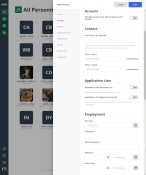
-
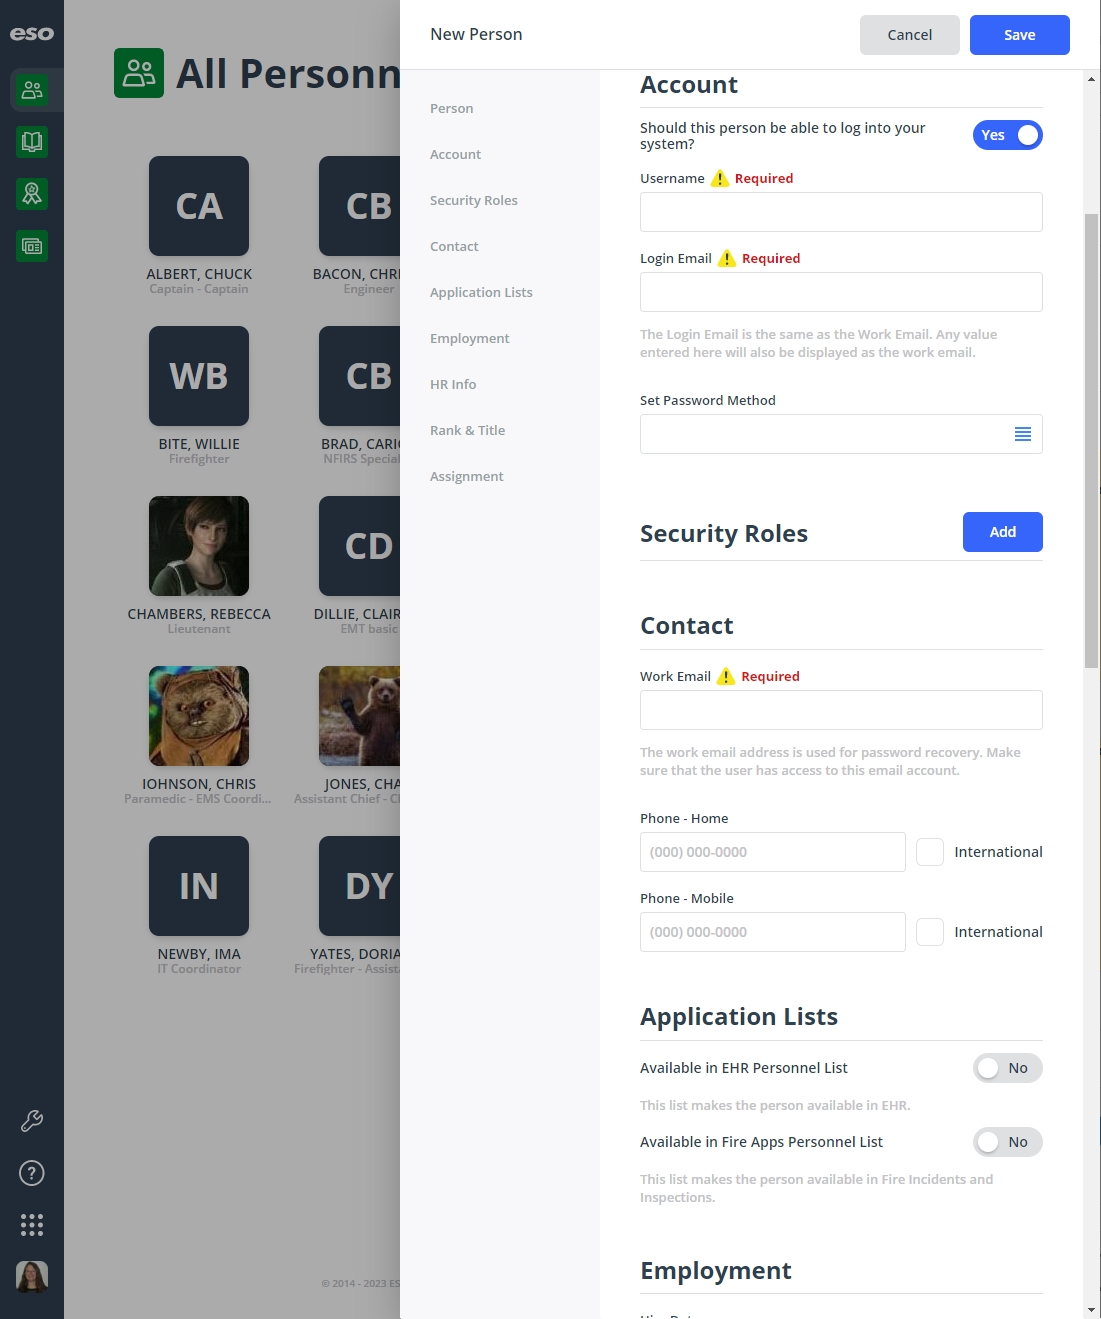
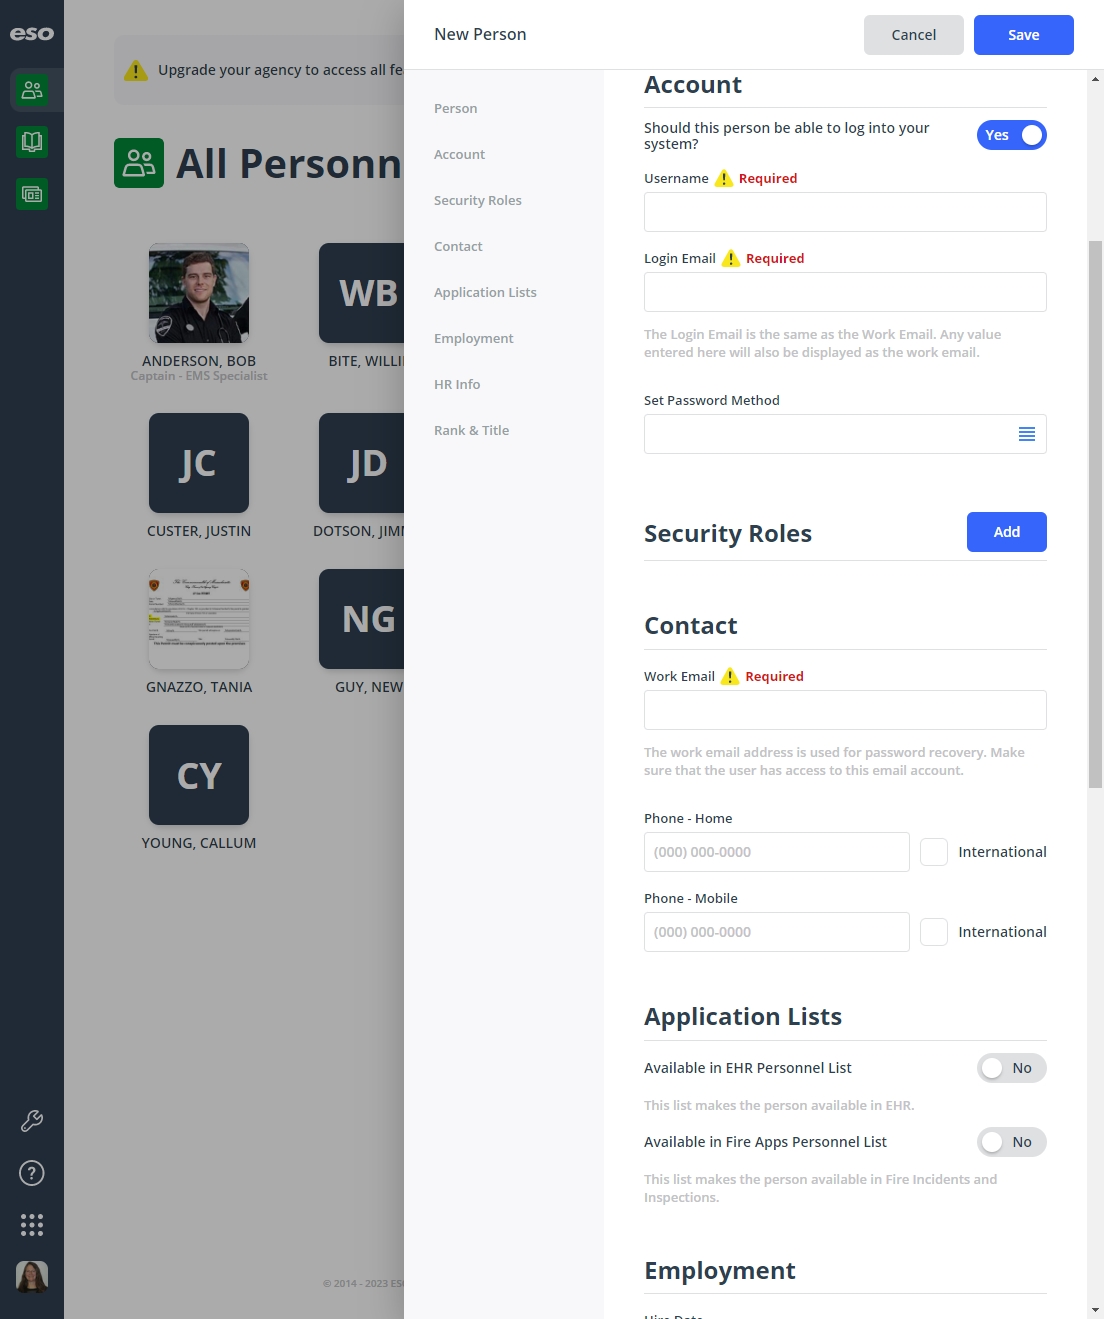
For Should this person be able to log into your system, drag the slider to the right, until it turns green and displays Yes.
Additional fields for specifying user account credentials appear. Below the Account section, the Security Roles section appears, and a Security Roles bookmark appears in the left pane.
PM (full version) PM Basic 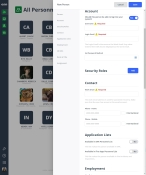

- In Username, type the name the user will enter when logging in to the ESO Suite.
-
In Login Email, enter the person's work email address.
Email addresses must be in the
name@domain.suffixformat.Example:
YourName@eso.com -
For Set Password Method, click the field or the list icon to the right of the field, then select the appropriate single option from the menu that appears.
-
Add security roles for the person's user account.
-
To the right of the Security Roles heading, click Add.
The Edit Security Roles dialog box appears.
PM (full version) PM Basic 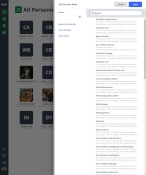

Tip: If the list of permissions in a role is wider than can be displayed in the column, and ellipses (...) appears at the right edge of the column. If you hover your mouse pointer over the ellipses, the full information appears in a pop-up.

-
(Optional) In the Search field above the list of security roles, begin typing characters in the name of the security role you want to find.
As you type, the list of roles reduces to only those whose names still match the characters you are entering.
PM (full version) PM Basic 

-
On the left, for Status, click the list icon to the right of the field, select all the appropriate options from the menu that appears, then click OK or click outside the menu.
The module searches for security roles with assigned or not-assigned statuses that match your selections, and the list of security roles on the right reduces to display only the ones that match.
-
Choose the security roles you want to apply in one of the following ways.
To do this Do this Select all roles currently listed.
- Click Select All Roles.
Manually select individual roles.
- In the list of roles on the right, select the specific security roles.
Remove all roles from the user.
- Click Clear All Roles.
-
(If necessary) Click Reset Filters to clear all your filter selections at once.
You can also manually deselect individual roles.
-
Click Apply.
The roles you selected appear in the Security Roles section.
-
-
-
(If you gave the person an ESO Suite account) Share the account login information with the person.
-
Depending on the method you used to set the password, do one of the following.
If you chose to do this Do this Email the user a password link
-
Instruct the user to check their email for one from
notifications@esosolutions.com, and to follow the prompts in the dialog box as needed to create a new password when they log into the ESO Suite again.
Set temporary password
-
Share the password with the personnel member, following your agency or department's security guidelines.
An opportunity to copy the provided temporary password appears after you save the personnel record.
-
-
-
Enter contact information for the person.
-
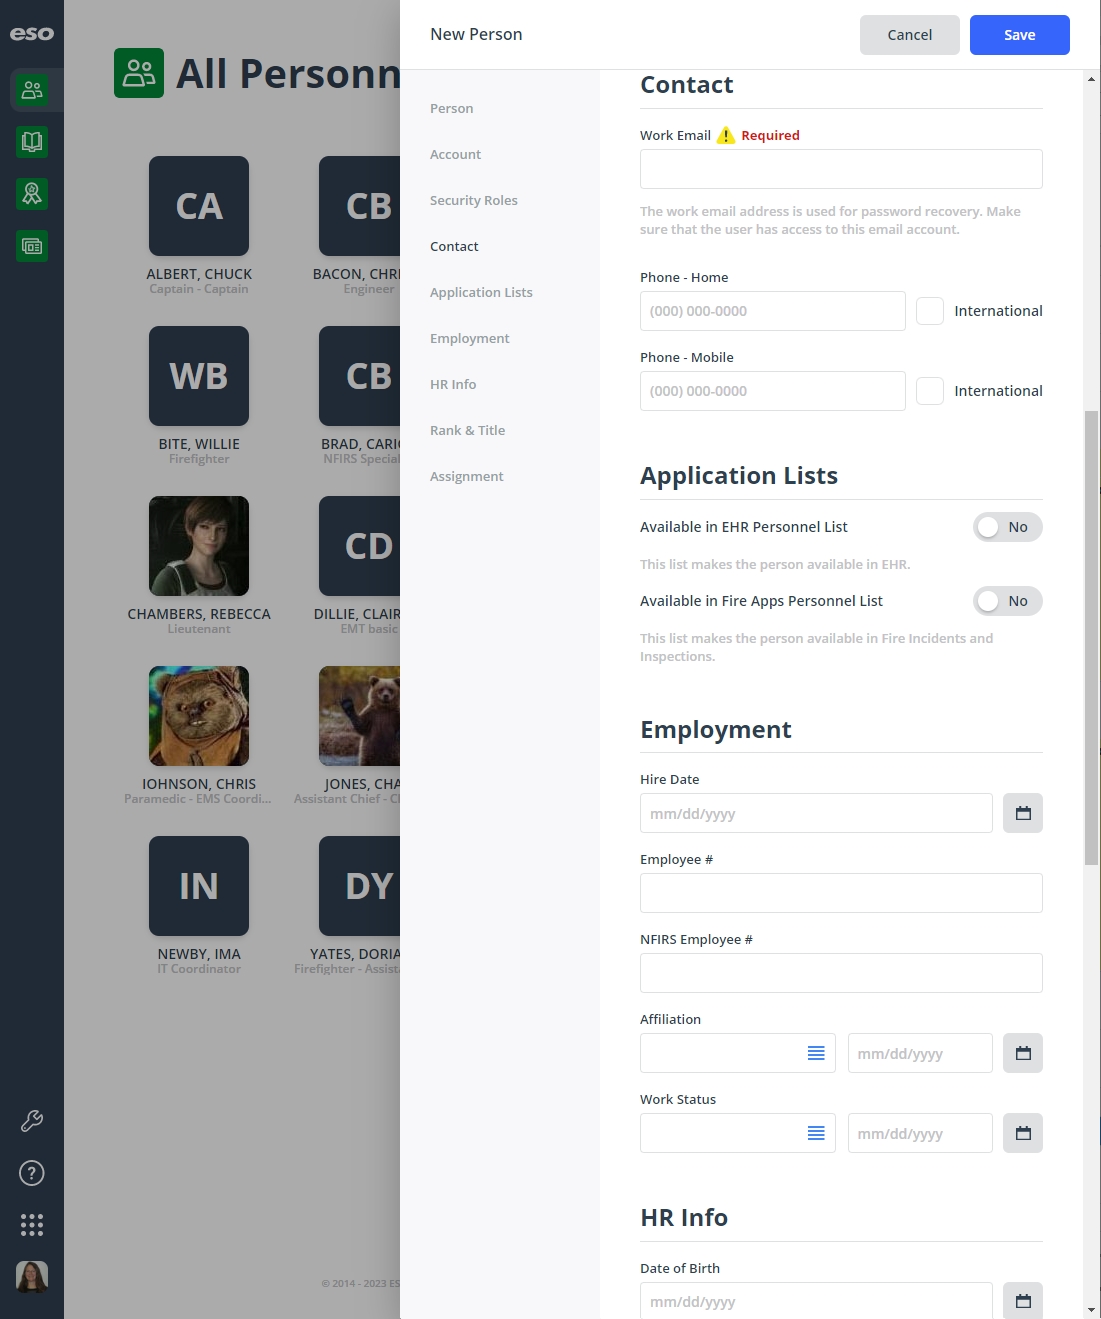
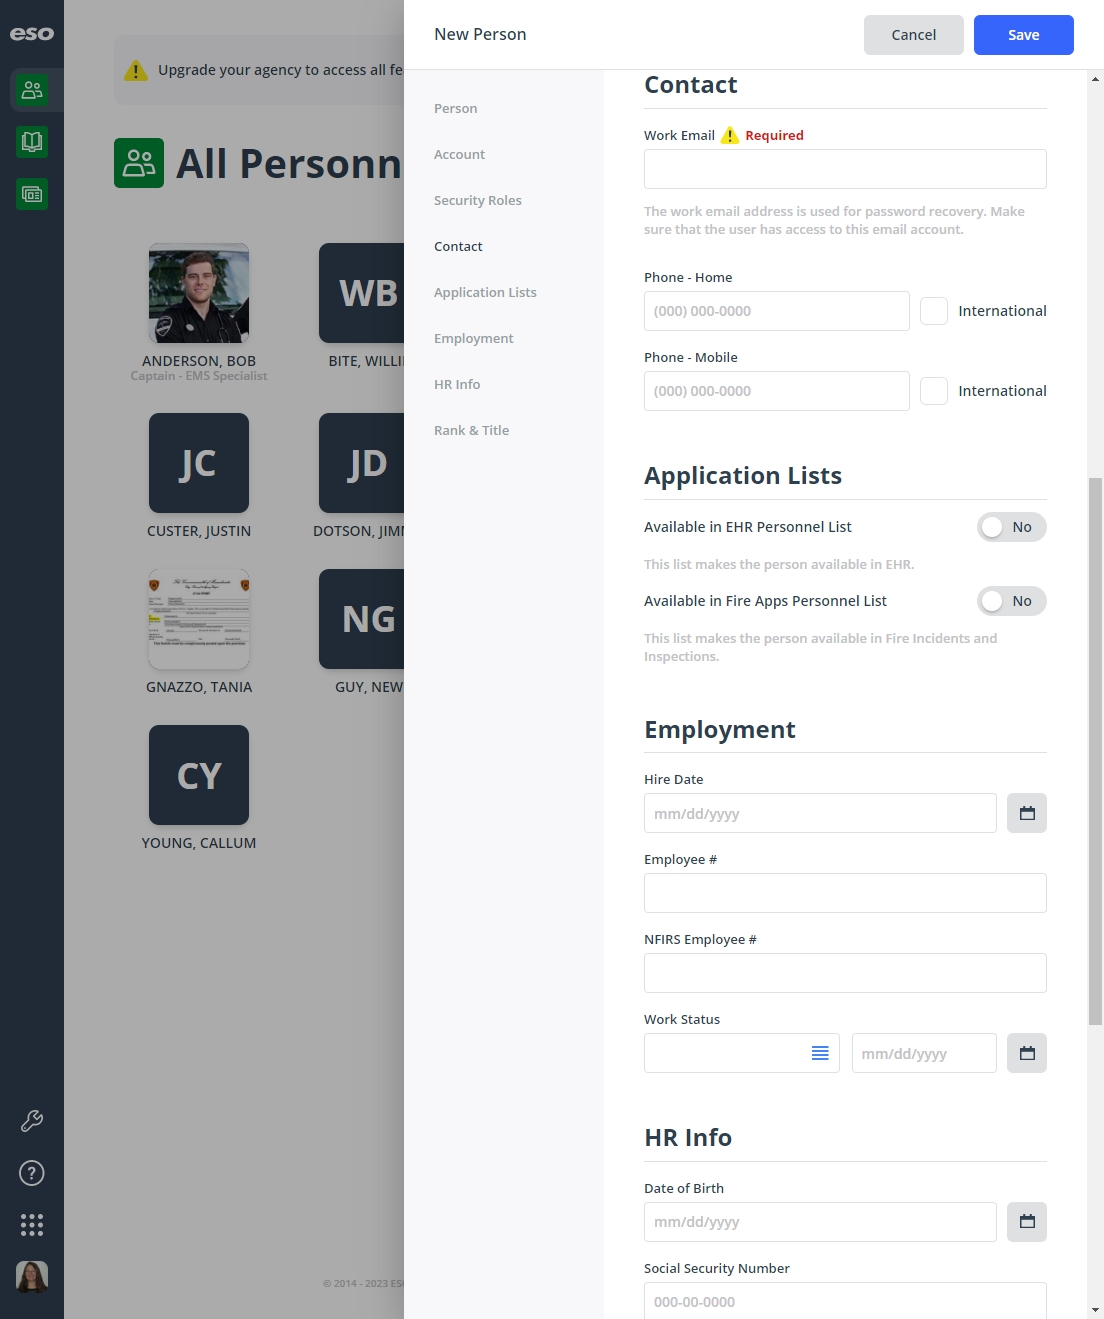
In the left pane of the dialog box, click Contact.
The right pane scrolls down to the Contact section of the dialog box.
PM (full version) PM Basic 

-
In Work Email, add or change the email address for the person.
If you created a user account for the person. this field automatically populated with the email address you entered for the user account.
Email addresses must be in the
name@domain.suffixformat.Example:
YourName@eso.com - In Phone - Home and Phone - Mobile, type the corresponding phone number.
- (For any phone numbers outside the U.S.) To the right of the phone number you entered, select International.
-
-
Set the person's visibility in personnel lists in other ESO Suite modules.
Personnel lists appear in several ESO Suite modules, such as the EHR and Fire modules. You can determine whether this individual appears in these personnel lists on a module-by-module basis.
-
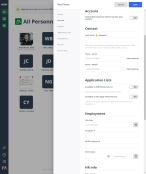
In the left pane of the dialog box, click Application Lists.
The right pane scrolls down to the Application Lists section of the dialog box.
PM (full version) PM Basic 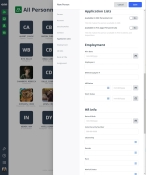
-
For Available in EHR Personnel List and Available in Fire Apps Personnel List sliders, drag the button to the Yes or No position to indicate whether or not the person is available for selection as a crew member in an EHR and/or fire incident record.
If you dragged the slider to Yes for the Available in Fire Apps Personnel List slider, in the Employment section of the dialog box, the NFIRS Employee # field becomes required.
-
-
Enter employment information for the person.
-
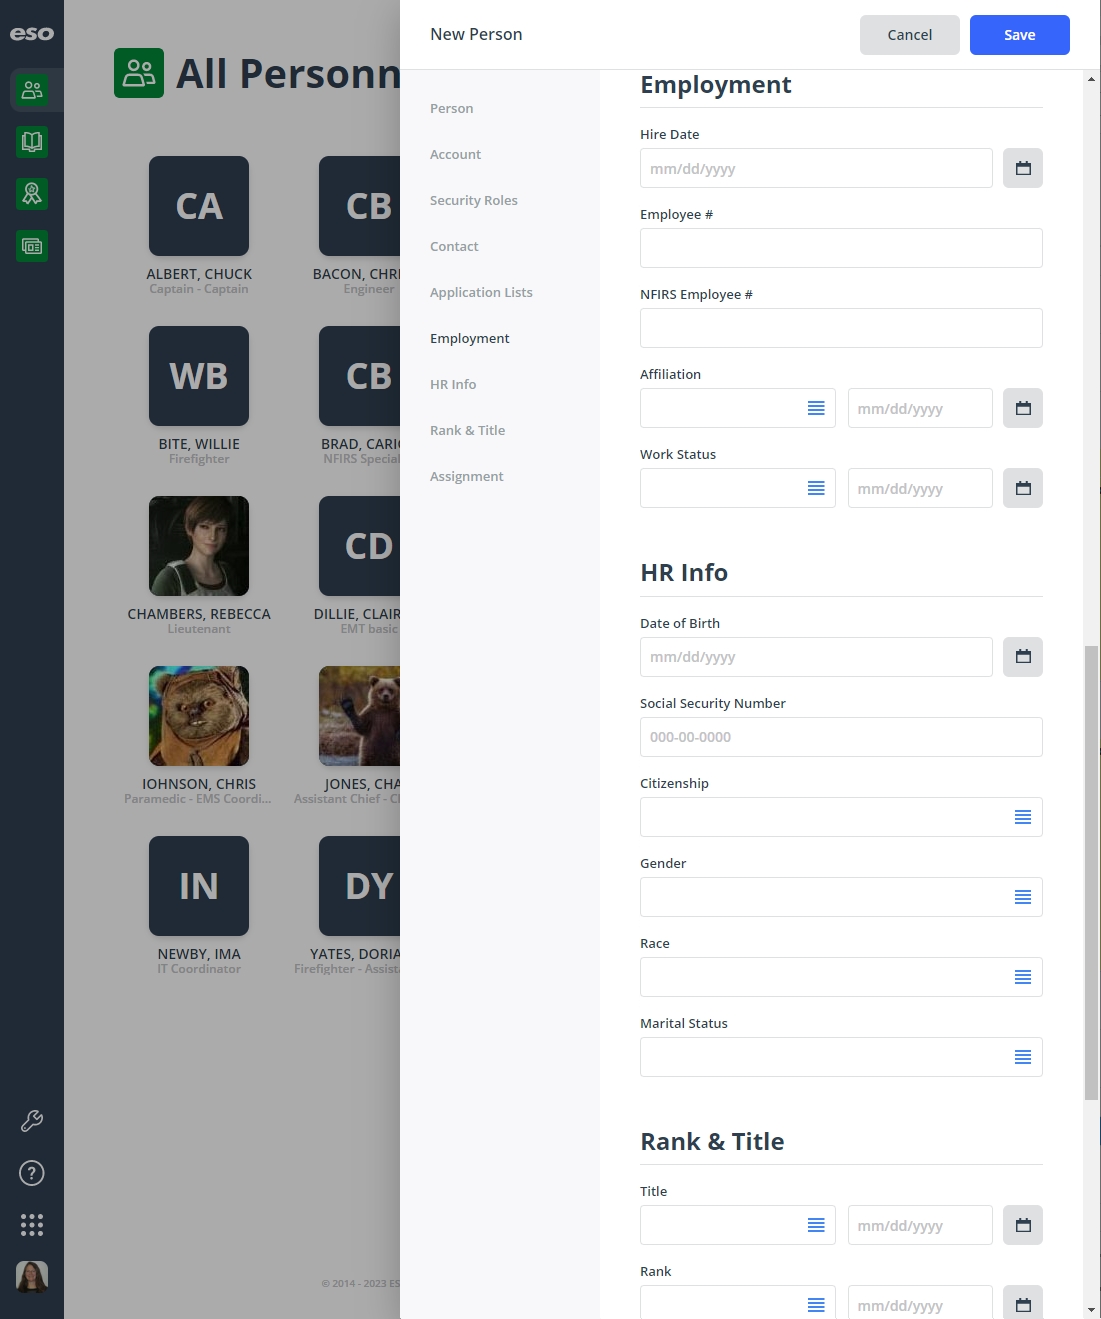
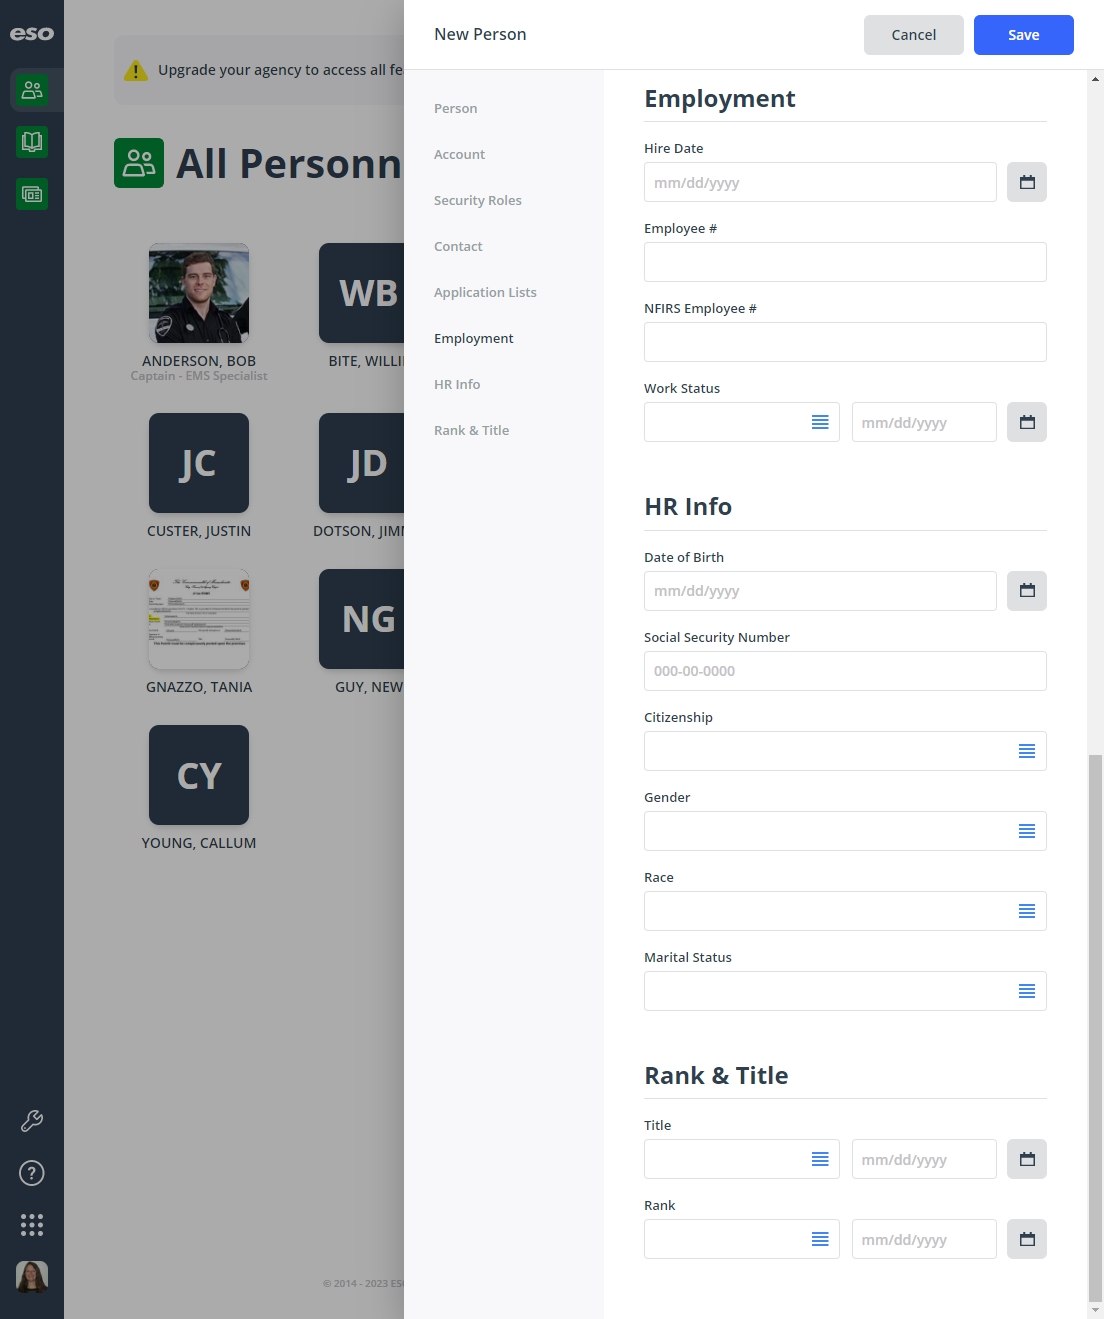
In the left pane of the dialog box, click Employment.
The right pane scrolls down to the Employment section of the dialog box.
PM (full version) PM Basic 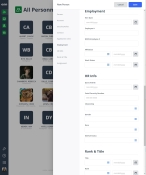
- For Hire Date, click the calendar icon on the right end of the field and select the appropriate date from the calendar that appears.
-
In Employee Number and NFIRS Employee Number, type your agency or department's employee number and the NFIRS employee number for the person.
Note: An active employee number must be unique within an agency.
The NFIRS number is assigned by your agency or department, and can be no more than nine characters long.
Note: The NFIRS Employee Number is required if the person is identified as a person who can respond to a fire incident, or who is available in any of the fire modules. This number is used for reporting to FEMA for NFIRS.
Information on identifying an employee as a member of the Personnel List - ESO FIRE - Incidents list is available in Set application list visibility in other ESO Suite modules.
-
(PM full version only) Record affiliation information.
Affiliation indicates whether the person is a volunteer or career member of the department or agency.
-
For Affiliation, click the field or the list icon to the right of the field, then select the appropriate single option from the menu that appears.
- In the date field to the right of Affiliation, click the calendar icon on the right end of the field and select the appropriate date from the calendar that appears to specify when the affiliation started.
-
-
For Work Status, click the field or the list icon to the right of the field, then select the appropriate single option from the menu that appears.
Work status indicates whether the person is a full-time or part-time, paid or unpaid member of the department or agency.
- In the date field to the right of Work Status, click the calendar icon on the right end of the field and select the appropriate date from the calendar that appears to specify when the current work status started.
-
-
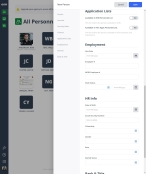
Enter human resource information for the person.
-
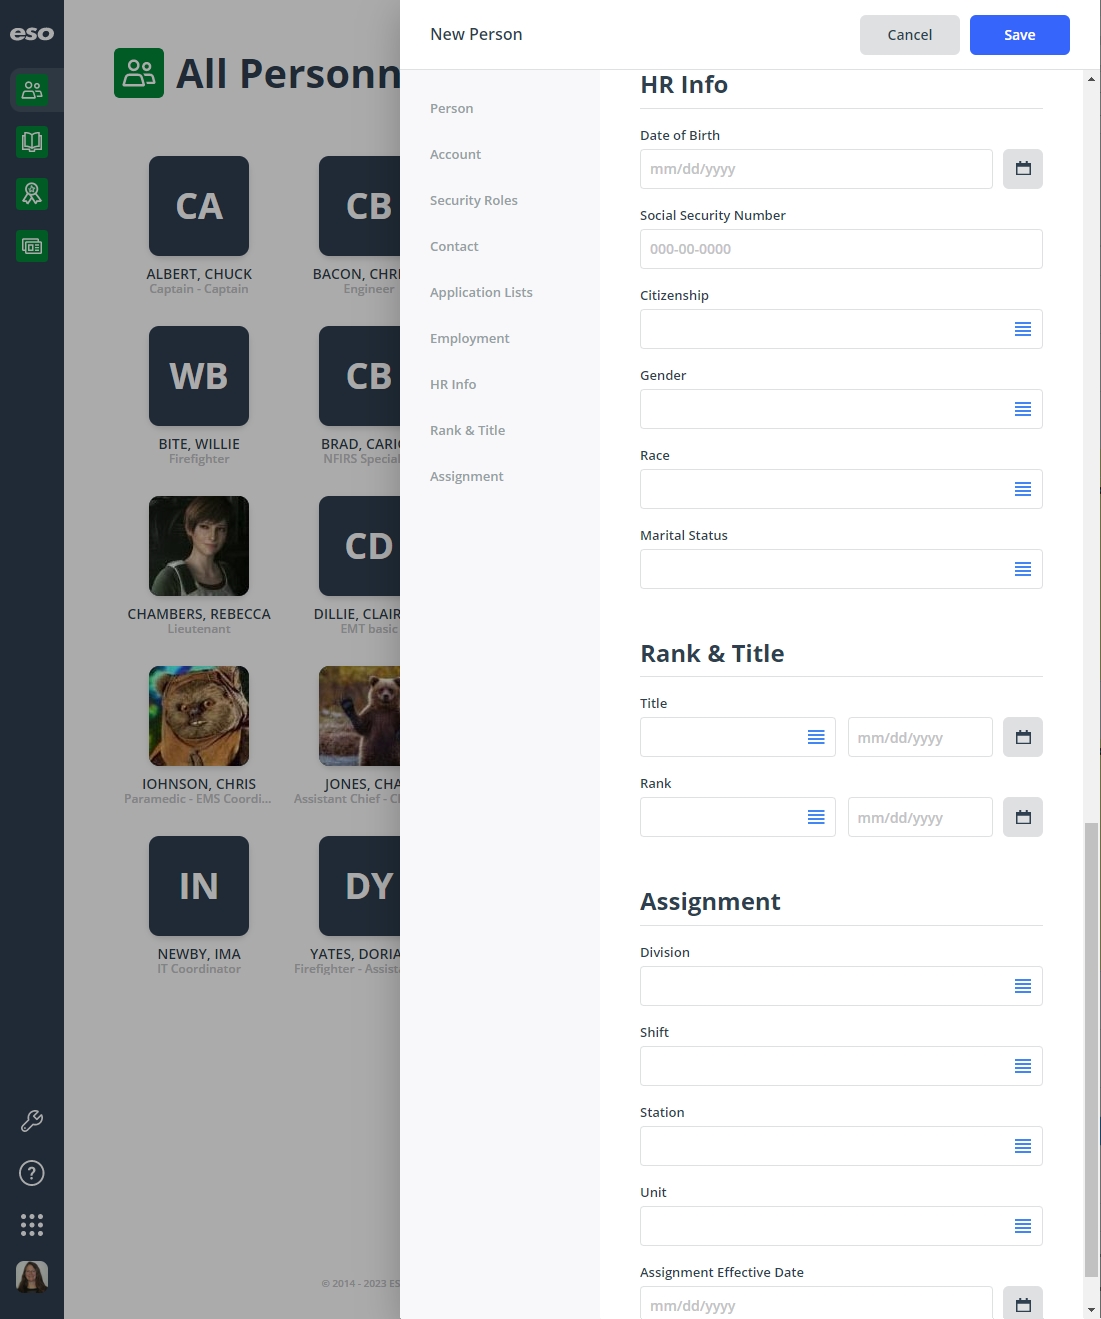
In the left pane of the dialog box, click HR Info.
The right pane scrolls down to the HR Info section of the dialog box.
PM (full version) PM Basic 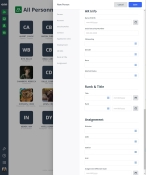

-
In Date of Birth, type the person's birth date.
The module calculates the person's current age based on their birth date.
- In Social Security Number, type the person's government-issued social security number.
-
For any of the following fields, click the field or the list icon to the right of the field, then select the appropriate single option from the menu that appears.
Field Information needed Citizenship
The name of the country the person is recognized as being a legal member of, and having legal rights, in that country by custom or law.
Gender
The identification of the person as male or female.
Race
The identification of the race of the personnel member, based on U.S. Office of Management and Budget (OMB) designations.
Marital Status
The person's state of being single, married, separated, divorced, or widowed.
-
-
Enter rank and title information for the person.
-
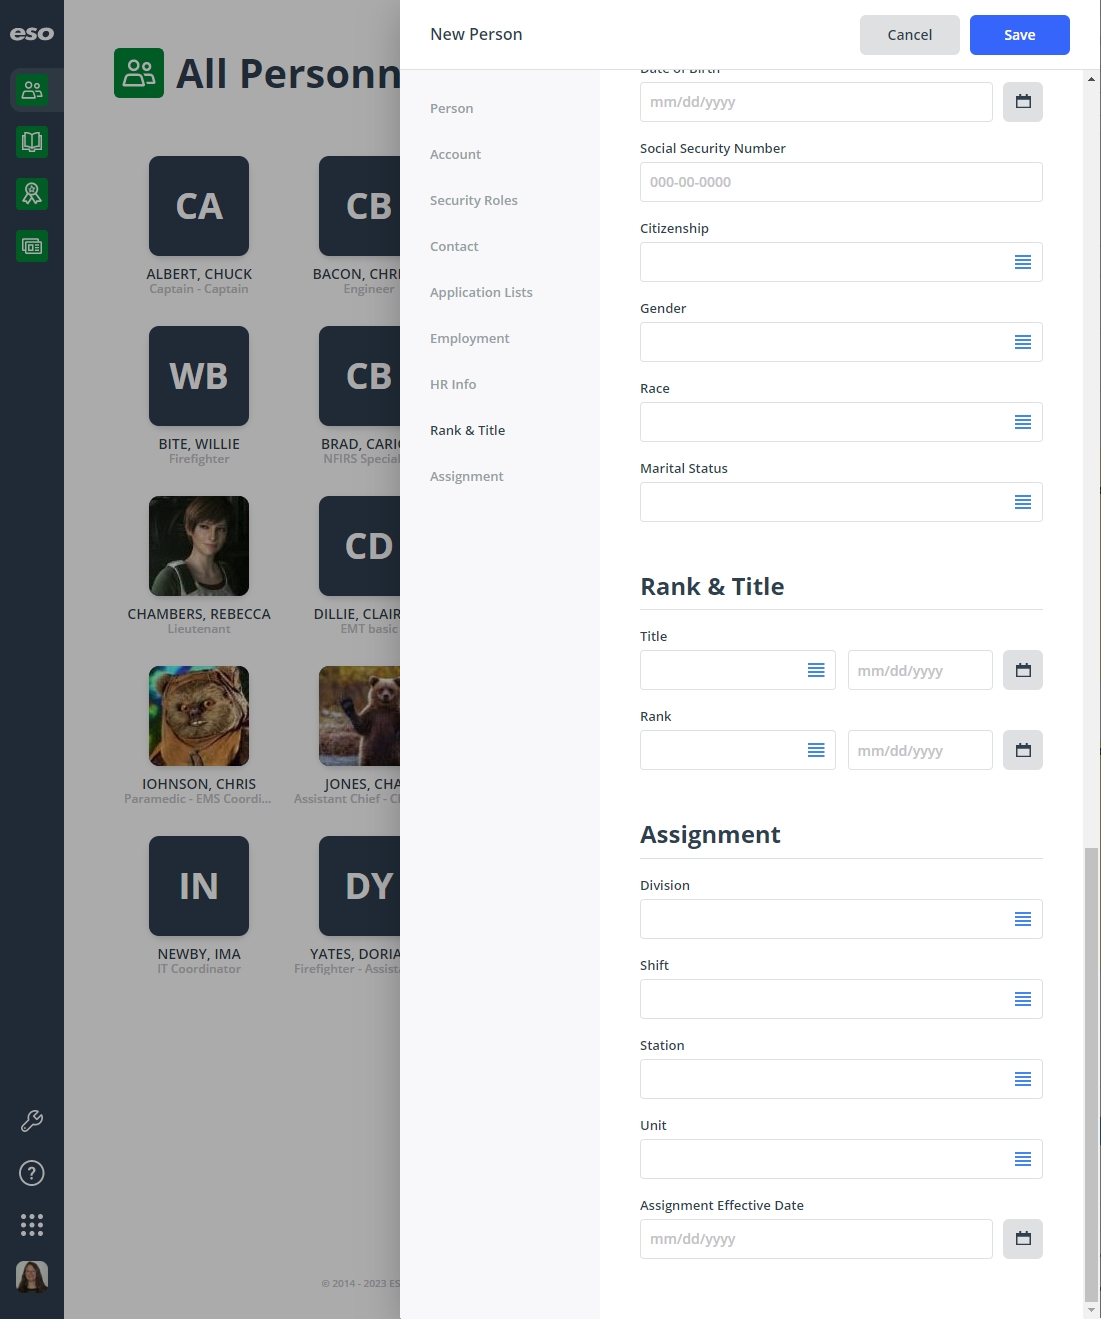
In the left pane of the dialog box, click Rank & Title.
The right pane scrolls down to the Rank & Title section of the dialog box.
PM (full version) PM Basic 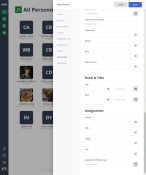

-
For any of the following fields, click the field or the list icon to the right of the field, then select the appropriate single option from the menu that appears.
Field Information needed Title
The current employment title of the person within the department or agency.
Note: Titles may be related to a rank, but do not necessarily fall within the defined organizational structure.
Example: Chief of Operations, and Administrative Coordinator.
Rank
The position or role the person fulfills for the department or agency. Common ranks are Chief, Captain, Lieutenant, Firefighter, Engineer, and Paramedic. - In the field to the right of Rank, click the calendar icon on the right end of the field and select the appropriate date from the calendar that appears, to indicate when the person was assigned that rank.
-
-
(PM full version only) Enter assignment information for the person.
-
In the left pane of the dialog box, click Assignment.
The right pane scrolls down to the Assignment section of the dialog box.

-
For the following fields, click the field or the list icon to the right of the field, then select the appropriate single option from the menu that appears.
Field Information needed Division
The organizational unit within the department or agency that the person belongs to. Common divisions are administration, training, operations, and so forth.
Battalion
Note: The Battalion field appears only if a PM administrator enables this add-on feature in the Settings pages.
Information on enabling this feature is available in Enable add-on features.
The larger fire department organizational unit the person belongs to. A battalion consists of several fire stations and multiple fire companies.
Shift
The named time span the person was working. A shift is one of two or more recurring periods in which different groups of personnel do the same jobs in relay.
Station
The name or location of the building the person was working from. A station is a place or building where a specific activity or service is based.
Unit
The apparatus or vehicle the person was assigned to.
Note: Units and apparatus are conceptually different from vehicles, particularly in the EMS industry. A unit may consist of one or more personnel, who can perform a particular level of service, and they may use one of any number of available vehicles. The concept of a unit captures both unit-identifying and equipment information.
- For Assignment Effective Date, click the calendar icon on the right end of the field and select the appropriate date from the calendar that appears.
-
-
Click Save.
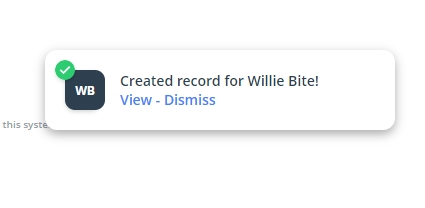
A confirmation dialog box appears near the lower right corner of the screen.

-
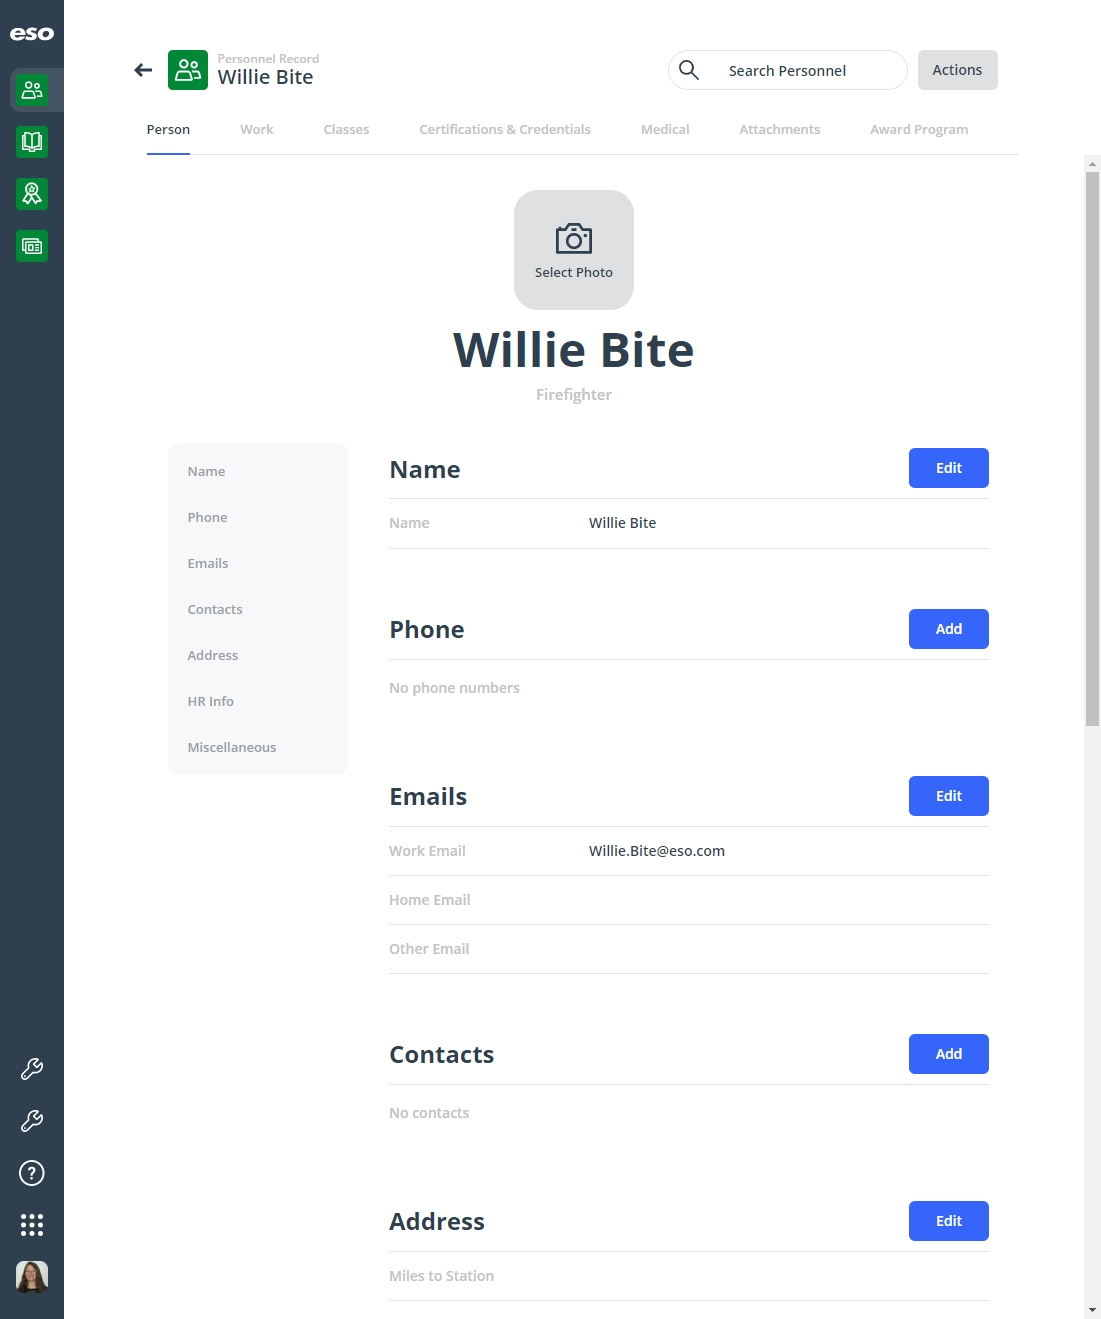
(Optional) Click View in the dialog box to open the personnel record you just created.
The personnel record opens, displaying the Person tab.
PM (full version) PM Basic