Example of data entry
By default, the first incident data screen that appears is the Scene tab, and fields for entering location and incident data appear.
Note: The demonstration copy of FH Medic on the iPad contains some pre-defined values for fields, and the steps below are based on values in the demonstration copy.
-
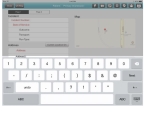
Under Incident, touch Incident Number, use the iPad keyboard that appears to enter a unique identifying number for the incident, and then touch Next on the keyboard.
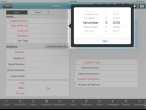
The number you specified appears in Incident Number, and for Date of Service, a menu containing a date roller appears automatically.
-
 In the date roller, specify the date of the incident.
- Touch the month column, and then move your finger up or down in the column to move the list of months up or down until the month you want appears in bold black text.
- Touch the date column, and then move your finger up or down in the column until the day of the month you want appears in bold black text.
- Touch the year column, and then move your finger up or down in the column until the year you want appears in bold black text.
-
Touch Next.
The menu closes, and the date components you selected appear in the field.
-
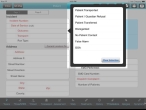
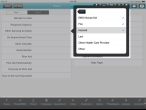
Touch Outcome, and then touch an option in the menu that appears.
Tip: If you drag your finger up or down in the menu, you can scroll up or down through the list of options available.
- For the rest of the fields under Incident, touch the field and then use the menu that appears to select the data needed.
- Under Address, touch Address, and then use the iPad keyboard that appears to enter the address and street name of the incident location.
-
Touch City.
A menu of options appears.
- Select the name of the city the incident occurred in.
- For the rest of the fields on the screen, touch the field and then use the menu that appears to select the data needed.
-
In the upper left corner of the screen, touch Page 2.
Additional fields related to the scene appear.
- For Barriers to Care and Response Urgency, touch the field and then use the menu that appears to select the data needed.
-
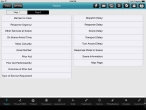
Touch Other Services at Scene, and then in the menu that appears, touch as many options as apply to the incident.
As you touch each option you want to select in the menu, a check mark appears next to the option to indicate that it is selected.
-
In the menu, touch Done.
The list of selections appears in the field, separated by commas.
- For the rest of the fields on the screen, touch the field and then use the menu that appears to select the data needed.
-
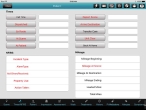
At the bottom of the user interface, touch the Times/NFIRS tab.
Fields related to times, NFIRS data, and mileage appear.
-
Under Times, touch the blank field to the right of Dispatched.
A menu containing a numeric keypad and several shortcut buttons appears on the screen. At the top of the keypad, a field displays the current date and a time.
- Touch Back a few times to erase the time entry in the field at the top of the keypad.
-
Touch numbers in the keypad to specify a new time for the incident (in the past), and then touch Enter.
The menu closes, and the date and time you entered appears in the field to the right of Dispatched.
- Repeat the previous steps to specify a date and time for the other time fields except Unit Clear.
-
Touch Unit Clear.
The current system date and time on the computer automatically appears in the field to the right of Unit Clear.
- Under NFIRS, touch each field, and then use the menu that appears to select the data needed.
-
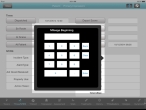
Under Mileage, touch Mileage Beginning.
A menu containing a standard numeric keypad appears.
- Touch the buttons on the keypad to enter the mileage before leaving for the incident, and then touch Enter.
- Under Mileage, specify the rest of the mileage readings needed for the incident.
- Continue with View a patient care report.

