Manually open a port for clients on Windows 7 computers
Caution: The instructions below are specific to opening a port on a Windows 7 computer. If you use a third-party firewall such as Norton™ by Symantec, consult their documentation for information on opening a port.
-
Choose Start → Control Panel.
The Control Panel window appears.
-
Choose System and Security.
The System and Security window appears.
-
Double-click Windows Firewall.
The Windows Firewall window appears.
-
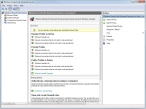
In the left navigation pane, click Advanced settings.
The Windows Firewall and Advanced Security window appears.
-
 Open a port for incoming communication.
-
In the left navigation pane, click Inbound Rules.
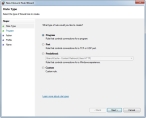
The New Inbound Rule Wizard window appears, displaying the Rule Type screen.
-
In the right pane, select Port, and then click Next >.
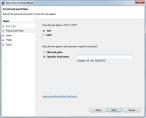
The Protocol and Parts screen appears.
- In the right pane, select TCP.
- Select Specific local ports, and then in the field, type
12840. -
Click Next >.
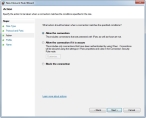
The Action screen appears.
-
Select Allow the connection, and then click Next >.
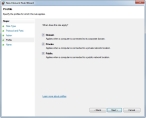
The Profile screen appears.
-
Select Domain, Private, and Public, and then click Next >.
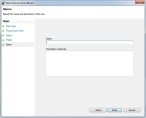
The Name screen appears.
-
In Name, type the name you want to associate with the port.
Example:
FHMRport - In Description, type more detailed information about the use of the port.
-
Click Finish.
The Windows Firewall and Advanced Security window reappears.
-
-
 Open the same port for outgoing communication.
-
In the left navigation pane, click Outbound Rules.
The New Outbound Rule Wizard window appears, displaying the Rule Type screen.
- Under step 5 above, repeat steps b–j.
-


