Install the FH Medic Integration Suite
-
Navigate to the location on the networked computer where you saved the FH Medic Integration Suite installation file you downloaded, and double-click it.
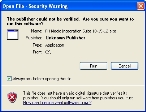
The Open File - Security Warning dialog box appears.
-
Click Run.
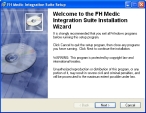
The Welcome screen of the FH Medic Integration Suite installation wizard appears.
-
Read the information on the screen, and then click Next >.
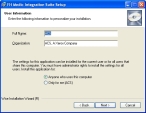
The User Information screen of the wizard appears.
- In Full Name and Organization, enter information appropriate for your department.
-
Select one of the following to indicate who can use the FH Medic Integration Suite on this computer:
Choose this option To allow this FH Medic use Anyone who uses this computer
All users that access this computer.
Only for me
Only by the user currently logged in to the workstation.
Warning: No one else will be able to use FH Medic Integration Suite except the person with the current Windows login.
-
Click Next >.
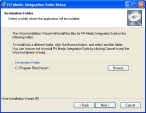
The Destination Folder screen of the wizard appears.
- Under Destination Folder, review the default path for the installation of the FH Medic Integration Suite.
- (Optional) Click Browse and then use the file browser that appears to change the default path.
-
Click Next >.
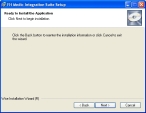
The Ready to Install the Application screen of the wizard appears.
-
Click Next >.
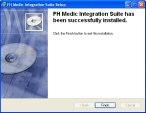
The Updating System screen of the wizard appears as the FH Medic Integration Suite installs. When the installation finishes, the final screen of the installation wizard appears.
- Click Finish.
- Continue with Configure the FH Medic Integration Suite.
