Install FH CAD Monitor
You must install FH CAD Monitor for each CAD system that you are working with.
Note: If you are using Spillman as your CAD system, and if you have Summit or Force, you also have XML Query Server on your system. Before installing general
-
Log on to the computer as a Windows administrator.
-
 (Windows 64-bit computers, if Citrix or Terminal Services are installed) Place the computer in installation mode.
-
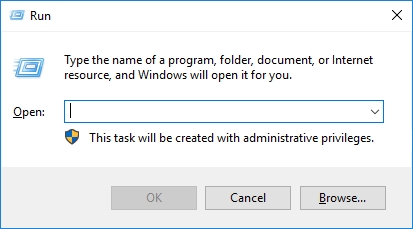
Choose Start → Run.
The Run dialog box appears.
-
In Open, type
cmd.A Windows system dialog box appears with a command prompt.
-
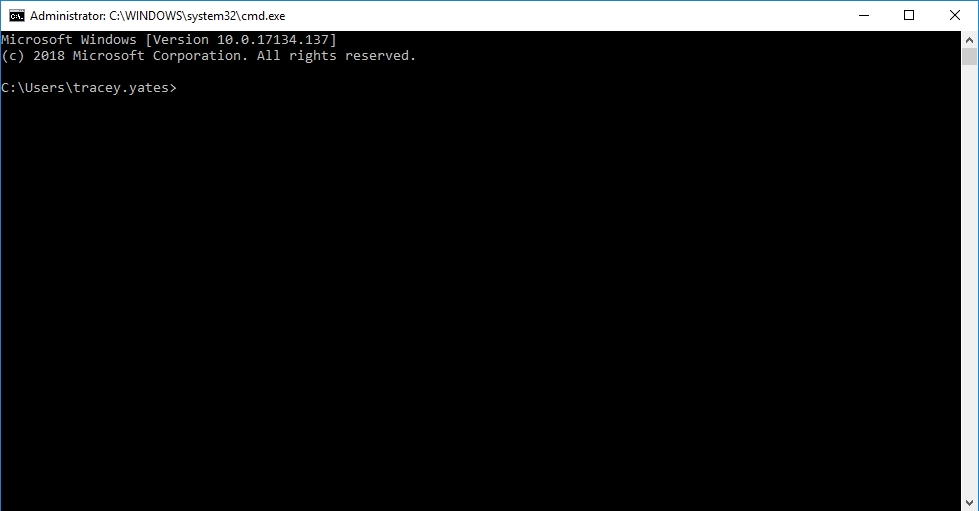
At the prompt, type
change user /install.A message appears, confirming that the server is now set to installation mode.
- Close the Windows system dialog box.
-
- In Windows Explorer, navigate to either the location where you downloaded FH CAD Monitor to.
-
Double-click the
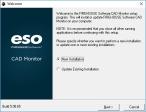
FHCAD_Setup.exefile.The installation wizard for FH CAD Monitor appears, displaying the Welcome screen.
-
Select New Installation, then click Next >.
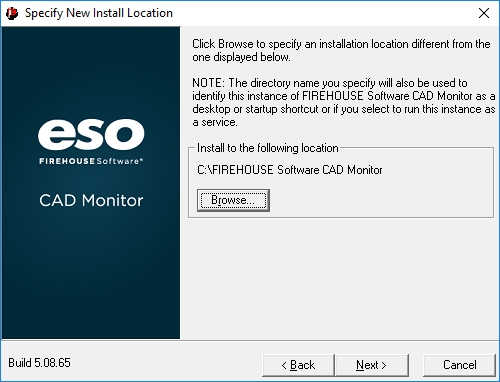
The Specify New Install Location screen of the wizard appears.

-
(Optional) In Install to the following location, click Browse and use the file browser that appears to navigate to the directory you want to install FH CAD Monitor in.
Note:
-
For 64-bit computers, install FH CAD Monitor to the root of the C: drive.
Example:
C:\FIREHOUSE Software CAD Monitor - If you are installing multiple instances of FH CAD Monitor because you are working with more than one CAD system, you need to repeat the installation for each system, and you must be licensed for each installation of FH CAD Monitor.
- Use a unique, descriptive folder name to distinguish between the FH CAD Monitor installation for each CAD system.
-
-
Click Next >.
FH CAD Monitor installs, and then the Configure Installation Location screen of the installation wizard appears.

-
Click Next >.
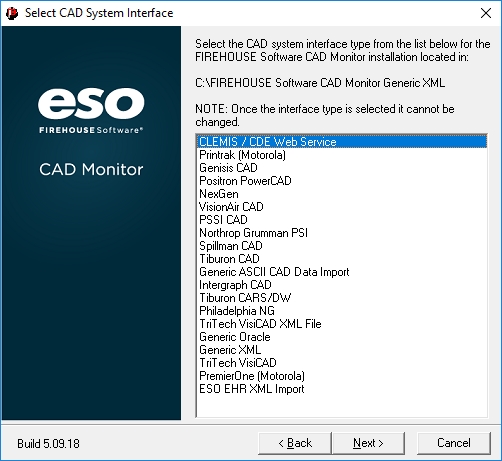
The Select CAD System Interface screen of the installation wizard appears.

-
Select the CAD system you will be importing data from.
Note: If your CAD system developed a generic ASCII or XML export, or if you plan to have your CAD system output a generic ASCII or XML export file, select either Generic ASCII CAD Data Import, ESO EHR XML Import, or Generic XML as necessary.
-
Click Next >.
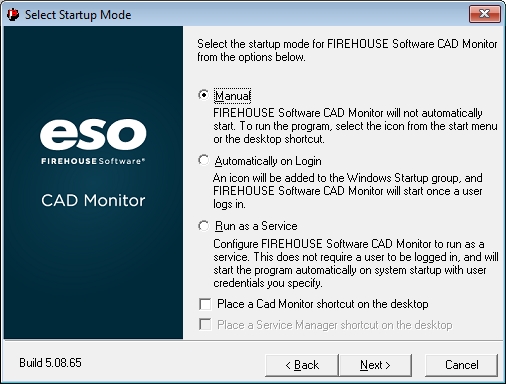
The Select Startup Mode screen of the installation wizard appears.

-
Select the startup mode you want to use for FH CAD Monitor.
If you choose Manual, FH CAD Monitor does not run unless you manually launch it. If you choose Automatically on Login, FH CAD Monitor runs whenever a user launches Windows.
If you choose Run as a Service, FH CAD Monitor runs as a Windows service in the background whenever the computer is on. The installation process also automatically installs the FH CAD Monitor Service Manager.
Note: The FH CAD Monitor service name is the name as the folder you installed FH CAD Monitor in.
Example:
FIREHOUSE Software CAD Monitor Printrack - Select or clear Place a Cad Monitor shortcut on the desktop to indicate whether you want to add a shortcut to the FH CAD Monitor application to the computer's desktop.
- (If you selected Run as a Service) Select or clear Place a Service Manager shortcut on the desktop to add a shortcut to the FH CAD Monitor to the computer's desktop.
-
Click Next >.
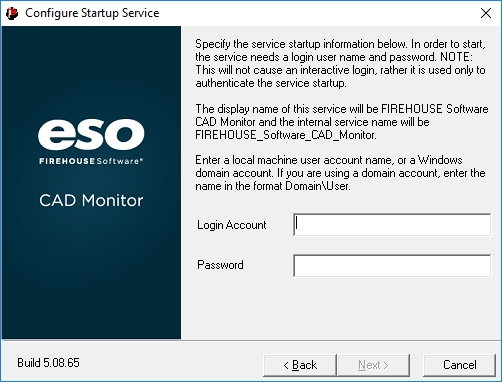
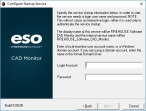
If you selected Run as a Service, the Configure Startup Service screen of the installation wizard appears.
If you did not select Run as a Service, depending on the CAD system type you selected, the Configure ODBC Driver dialog box may appear instead.
-
(If the Configure Startup Service screen appears) In Login Account and Password, type the login credentials (a domain name and user name, or a computer name, and the corresponding password), and then click Next >.
Note: The account you specify must have local administrator rights, and/or rights to create and run a Windows service. A domain administrator account does not always have enough rights.
Depending on the CAD system type you selected, the Configure ODBC Driver dialog box may appear next.
-
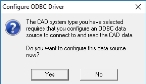
(If the Configure ODBC Driver dialog box appears) Create and configure the ODBC data source.
-
Depending on whether the computer you are installing on has a 32-bit or 64-bit operating system, do one of the following.
64-bit
-
Click No.
You need to create and configure the ODBC data source for the CAD system's database after finishing the rest of the FH CAD Monitor installation process.
Information on creating and configuring the data source is available in Create an ODBC data source on 64-bit computers.
- Skip the sub-steps below and go on to step 18.
32-bit
-
Choose Yes.
The Create a New Data Source to SQL Server dialog box appears.

- Continue with the sub-steps below.
Tip: If you are unsure as to whether you are using 32-bit or 64-bit operating system, information on determining this for a number of operating systems is available in Am I Running a 32-bit or 64-bit Version of Windows?, at http://pcsupport.about.com/od/fixtheproblem/f/32-bit-64-bit-windows.htm.
-
-
In Name and Description, type a name and a description for the ODBC data source you are creating for FIREHOUSE Software.
Example:
Printrack (Motorola) ODBC data source -
From Server, select the name of the SQL server your FIREHOUSE Software database exists on.
Caution: Include the full name of the SQL instance where the FIREHOUSE Software database exists.
Example:
SERVER1\SQLEXPRESS -
Click Next >.
The next screen of the Create a New Data Source to SQL Server wizard appears.

-
Define which SQL Server login credentials to use in one of the following ways.
The current or active Windows user account
-
Select With Windows NT authentication using the network login ID.
Note: This option is only available for Windows networks, and the logged-in user must have an SQL security login added for their Windows login.
Example:
advsetup@sqlserv
Unique SQL Server login credentials
- Select With SQL Server authentication using a login ID and password entered by the user.
- Select or clear Connect to SQL Server to obtain default settings for the additional configuration options to indicate whether or not to use default settings from SQL Server.
- (If you selected Connect to SQL Server to obtain default settings for the additional configuration options) In Login ID and Password, enter the user name and password for SQL Server.
Warning: Do not click Client Configuration and change the connection parameters between FH CAD Monitor and the SQL server your FIREHOUSE Software database is on.
-
-
Click Next >.
The next screen of the Create a New Data Source to SQL Server wizard appears.

-
Select Change the default database to, and then choose the name of the FIREHOUSE Software database the ODBC data source you are creating will work with.
Warning: Do not change any of the other settings on this screen of the wizard.
-
Click Next >.
The next screen of the Create a New Data Source to SQL Server wizard appears.

Warning: Do not change any settings on this screen of the wizard.
-
Click Finish.
The ODBC data source is created, and the ODBC Microsoft SQL Server Setup dialog box appears.

-
Click Test Data Source.
The SQL Server ODBC Data Source Test dialog box appears.

- Click OK.
- In the ODBC Microsoft SQL Server Setup dialog box, click OK.
-
-
Click Next >.
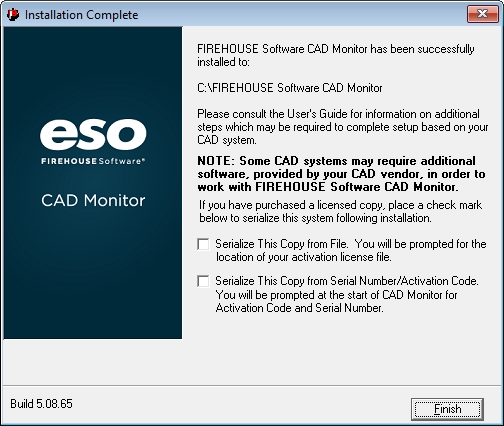
The Installation Complete screen of the dialog box appears.

-
(If you purchased the copy of FH CAD Monitor you installed) Depending on whether you received a serial number and an activation code, or a license file when you purchased FH CAD Monitor, select either Serialize This Copy from File, or Serialize This Copy from Serial Number/Activation Code.
Note: If you are installing a free demonstration copy of FH CAD Monitor, do not select either field.
-
Click Finish.
Depending on your selection, different dialog boxes appear. Depending on what you chose, do the instructions for it below.
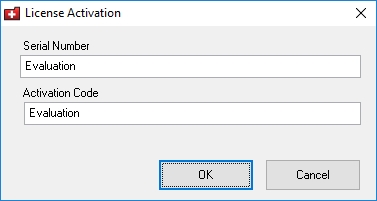
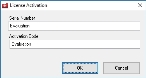
Serialize This Copy from Serial Number/Activation Code
The License Activation dialog box appears.
Note: The serial number and activation code you need to enter in this dialog box was sent to you when you purchased FH CAD Monitor. If you are installing a free demonstration copy of FH CAD Monitor, skip the first step below.
- In Serial Number and Activation Code, type the serial number and activation code you were given with your purchase of FH CAD Monitor.
-
Click OK.
A confirmation dialog box appears.
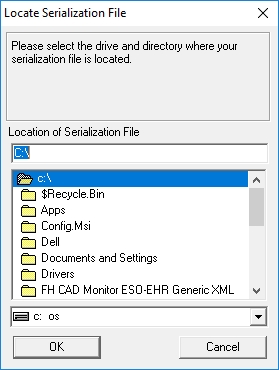
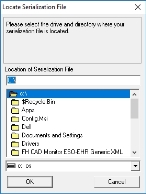
Serialize This Copy from File
A file browser named Locate Serialization File appears.
-
Use the file browser to locate the
FHCADserial.licfile.This file is usually provided by FH support, or when with your purchase of FH CAD Monitor.
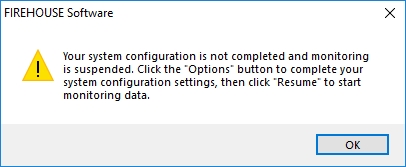
An informational message appears indicating that the system configuration is not completed yet and that monitoring of the CAD data is suspended.
Note: This is normal at this point in the installation and configuration process.
-
Click OK.
The FIREHOUSE Software CAD Monitor application window appears.

If you selected Run as a Service for the startup mode during the installation process, a dialog box prompting you to restart your computer appears.
- (If the reboot prompt appears) Click OK and let the computer reboot.
-
(Windows 64-bit computers, if Citrix or Terminal Services are installed) Return the computer to application mode.
-
Choose Start → Run.
The Run dialog box appears.
-
In Open, type
cmd.A Windows system dialog box appears with a command prompt.
-
At the prompt, type
change user /execute.A message appears, confirming that the server is now set to user mode.
- Close the Windows system dialog box.
-
-
(Tiburon CARS/DW CAD system) Run required scripts.
The FH CAD Monitor installation creates the
FIREHOUSE Software CAD Monitor/DB_Scriptsdirectory, which contains two SQL scripts. You need to run these scripts on the SQL Server before FH CAD Monitor can process data from Tiburon CARS/DW.- Run each of these scripts as you normally would.
- (If the Configure ODBC Driver dialog box appeared during installation and you clicked No) Continue with Create an ODBC data source on 64-bit computers.
-
Depending on whether or not you installed FH CAD Monitor as a service, do one of the following.
Installed as a service? Do this No - Continue with Configure FH CAD Monitor.
Yes - Continue with Specify the service password.