Add users and assign inventory roles
You can add and remove your agency personnel to and from the Inventory module, and you can assign them a role within the module that defines what they can and cannot do in it.
Note: Agency personnel must have ESO Suite logins and the Inventory User role assigned to their logins in the Admin module, to appear in the Inventory module as potential users.
 If you have not done so already) Access the Inventory module in the ESO Suite.
 Do one of the following.
(If you are already working in the ESO Suite) Click the Home icon in the upper left corner of the screen.
- (If you have not yet logged in) Log in to the ESO Suite.
In a web browser, go to https://www.esosuite.net/EsoSuite.
The ESO Suite login screen appears.
Enter your user name, password, and agency name, then click Let's Go.
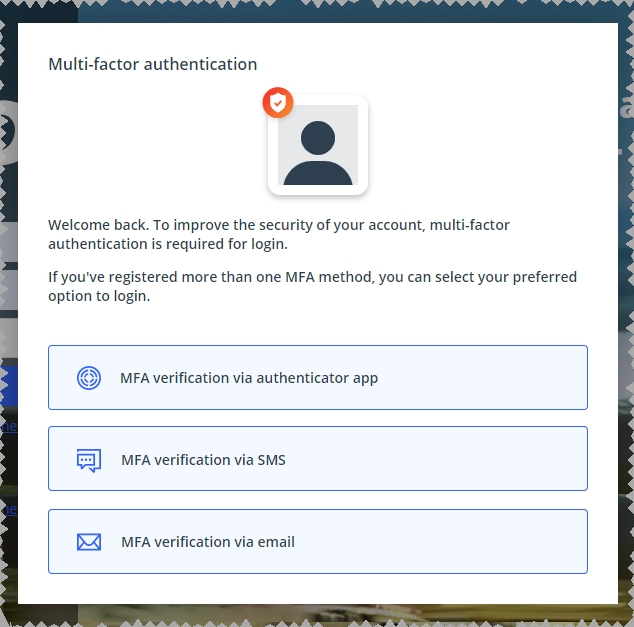
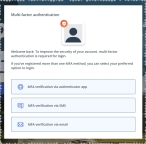
If MFA is enabled, the Multi-factor authentication dialog box appears, displaying one or more methods you can use to verify your login credentials. The number of methods that appear in the dialog box depends on what MFA methods your ESO Suite administrators enabled in the Admin module.
Click graphics
to open them.Information on enabling MFA and specific MFA methods is available in the Admin module online help, in Configure multiple-factor authentication.
Note: If your ESO Suite administrators have disabled MFA ("opted-out"), this dialog does not appear.
(If the Multi-factor authentication dialog box appears) Depending on which buttons appear in the dialog box, verify your login in one of the following ways.
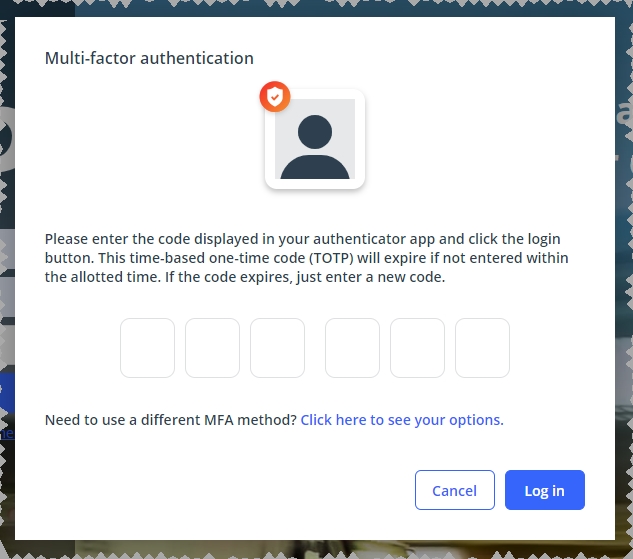
With an authenticator application. Click MFA verification via authenticator app.
The dialog box updates with boxes for entering the numbers of the authentication code, and the ESO Suite sends an authentication code to the authenticator application installed on your device.
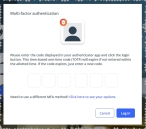
Open your authenticator application and note the authentication code currently displayed.
Enter the authentication code displayed in the authenticator application.
Click Log In.
With a text message (SMS). Click MFA verification via SMS.
The dialog box updates with boxes for entering the numbers of the authentication code, and the ESO Suite sends an authentication code to the phone number recorded in your PM records and identified with MFA codes.
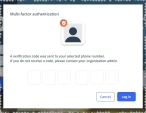
Enter the authentication code sent to your MFA-registered phone number.
Click Log In.
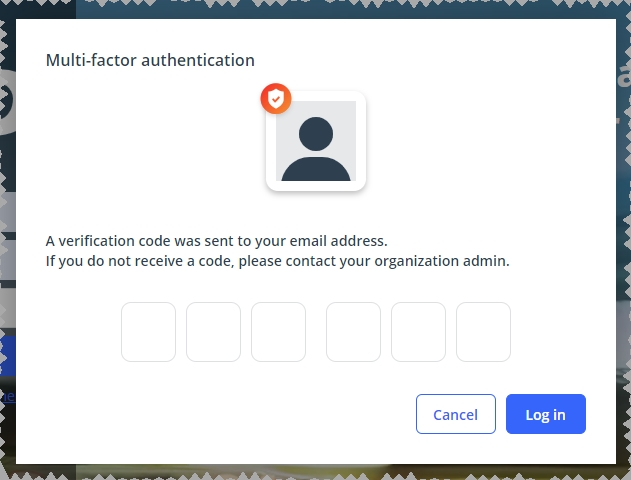
With an email message.Click MFA verification via email.
The dialog box updates with boxes for entering the numbers of the authentication code, and the ESO Suite sends an authentication code to your agency or department email address, recorded in your PM records.
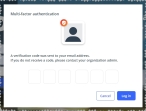
Enter the authentication code sent to your agency or department email address.
Click Log In.
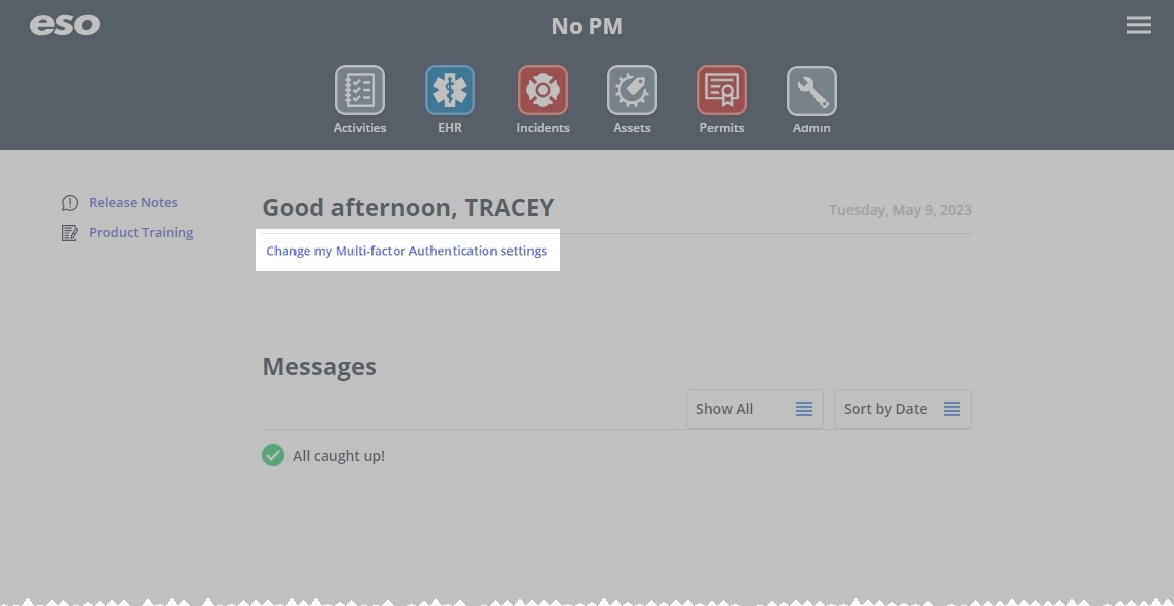
The ESO Suite landing screen appears.
Click graphics
to open them.Note: If MFA is enabled, you can access and manage your MFA options through the PM module, on the Settings > Account page, as described in Manage a user account. If your agency or department has enabled MFA but has not purchased the full-featured version of the PM module, you can access your own MFA settings by clicking Change my Multi-Factor Authentication settings on the landing screen, then using the Settings > Account page that appears. If your agency has not enabled MFA, the Change my Multi-Factor Authentication settings link does not appear on the landing screen.
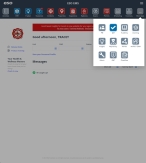
On the top side of the home screen, click Inventory.
 Tip: (On a narrow screen or browser window) Display more module icons.
 If your screen or browser window is too narrow to display all your agency's ESO Suite module icons, the More Apps icon appears on the right side of the icon bar. If you click this icon, a menu appears containing additional module icons.
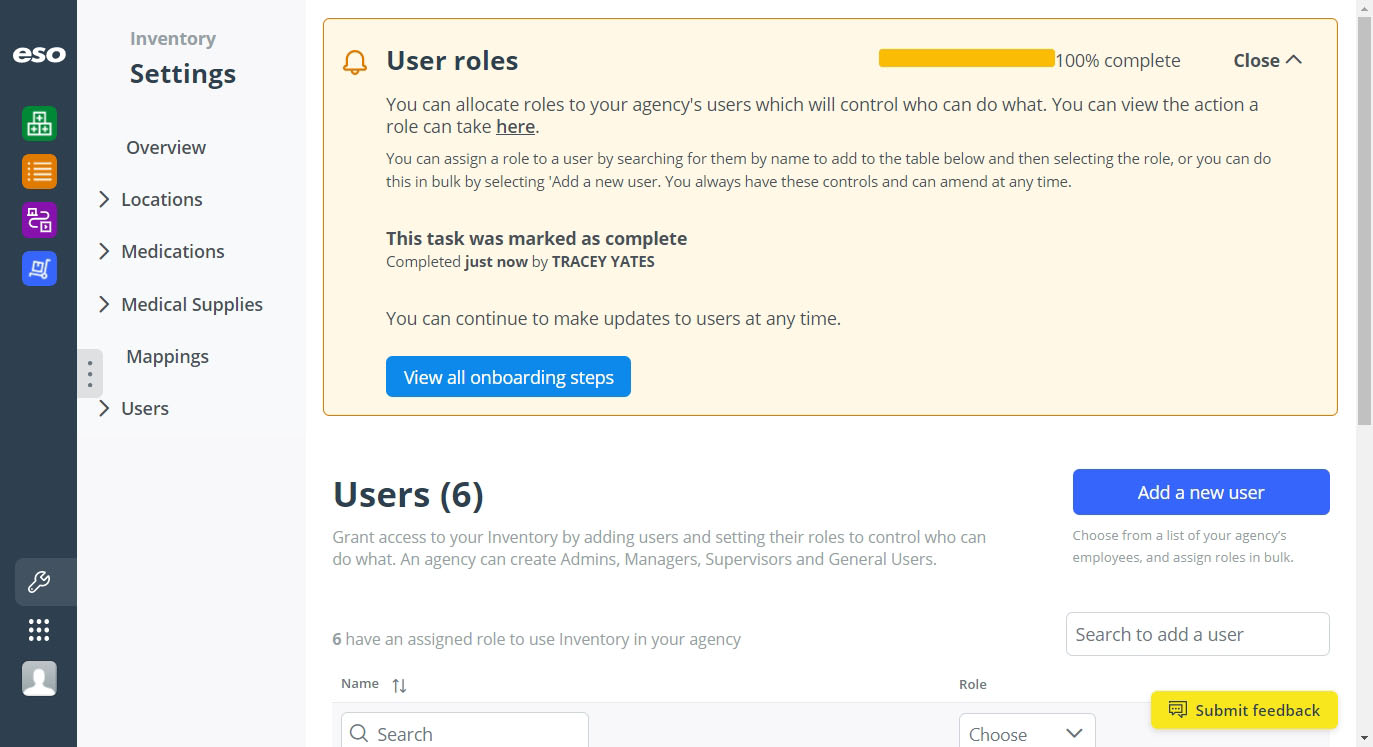
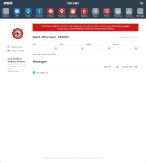
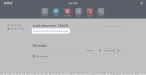
The Inventory module opens, displaying the Action now page and the Welcome to Inventory! message.

Click graphics
to open them.In Step 6: Allocating user roles (optional), click Assign roles.
The Inventory module takes you to the Settings pages, and Users page appears on the right. This page lists all the ESO Suite users who currently have access to the Inventory module, and what role is assigned to each user.

Depending on how many users you want to add to the Inventory module at once, do one of the following.
Add a single user.On the right side of the page, in the Search to add a user field, begin typing the sequence of characters in the name of the ESO Suite user you want to add.
A menu of names that match that character sequence appears as you type.

To the right of the name of the user you want to add, click Add.
Add one or more users.On the right side of the page, click Add a new user.
The Add an agency employee as an inventory user dialog box appears, populated by ESO Suite users who have the
Inventory Userrole assigned to their logins, and who have not yet been added as users to the Inventory module.
Select the check box for each user you want to add to the Inventory module.
Click Add number users.
The selected users appear in the list on the Users page, and are automatically assigned the Inventory module's
Usersrole.
(If necessary, to remove a user from the Inventory module) On the right side of the user's listing, click Remove access.
The user is instantly removed from list and can no longer perform actions in the Inventory module. The user still exists in the Admin module, however, and you can add them back to the Inventory module again if needed.
For each user on the Users page, in the Role column, click the menu field and choose a role for the user.
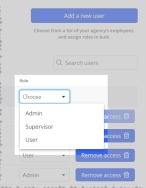
Tip: To view a detailed listing of what each role can perform in the Inventory module, in the left pane, expand Users, then click Roles. The Roles and permissions page appears and displays a table of capabilities for each role.

Depending on which role you select for a user, specific pages and buttons on pages appear or do not appear for that user in the Inventory module.
- Mark the task as completed, and return to the Action Now page.
Return to the top of the Users page, and in the User roles section, under Please tell us when you have finished, select each of the check boxes that apply.
As you select each one, the completion bar in the upper right corner of the section updates to reflect your progress. When you have selected all the check boxes, the I am finished button appears below the check boxes.
Click I am finished.
The section updates to confirm that the task is marked as completed, and by whom.

Click View all onboarding steps.
The Action now page reappears, with the message Inventory onboarding is complete. in the section at the top of the page.

Tip: If you want to review the completed onboarding tasks, on the right side of the section, click Open. The section expands, listing all the onboarding steps. To view the details of an individual step, on the right side of the step, click Open. That step expands, listing the text and buttons specific to that step,