Arrange and resize widgets on a dashboard
The most important widgets on a dashboard should appear at the top of the dashboard, and can be arranged in columns or rows to maximize information delivery to anyone scanning the dashboard. When you add a new widget, it appears at the bottom of the dashboard.
Information on adding a widget is available in Add a widget to a dashboard.
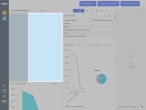
By default, a dashboard has a single column; however, you can add up to four columns to a dashboard. Each column can contain multiple widgets, thought a widget cannot span more than one column. You can use intuitive drag-and-drop to move widgets from one column to another, place widgets side-by-side in a column, and move widgets above and below each other. You can also change the vertical height of a widget, or the width an entire column in the dashboard. If two widgets are side-by-side in the same column, you can change with width of either of the widgets.
Note: You must have a designer role assigned to you in the ESO Insights module to change the dashboard layout.
Information on role assignments is available in Assign user roles in the ESO Insights module.
-
 (If you have not done so already) Access the ESO Insights module in the ESO Suite.
-
Do one of the following.
-
(If you are already working in the ESO Suite) Click the Home icon in the upper left corner of the screen.
-
(If you have not yet logged in) Log in to the ESO Suite.
-
In a web browser, go to https://www.esosuite.net/EsoSuite.
The ESO Suite login screen appears.
-
Enter your user name, password, and agency name, then click Let's Go.
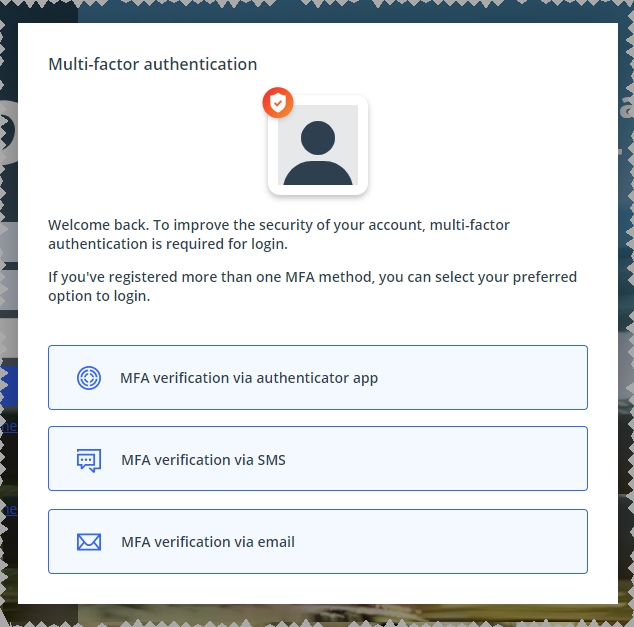
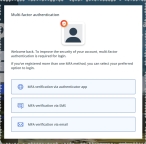
If MFA is enabled, the Multi-factor authentication dialog box appears, displaying one or more methods you can use to verify your login credentials. The number of methods that appear in the dialog box depends on what MFA methods your ESO Suite administrators enabled in the Admin module.
Click graphics
to open them.Information on enabling MFA and specific MFA methods is available in the Admin module online help, in Configure multiple-factor authentication.
Note: If your ESO Suite administrators have disabled MFA ("opted-out"), this dialog does not appear.
-
(If the Multi-factor authentication dialog box appears) Depending on which buttons appear in the dialog box, verify your login in one of the following ways.
With an authenticator application.
-
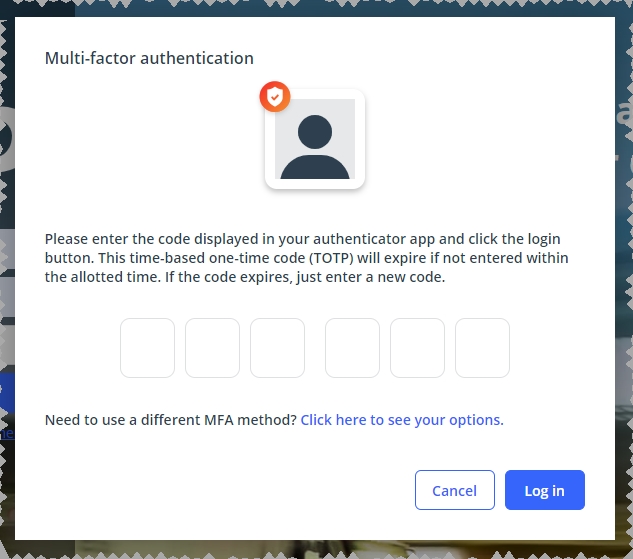
Click MFA verification via authenticator app.
The dialog box updates with boxes for entering the numbers of the authentication code, and the ESO Suite sends an authentication code to the authenticator application installed on your device.

-
Open your authenticator application and note the authentication code currently displayed.
-
Enter the authentication code displayed in the authenticator application.
-
Click Log In.
With a text message (SMS).
-
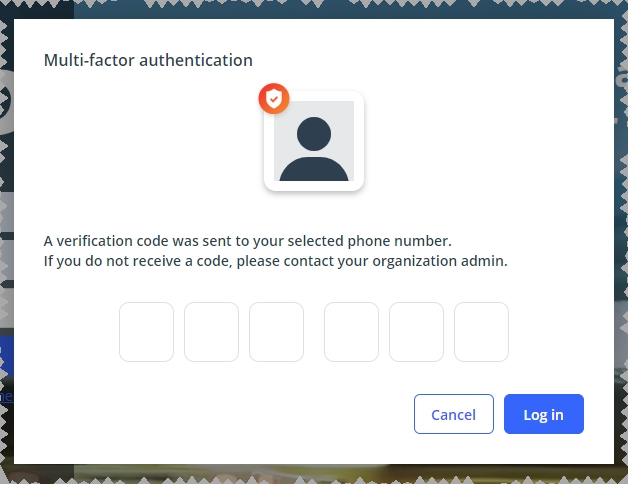
Click MFA verification via SMS.
The dialog box updates with boxes for entering the numbers of the authentication code, and the ESO Suite sends an authentication code to the phone number recorded in your PM records and identified with MFA codes.

-
Enter the authentication code sent to your MFA-registered phone number.
-
Click Log In.
With an email message.
-
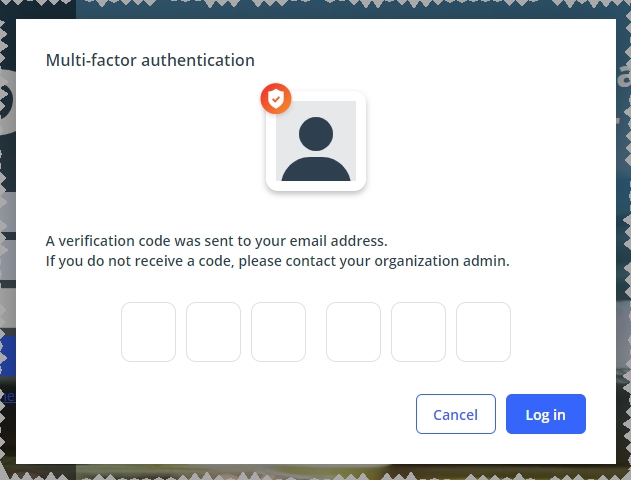
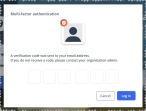
Click MFA verification via email.
The dialog box updates with boxes for entering the numbers of the authentication code, and the ESO Suite sends an authentication code to your agency or department email address, recorded in your PM records.
-
Enter the authentication code sent to your agency or department email address.
-
Click Log In.
-
-
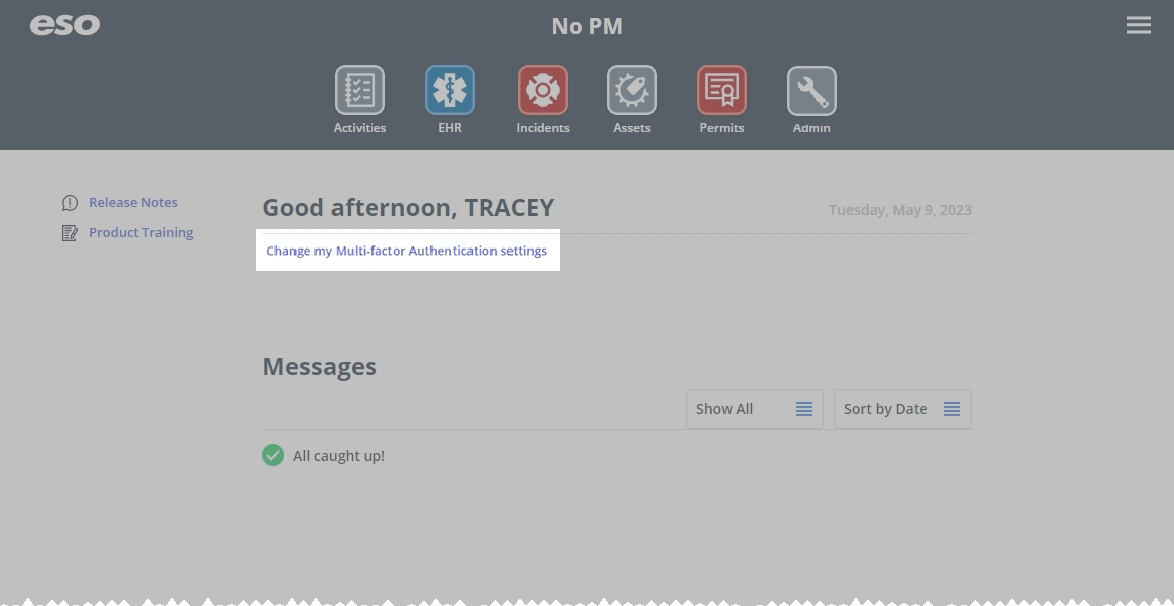
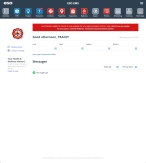
The ESO Suite landing screen appears.
Click graphics
to open them.Note: If MFA is enabled, you can access and manage your MFA options through the PM module, on the Settings > Account page, as described in Manage a user account. If your agency or department has enabled MFA but has not purchased the full-featured version of the PM module, you can access your own MFA settings by clicking Change my Multi-Factor Authentication settings on the landing screen, then using the Settings > Account page that appears. If your agency has not enabled MFA, the Change my Multi-Factor Authentication settings link does not appear on the landing screen.
-
-
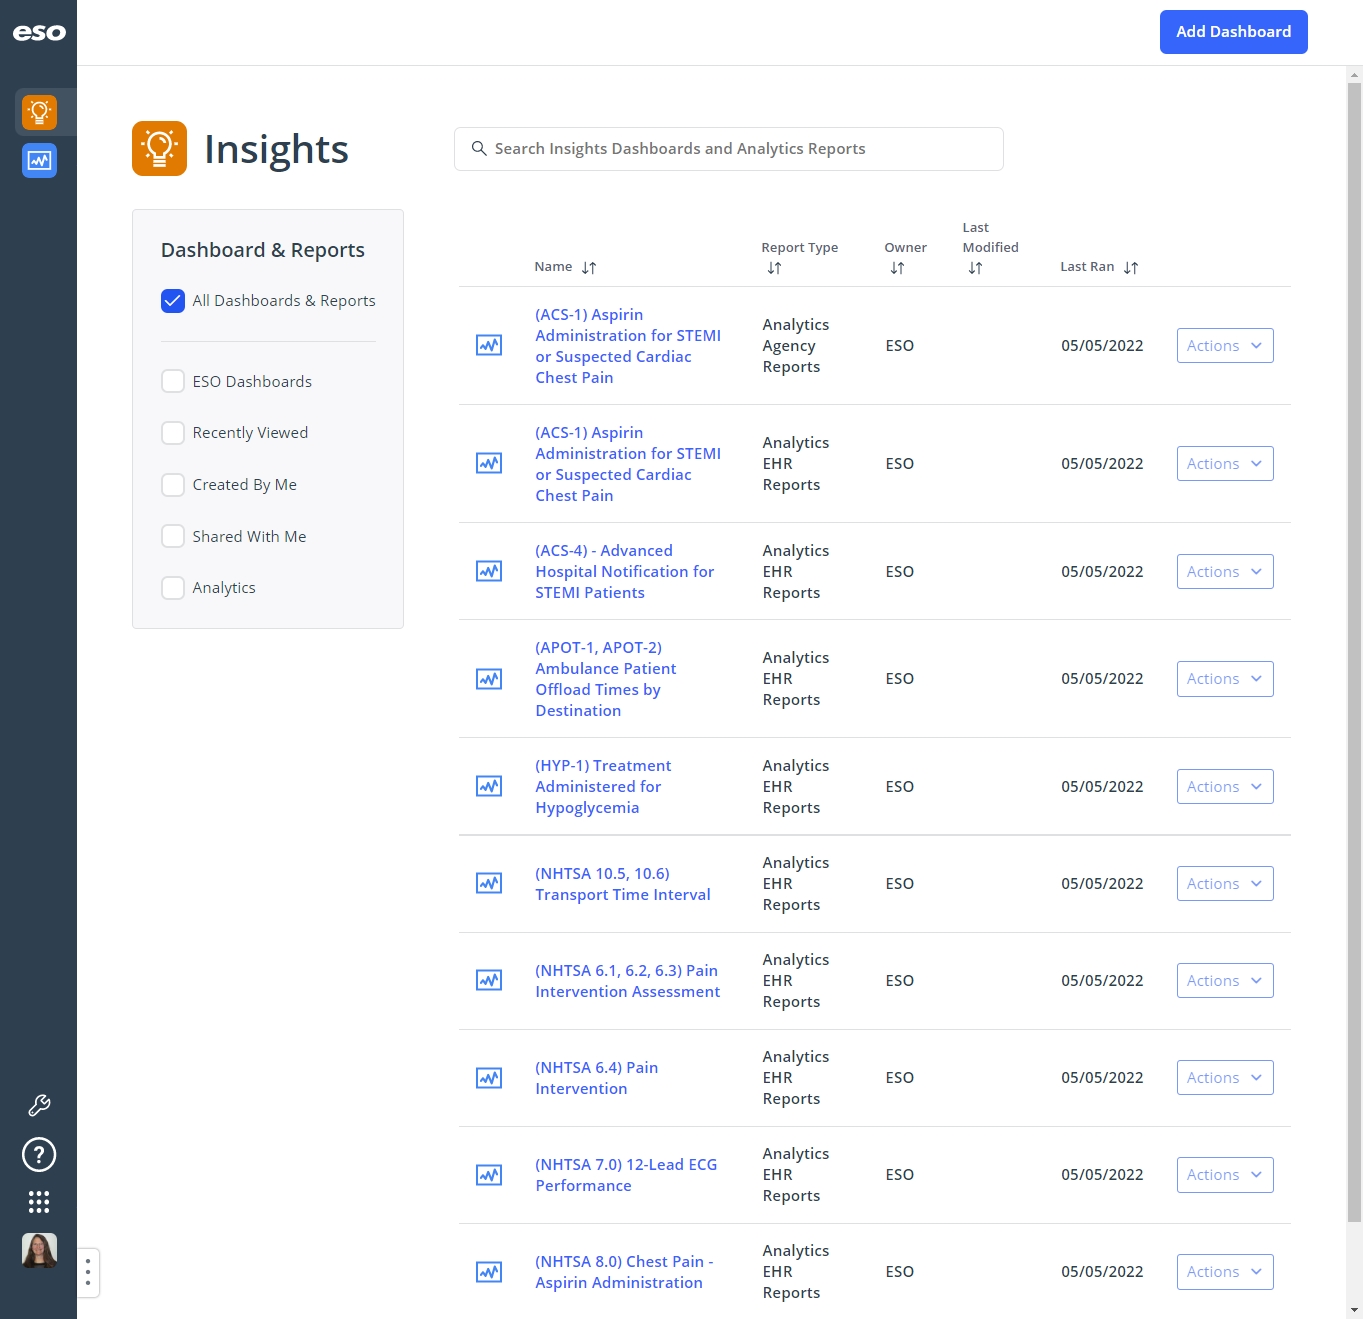
On the top side of the home screen, click Insights.
Tip: If your screen or browser window is too narrow to display all your agency's ESO Suite module icons, an options icon appears on the right side of the icon bar. If you click the options icon, a menu appears containing additional module icons.
-
A list of all the dashboards in the ESO Insights module appears.

The capabilities you have in the ESO Insights module depends on what roles and permissions your ESO Suite administrator assigned to your user account. It also depends on what roles your ESO Insights manager assigned to your user account within the ESO Insights module.
Information on user accounts, roles, and permissions is available in Manage a user account. Information on roles assigned with the ESO Insights module is available in Assign user roles in the ESO Insights module.
-
-
Click the name of the dashboard you want to work with.
Tip: If the list of dashboards is long, you locate the dashboard you want more easily, as described in Find and open an existing dashboard or report.
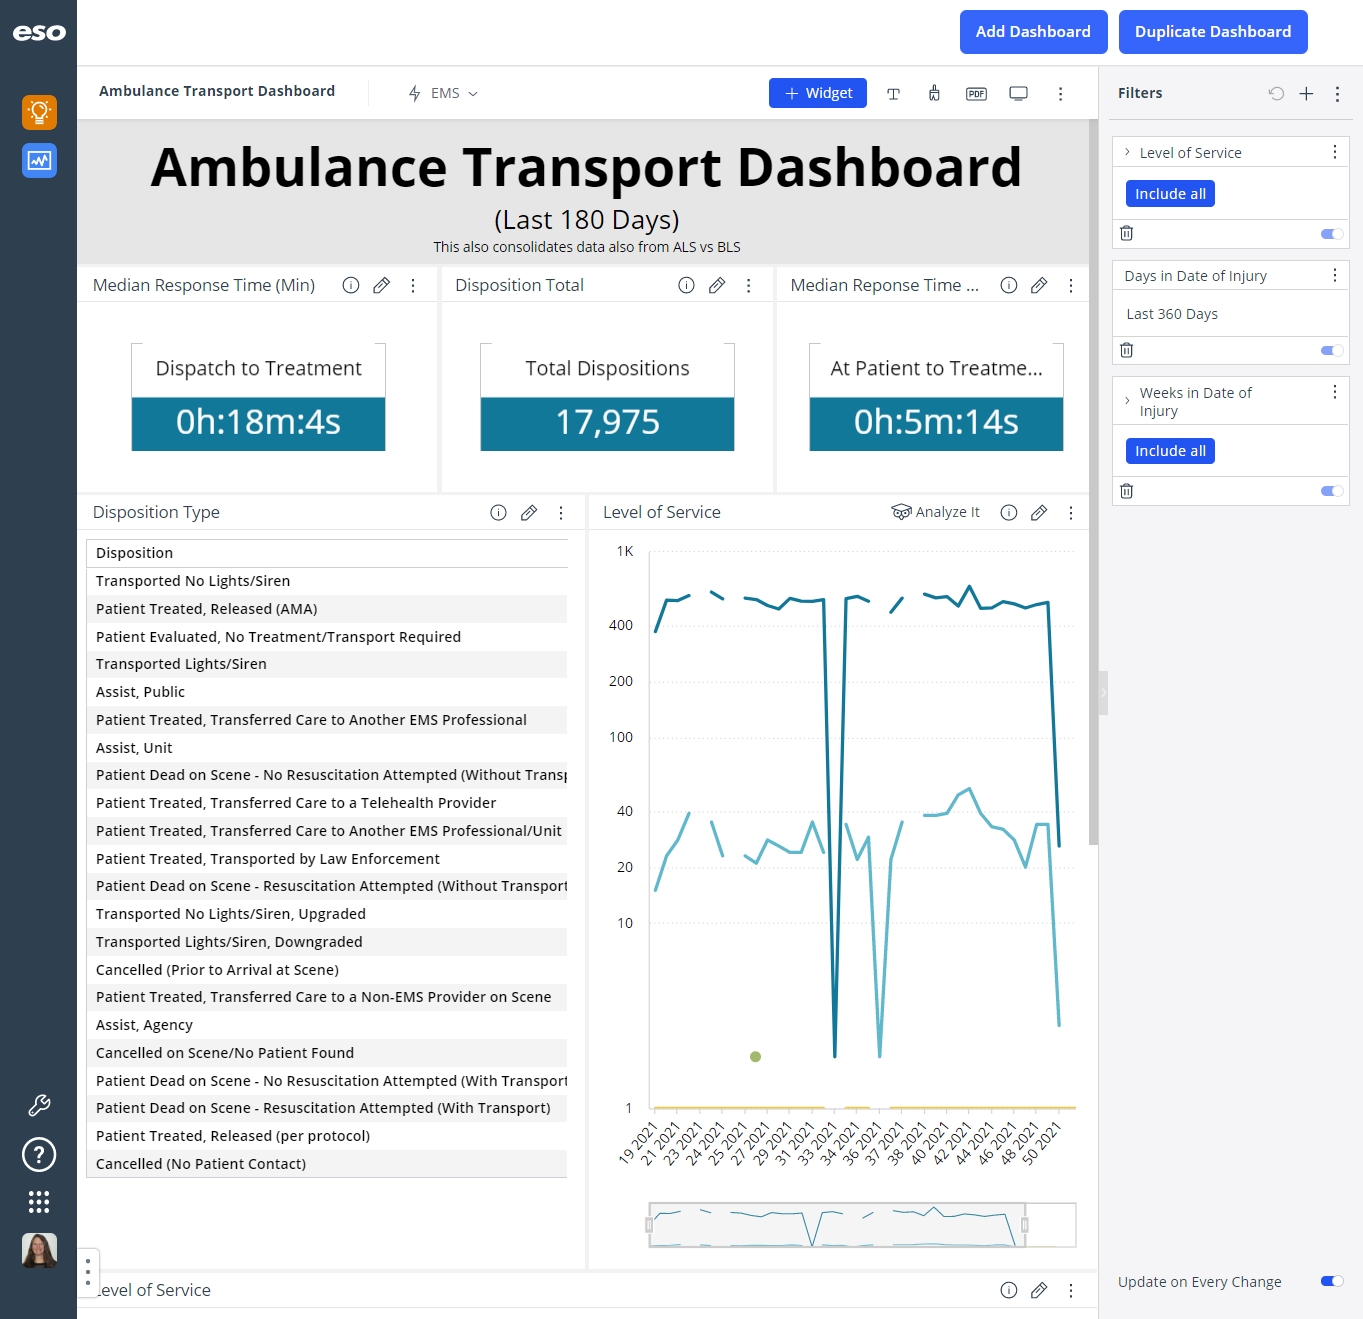
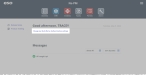
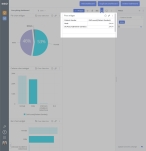
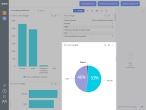
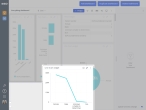
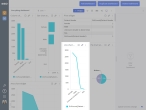
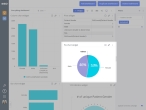
The dashboard opens and displays any widgets it contains, and the data those widgets link to.

Click graphics
to open them. -
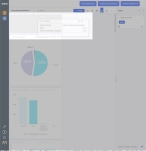
(If you have not done so already) Place the dashboard in design mode.
-
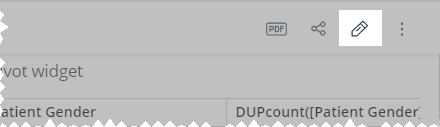
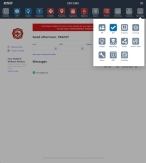
In the upper right corner of the dashboard, click the edit (pencil) icon.
The ESO Insights module places the dashboard in design (edit) mode, additional icons appear in this corner of the dashboard, and you can change the contents of the dashboard. The view (monitor) icon replaces the edit (pencil) icon. If you click the view icon, the dashboard returns to a view-only mode, and you can not make changes the dashboard.
-
-
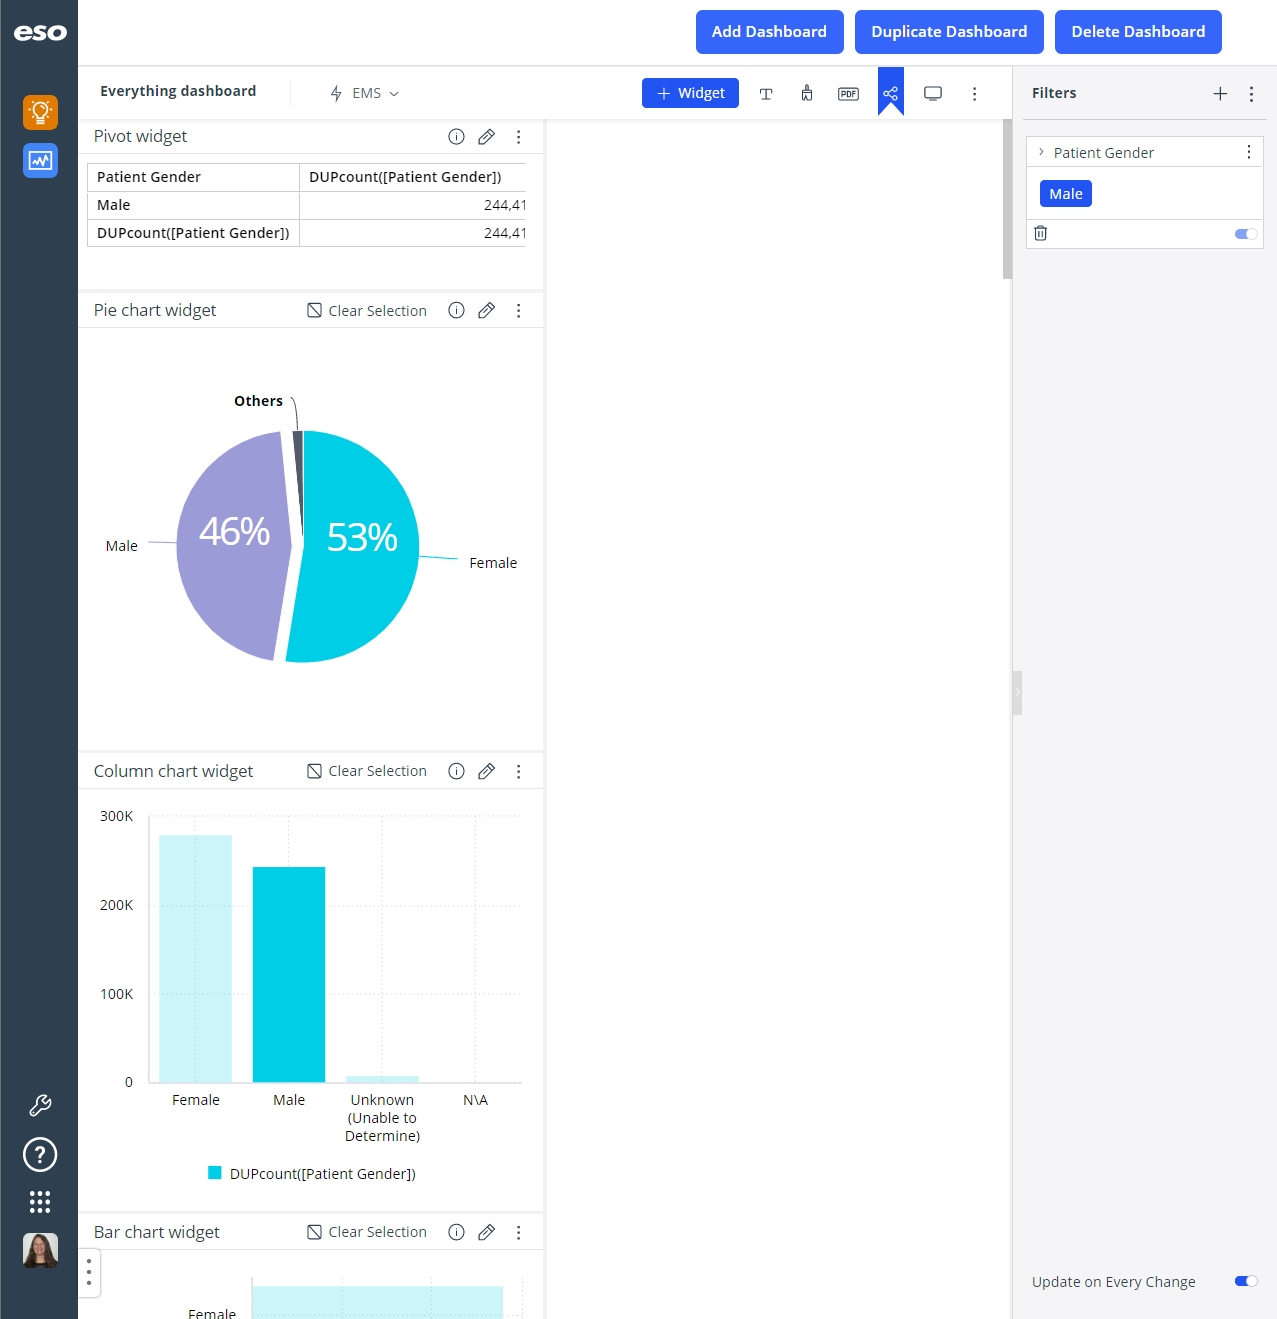
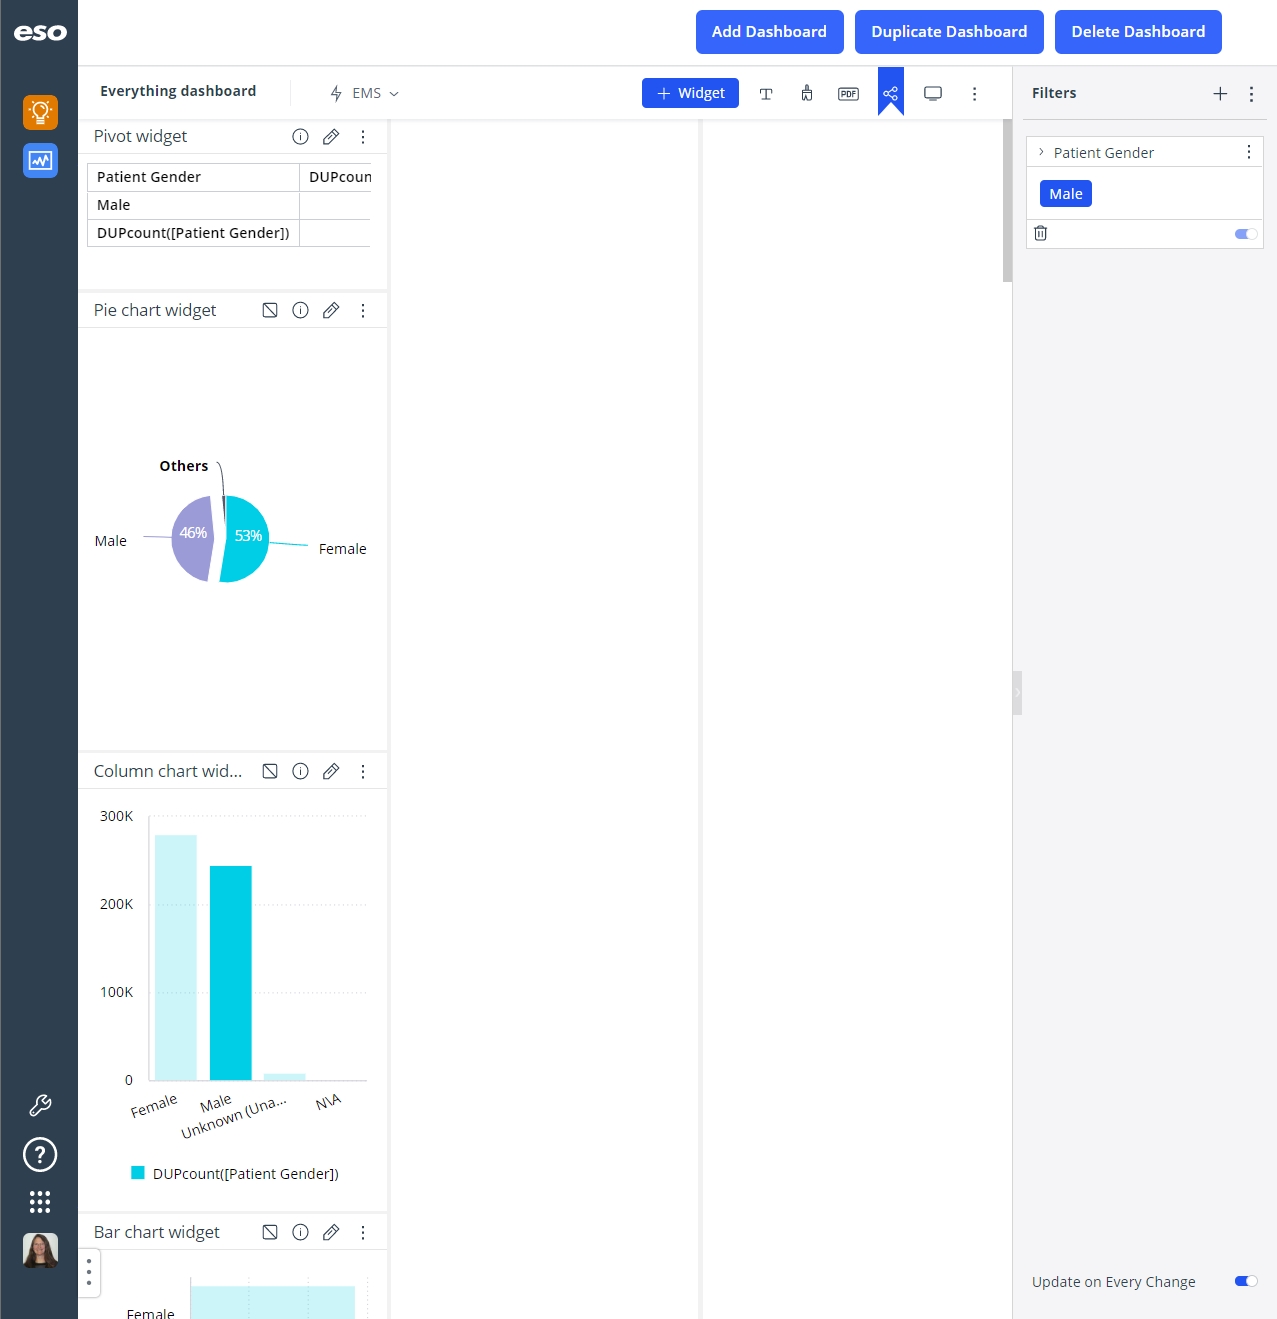
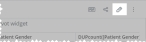
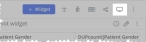
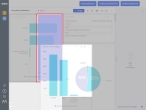
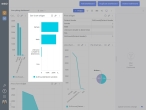
Click the three-dot menu icon, then choose Columns > number column from the menu that appears.
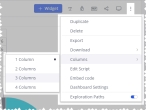
Depending on which option you choose, the ESO Insights module divides the width of the dashboard into that many columns.


-
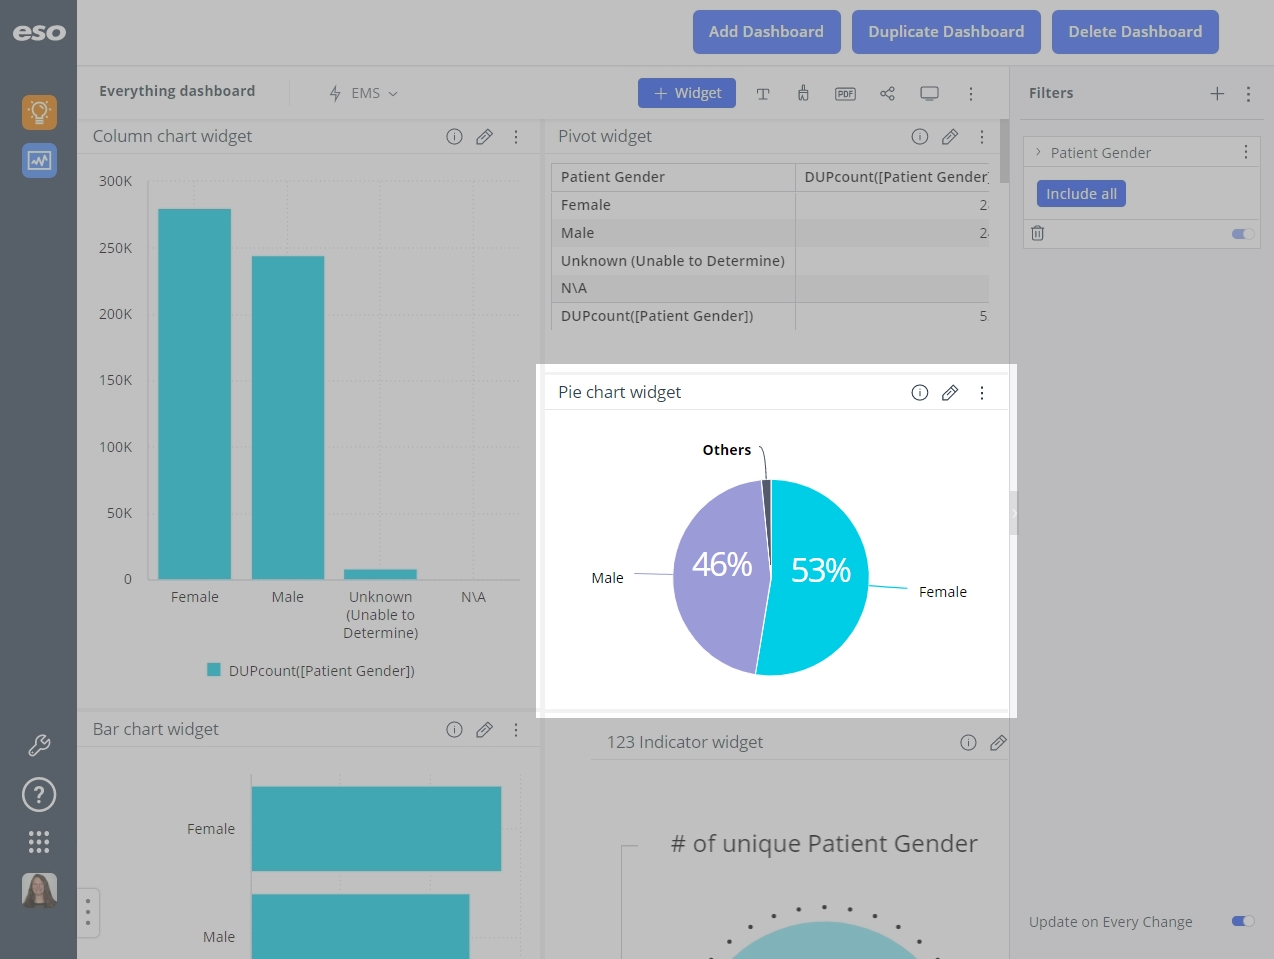
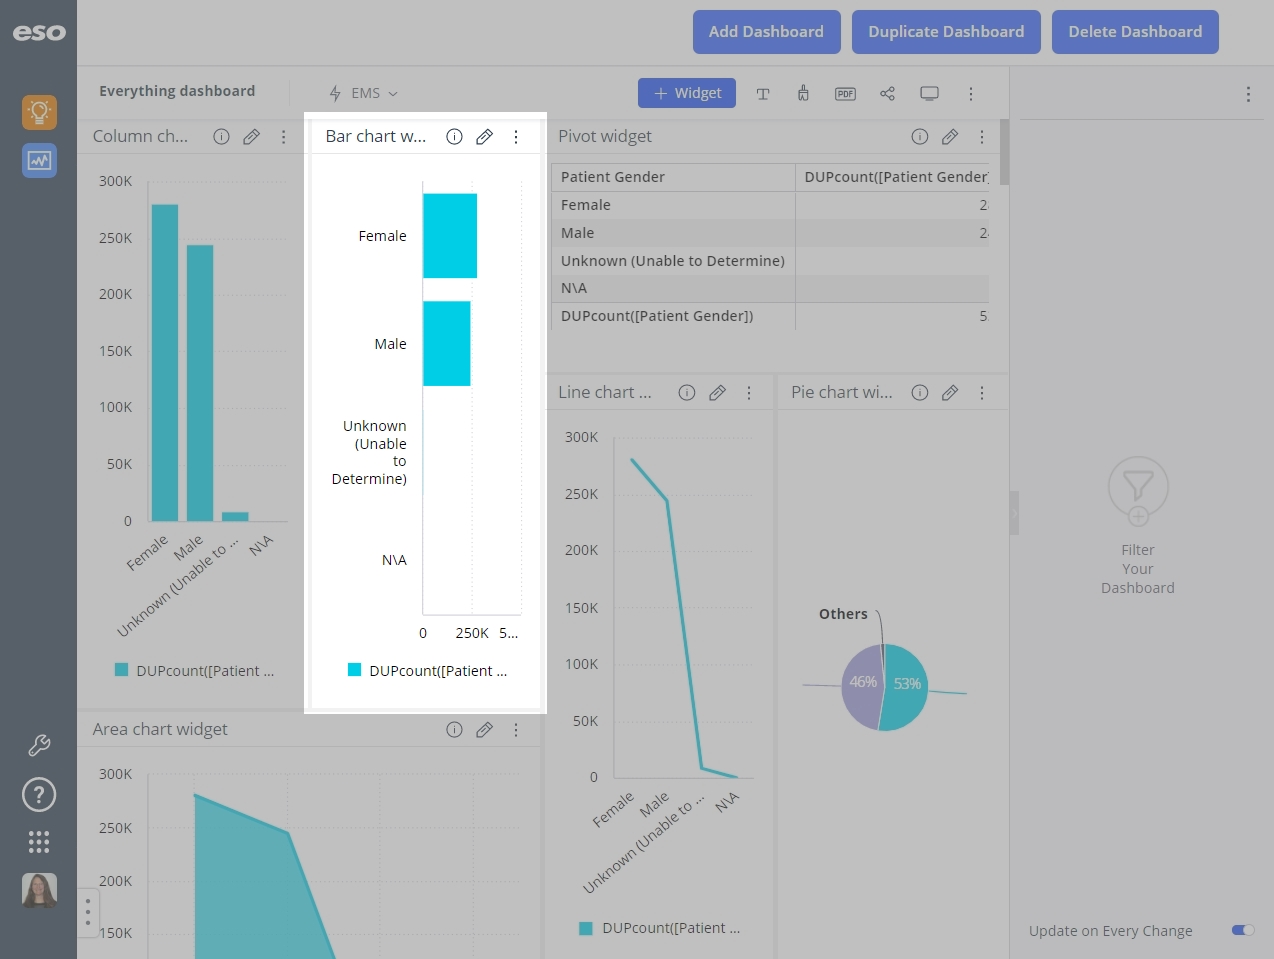
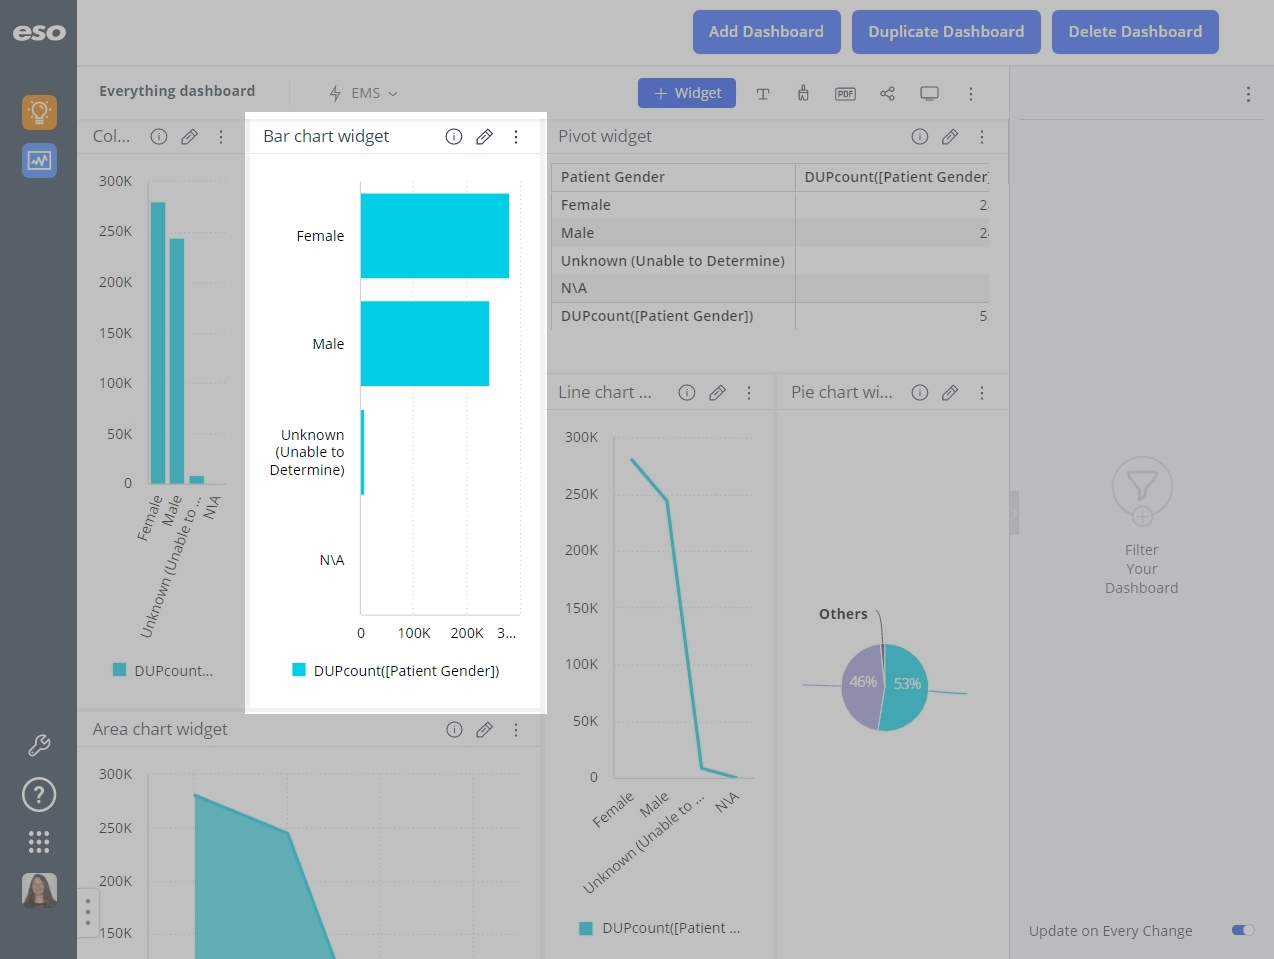
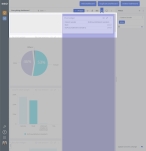
Depending on the importance of the data in the different widgets on a dashboard, arrange the widgets on the dashboard in any of these ways.
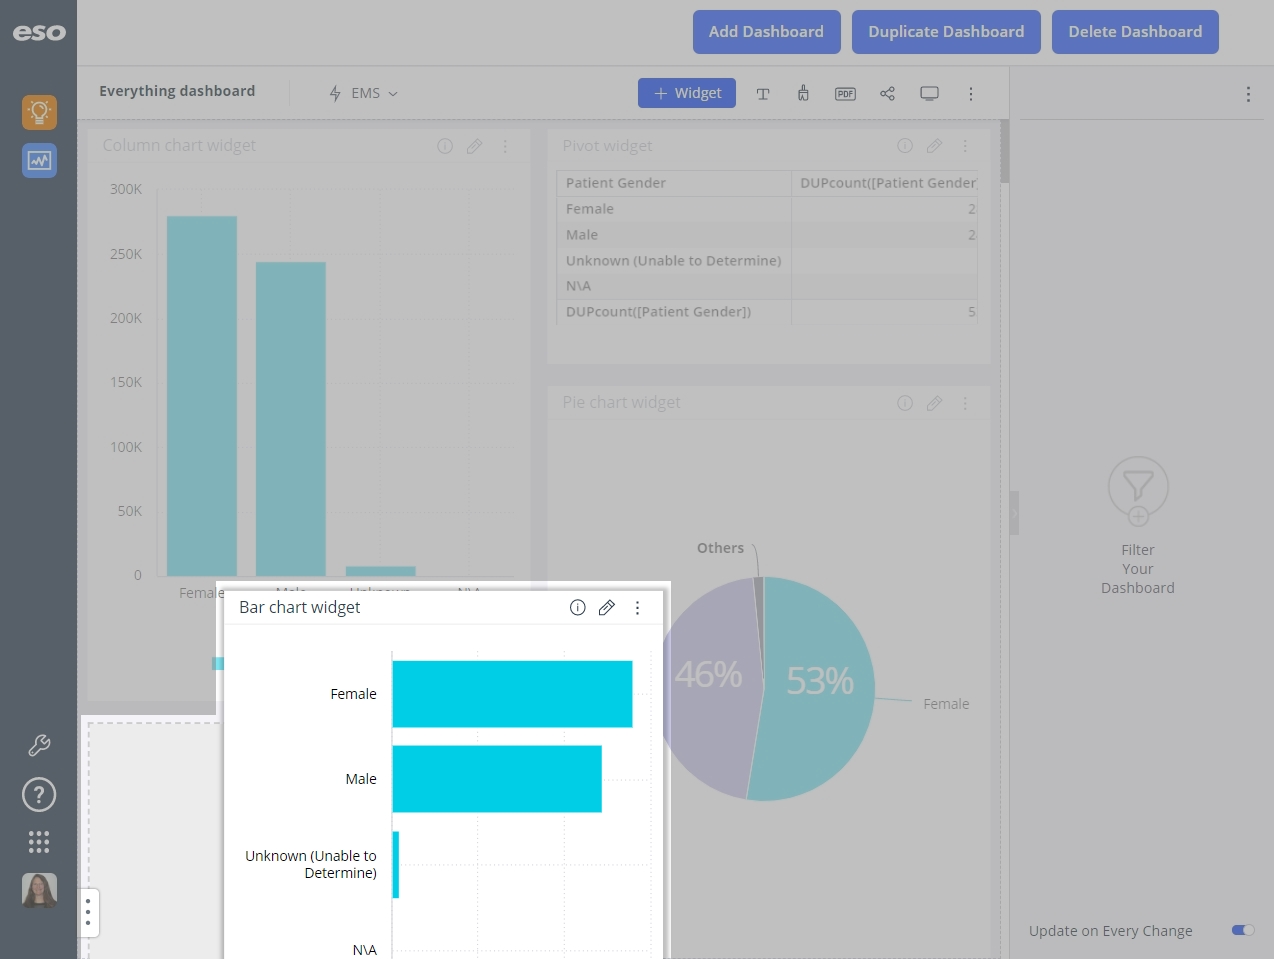
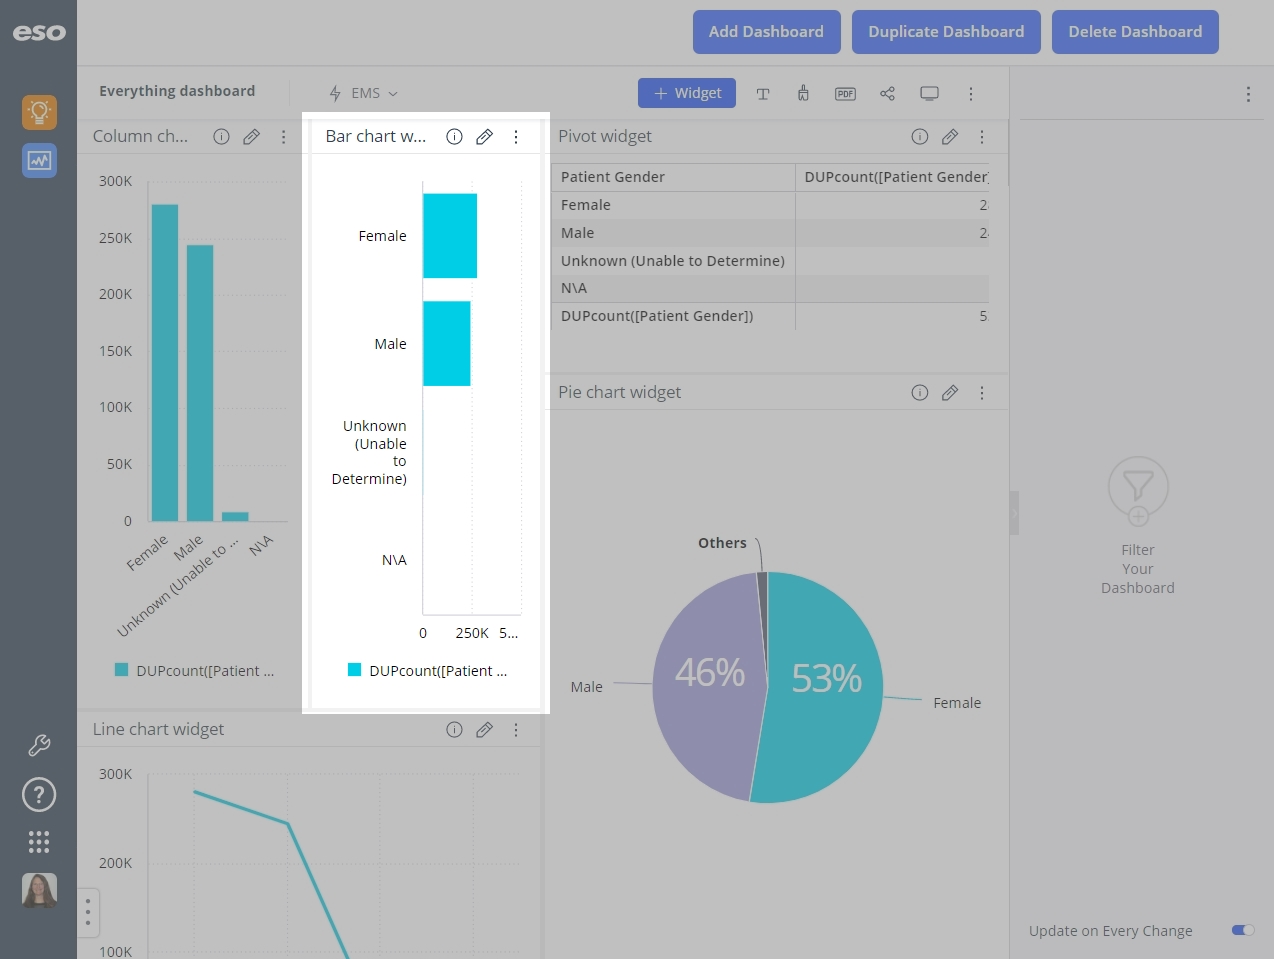
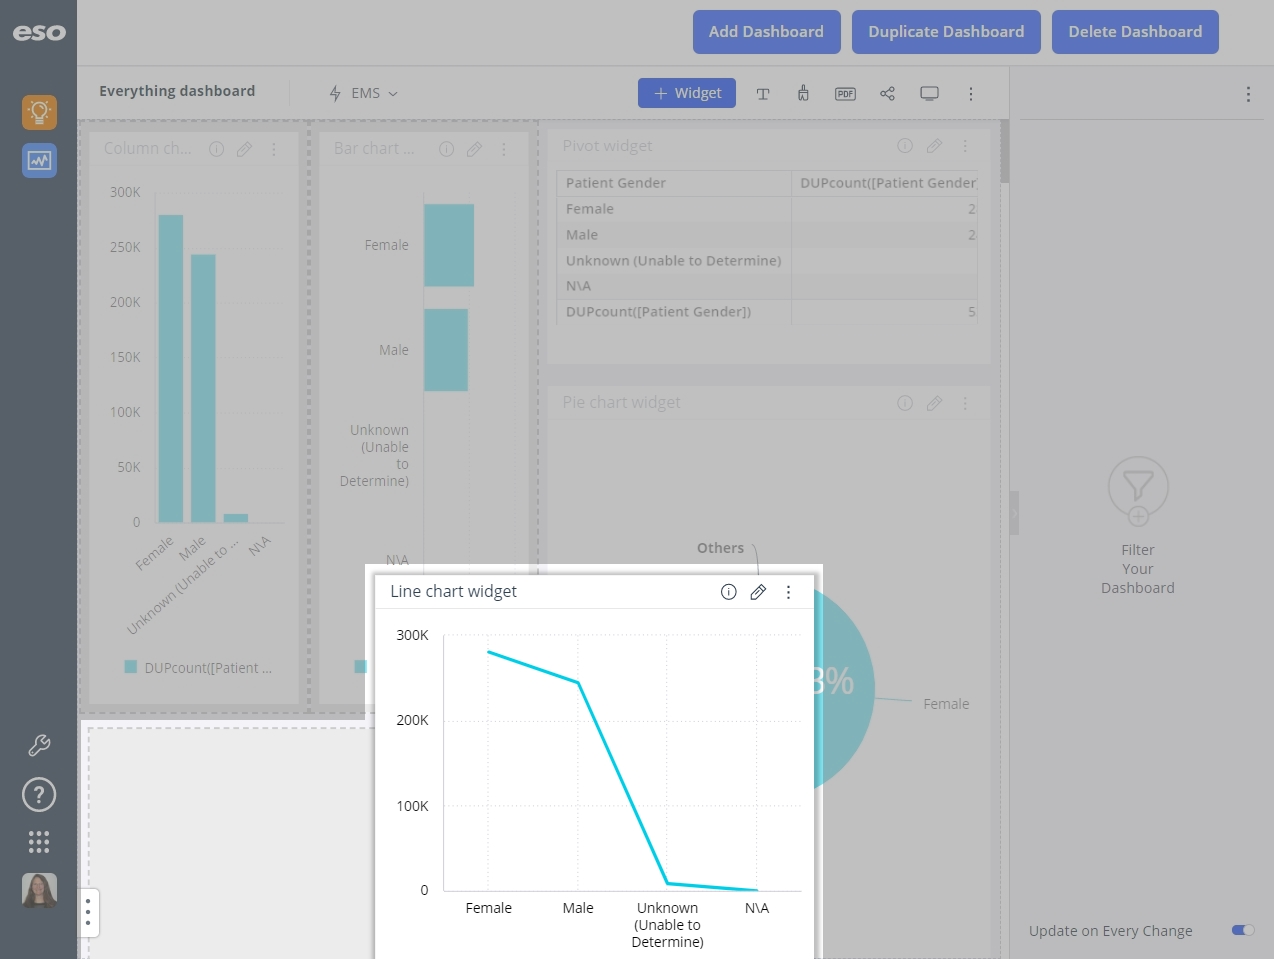
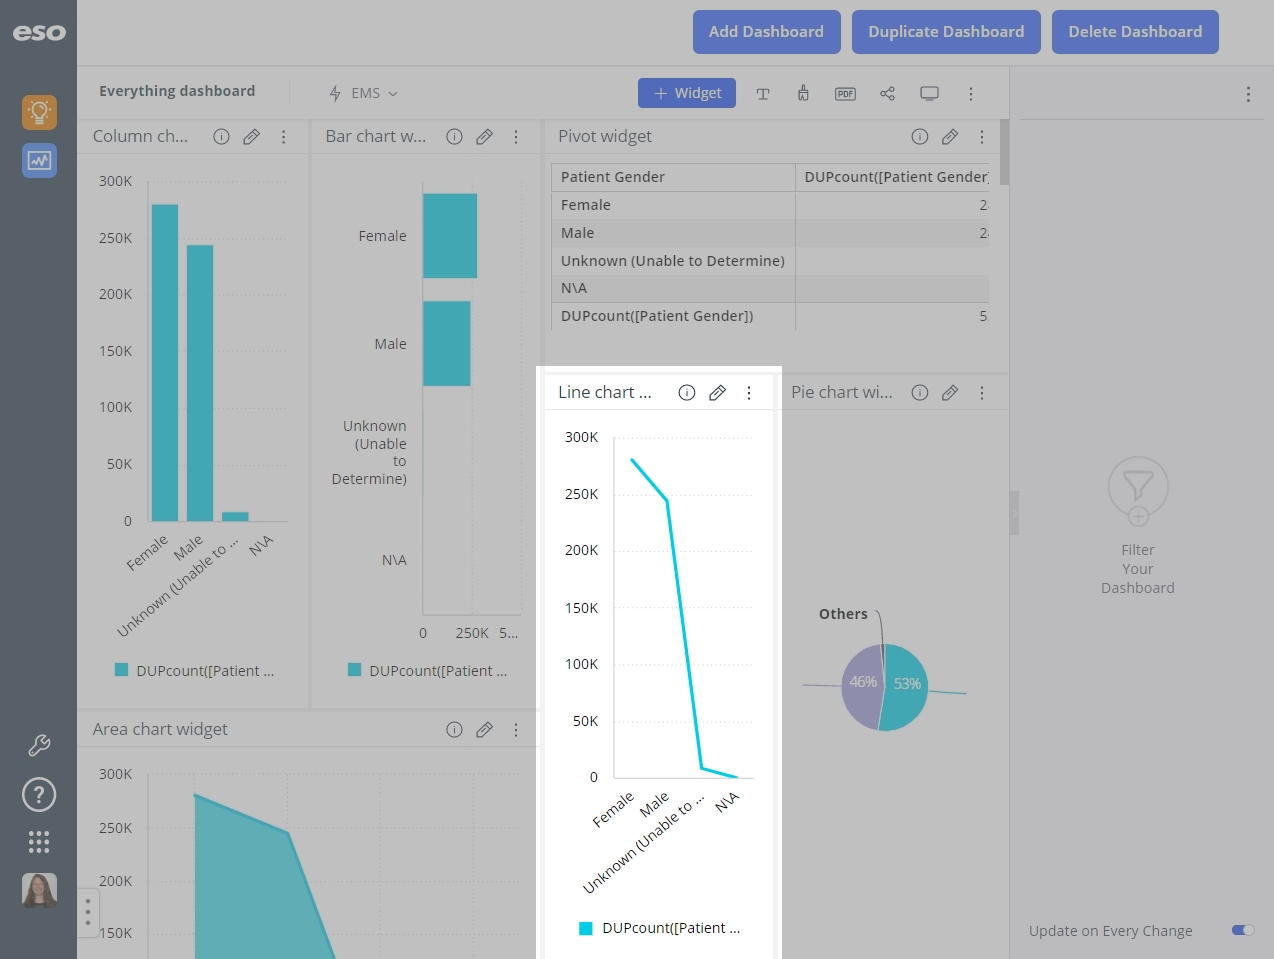
Place two widgets side-by-side in the same column.
-
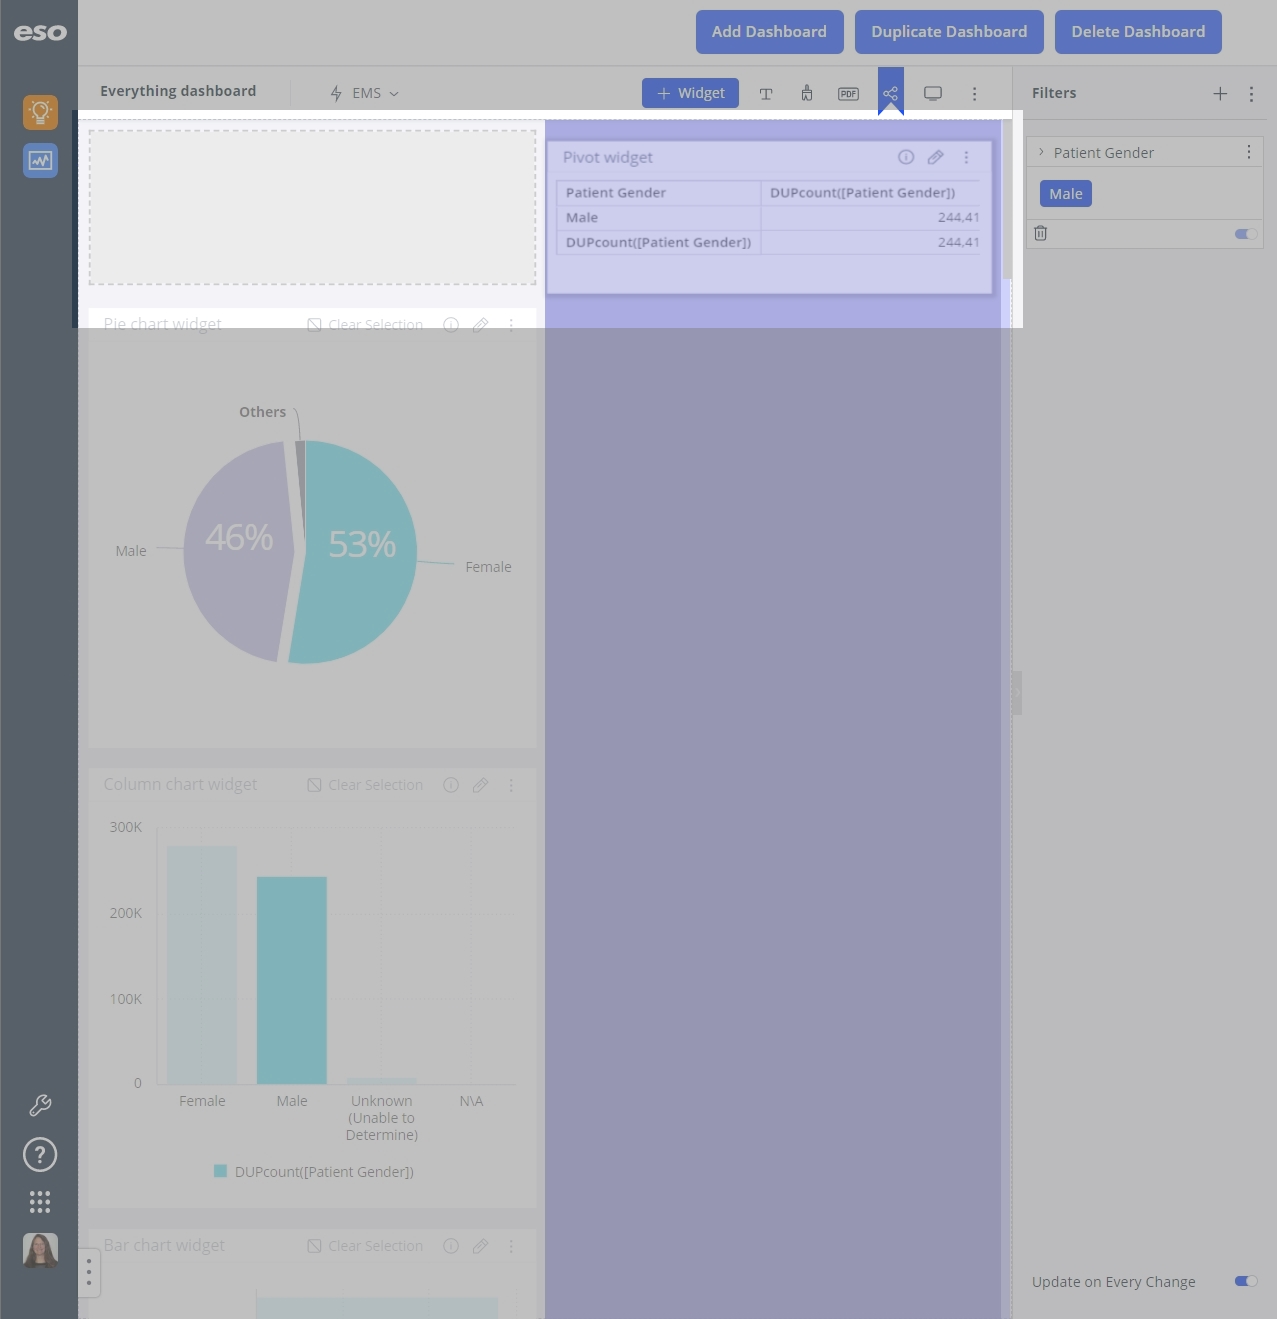
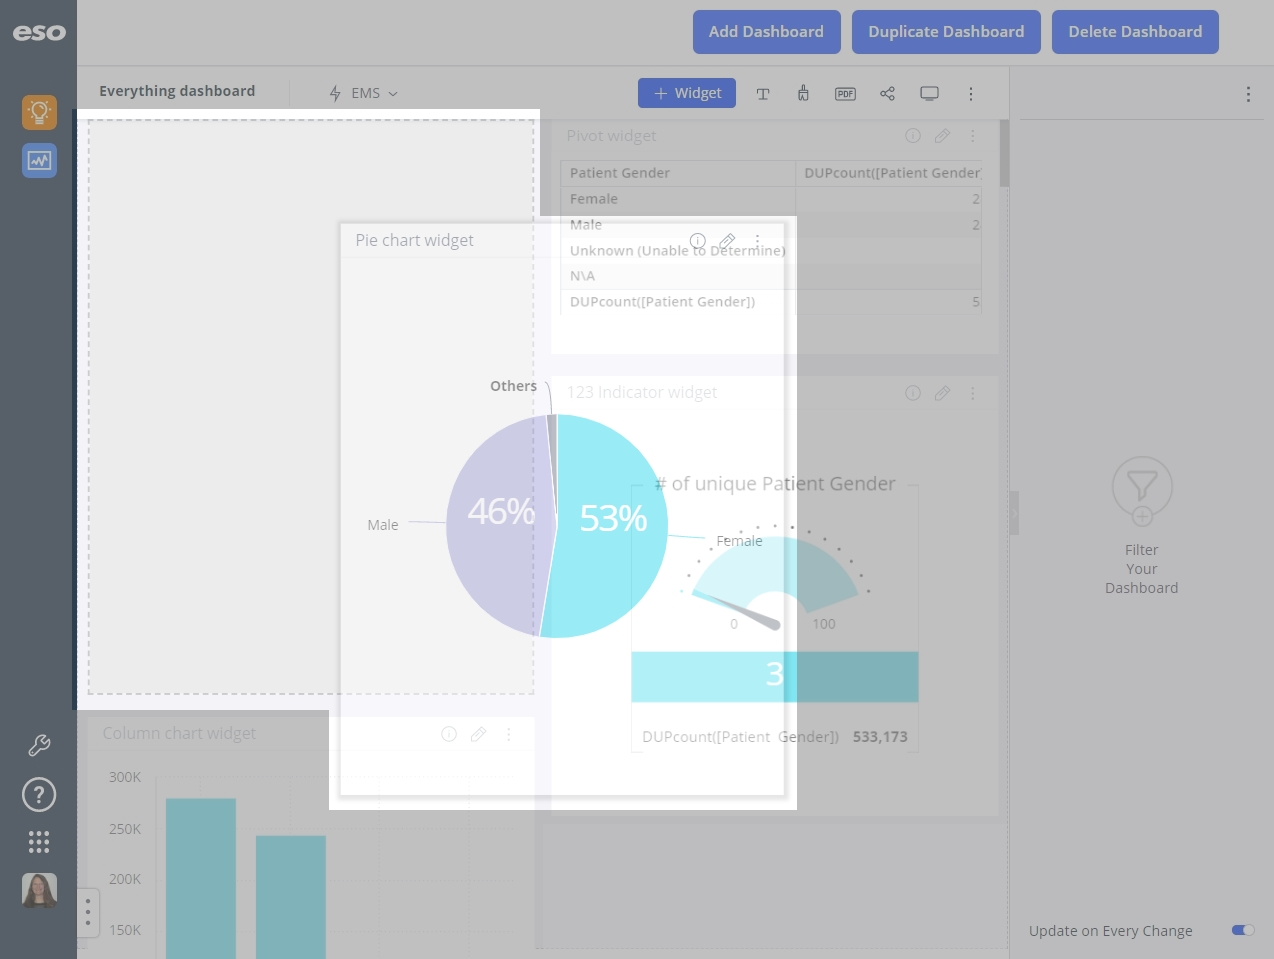
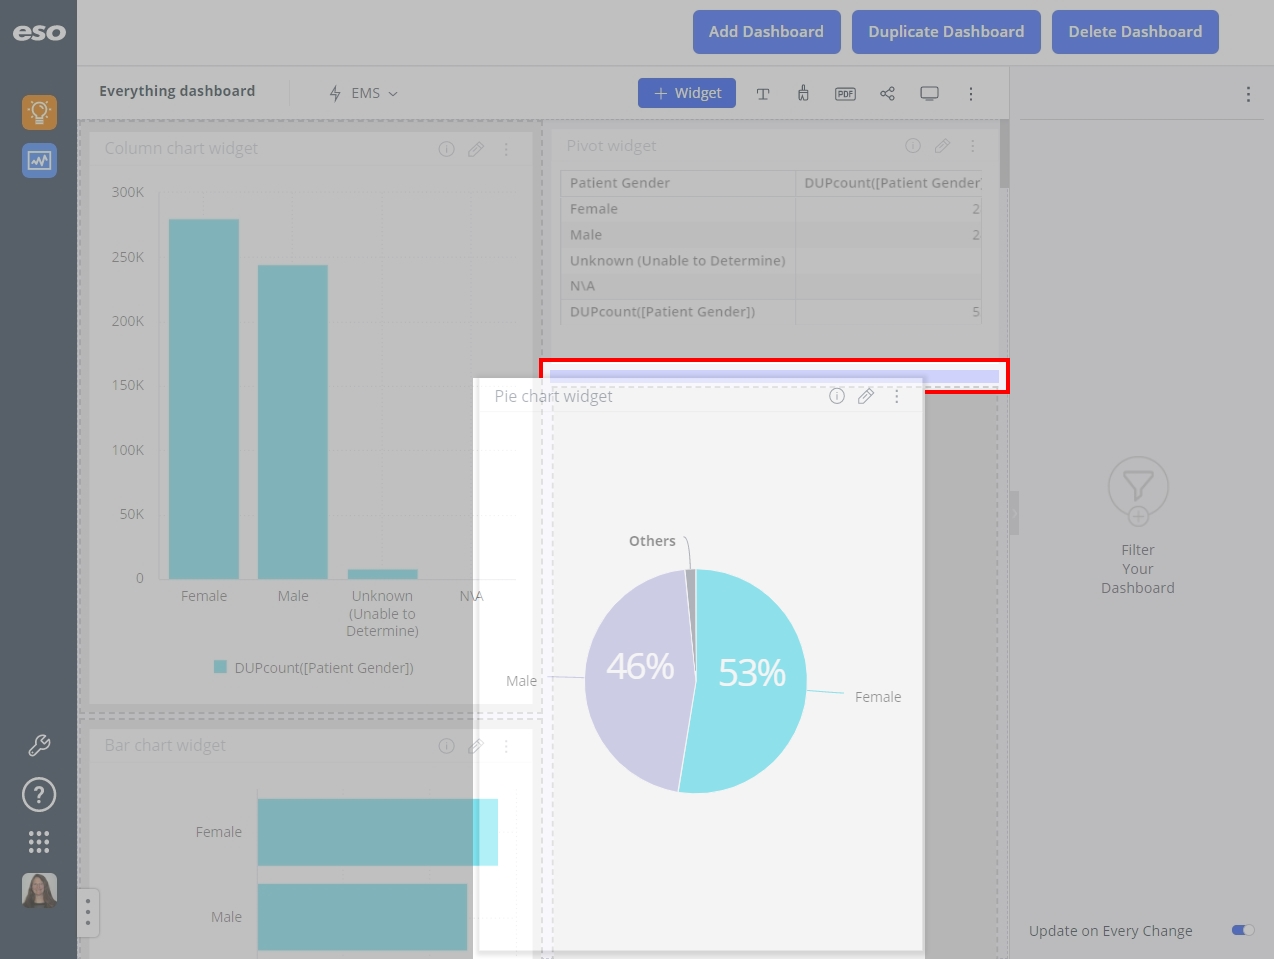
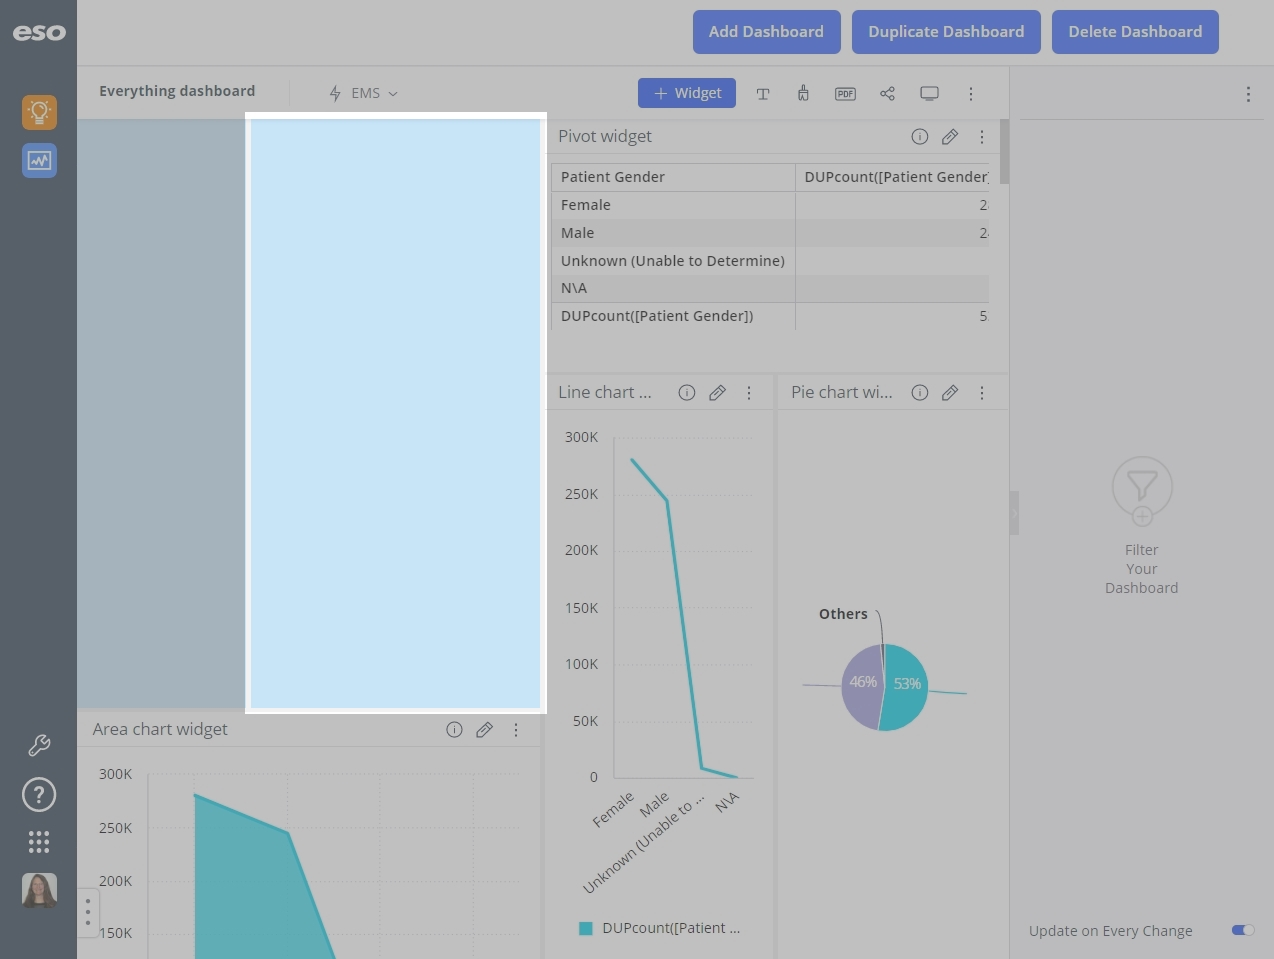
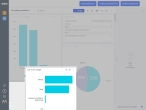
Place your mouse pointer on the title bar of the widget you want to move, hold down the mouse button, and drag the widget to the location in the column where you want the widget to appear, then release the mouse button to "drop" the widget in that location.
A grayed-out version the widget appears while you are dragging it to its new location, and a dotted-line outline remains in the original column while you are moving the widget.
Note: When you have reached the column/location you want to move the widget to, a purple marker appears to indicate where the widget will appear when you release the mouse button.


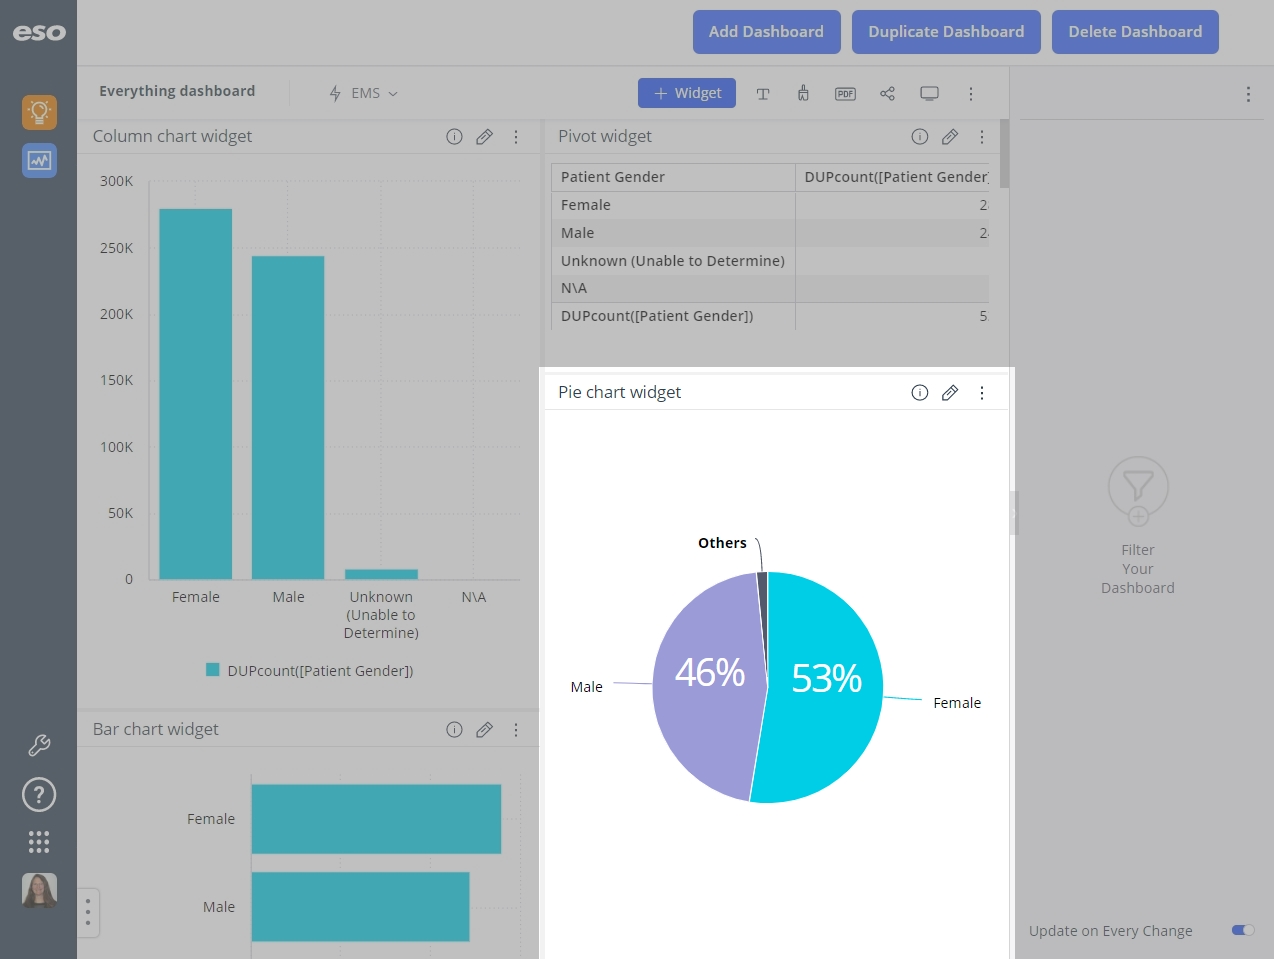
Widgets in the column you moved the widget from move up to fill the vacated space, and widgets already in the column you moved the widget into move down to make room for the moved widget.
-
-
(Optional) Resize widgets on the dashboard in any of these ways.
Change a widget's height in a column.
-
Place your mouse pointer on the bottom of the widget you want to resize.

The mouse pointer changes to a pair of horizontal bars with arrows pointing to up and down, indicating that you are in position to change the height of the widget.
-
Hold down the mouse button and drag the bottom of the widget up or down to increase or decrease the height of the widget, then release the mouse button.
Note: While dragging the bottom of the widget, the contents of the widget affected by the resize "blanks out" as you work.
-
Release the mouse button when the widget is the height you want.
The contents of the widget reappears when the resize completes.
(When widgets are side-by-side in a column) Change a widget's width
-
Place your mouse pointer on the side of the widget you want to resize.

The mouse pointer changes to a pair of vertical bars with arrows pointing to the left and right, indicating that you are in position to change the width of the widget.
-
Hold down the mouse button and drag the edge of the widget to the right or left to increase or decrease the width of the widget, then release the mouse button.
Note: While dragging the edge of the widget, the contents of both widgets affected by the resize "blank out" as you work.
-
Release the mouse button when the widget is the width you want.
The contents of both widgets reappear when the resize completes.
-