Activate NFIRS codes and add +1 codes
You can activate NFIRS codes needed to by your state and department to complete fire incident reports. These codes are then available in the fire Incidents module for personnel to select for an incident report.
While you can not modify NFIRS codes, you can add +1 codes and labels to a NFIRS code, to collect additional state- or department-specific data.
Example: Suppose your department wants to track the different types of privately owned vehicles used during a fire incident. You could add a +1 code called Pickup truck under Apparatus or Resource Type > (99) Privately owned vehicle.
-
Do one of the following.
-
(If you are already working in the ESO Suite) Click the Home icon in the upper left corner of the screen.

-
 (If you have not yet logged in) Log in to the ESO Suite.
-
In a web browser, go to https://www.esosuite.net/EsoSuite.
The ESO Suite login screen appears.
-
Enter your user name, password, and agency name, then click Let's Go.
If MFA is enabled, the Multi-factor authentication dialog box appears, displaying one or more methods you can use to verify your login credentials. The number of methods that appear in the dialog box depends on what MFA methods your ESO Suite administrators enabled in the Admin module.

Click graphics
to open them.Information on enabling MFA and specific MFA methods is available in the Admin module online help, in Configure multiple-factor authentication.
Note: If your ESO Suite administrators have disabled MFA ("opted-out"), this dialog does not appear.
-
(If the Multi-factor authentication dialog box appears) Depending on which buttons appear in the dialog box, verify your login in one of the following ways.
With an authenticator application.
-
Click MFA verification via authenticator app.
The dialog box updates with boxes for entering the numbers of the authentication code, and the ESO Suite sends an authentication code to the authenticator application installed on your device.

-
Open your authenticator application and note the authentication code currently displayed.
-
Enter the authentication code displayed in the authenticator application.
-
Click Log In.
With a text message (SMS).
-
Click MFA verification via SMS.
The dialog box updates with boxes for entering the numbers of the authentication code, and the ESO Suite sends an authentication code to the phone number recorded in your PM records and identified with MFA codes.

-
Enter the authentication code sent to your MFA-registered phone number.
-
Click Log In.
With an email message.
-
Click MFA verification via email.
The dialog box updates with boxes for entering the numbers of the authentication code, and the ESO Suite sends an authentication code to your agency or department email address, recorded in your PM records.

-
Enter the authentication code sent to your agency or department email address.
-
Click Log In.
-
-
The ESO Suite landing screen appears.

Click graphics
to open them.Note: You can access and manage your MFA options through the PM module, on the Settings > Account page, as described in Manage a user account. If your agency or department has enabled MFA but has not purchased the full-featured version of the PM module, you can access your own MFA settings by clicking Change my Multi-Factor Authentication settings on the landing screen, then using the Settings > Account page that appears. If your agency has not enabled MFA, the Change my Multi-Factor Authentication settings link does not appear on the landing screen.

-
-
On the top side of the home screen, click Admin.
Tip: If your screen or browser window is too narrow to display all your agency's ESO Suite module icons, an options icon appears on the right side of the icon bar. If you click the options icon, a menu appears containing additional module icons.

The Admin screen appears, displaying the Welcome screen.

-
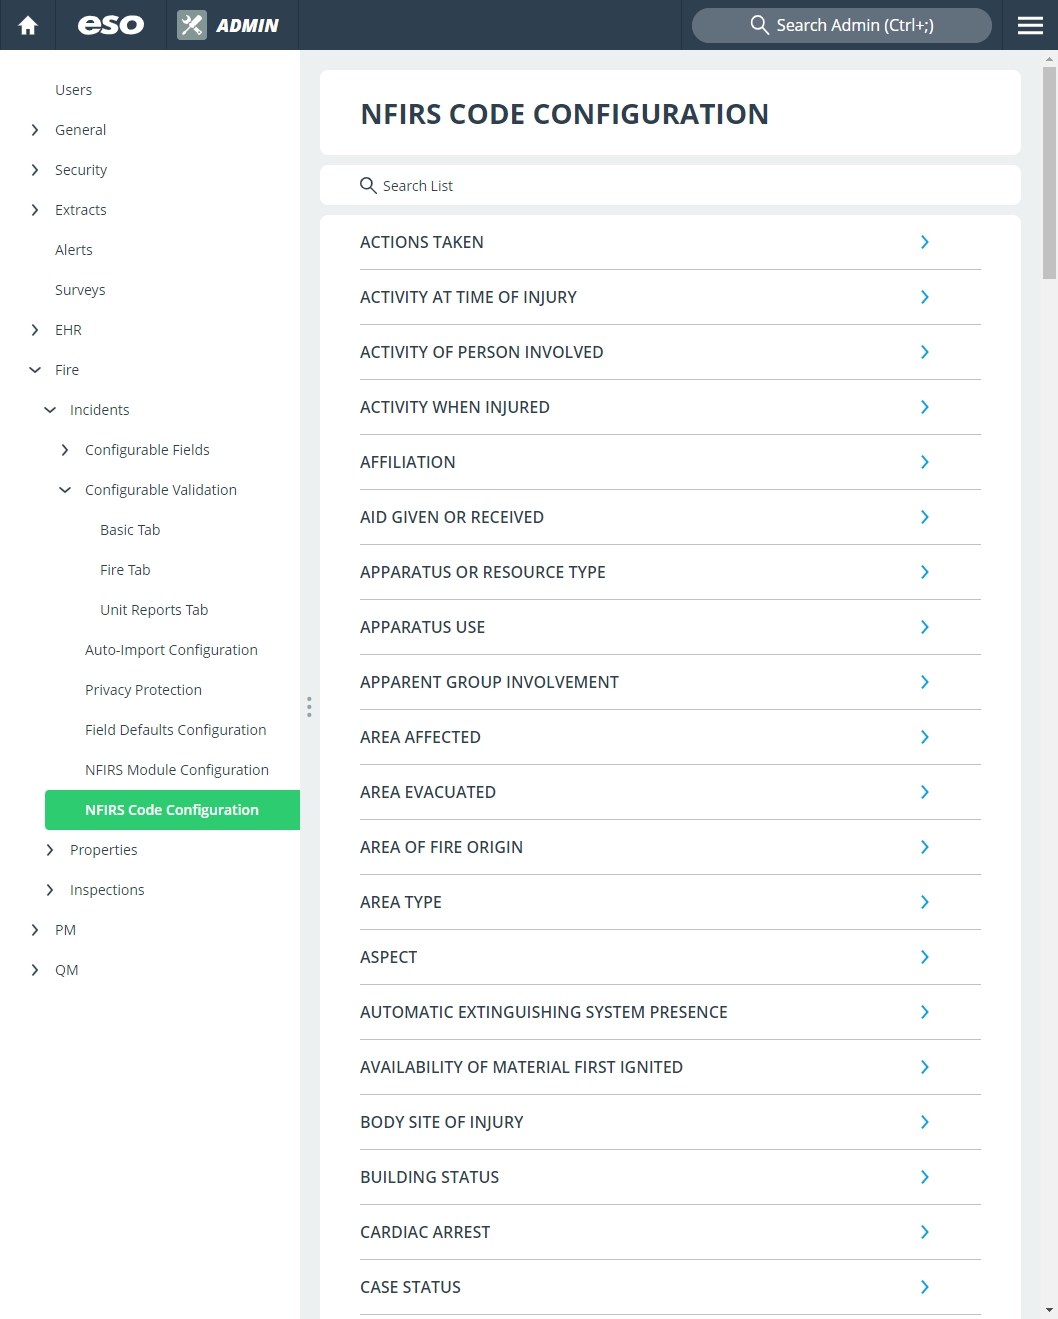
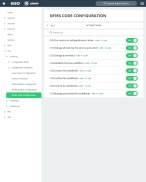
In the left pane, expand Fire > Incidents, then click NFIRS Code Configuration.
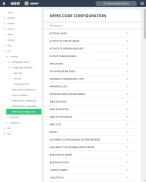
The NFIRS Code Configuration screen appears, displaying a list of every NFIRS list.
-
Do any of the following.
Search the current list of displayed items.
Note: The Search field searches only the items currently on the screen, not the sub-lists and NFIRS codes accessed when you click the right-pointing arrow (>) to the right of each list item. Each time you advance to the next sub-list screen and do a search, it searches only the items currently on that screen, and no deeper.
-
In the Search field, type the characters in the name of the list item you need to find.
As you add each character, the list automatically reduces to only items containing that sequence of characters.
Video: Search a list
Note: The process for searching a list shown below applies to any list in the ESO Suite.
Activate a NFIRS code.
-
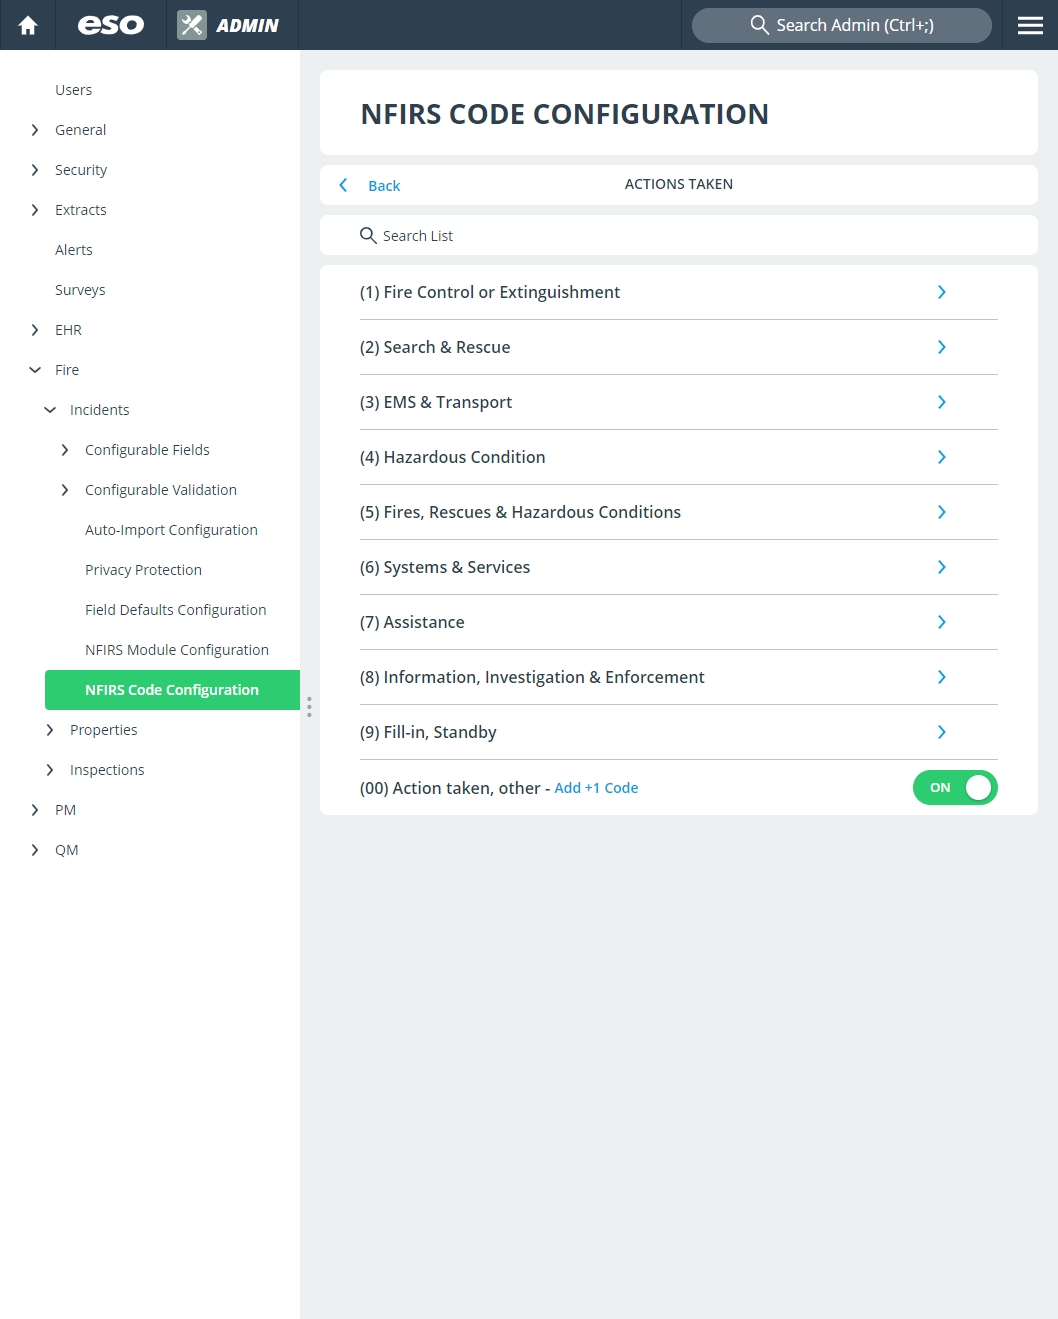
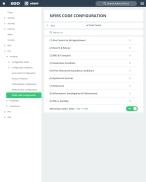
For the NFIRS code group containing the code you want to activate, click the right-pointing arrow (>) to the right of each list item.
The screen updates to display only the items in that list. This may be a sub-list further organizing the code group, the codes in that group, or a combination of both.
Example: If you click the Actions Taken arrow (>), a list of action groups appear, each with their own right-pointing arrow (>).
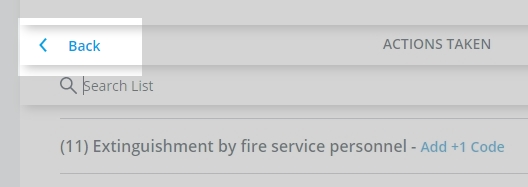
A Back link appears in the upper left corner or the list, providing a way to return to the previous screen.
-
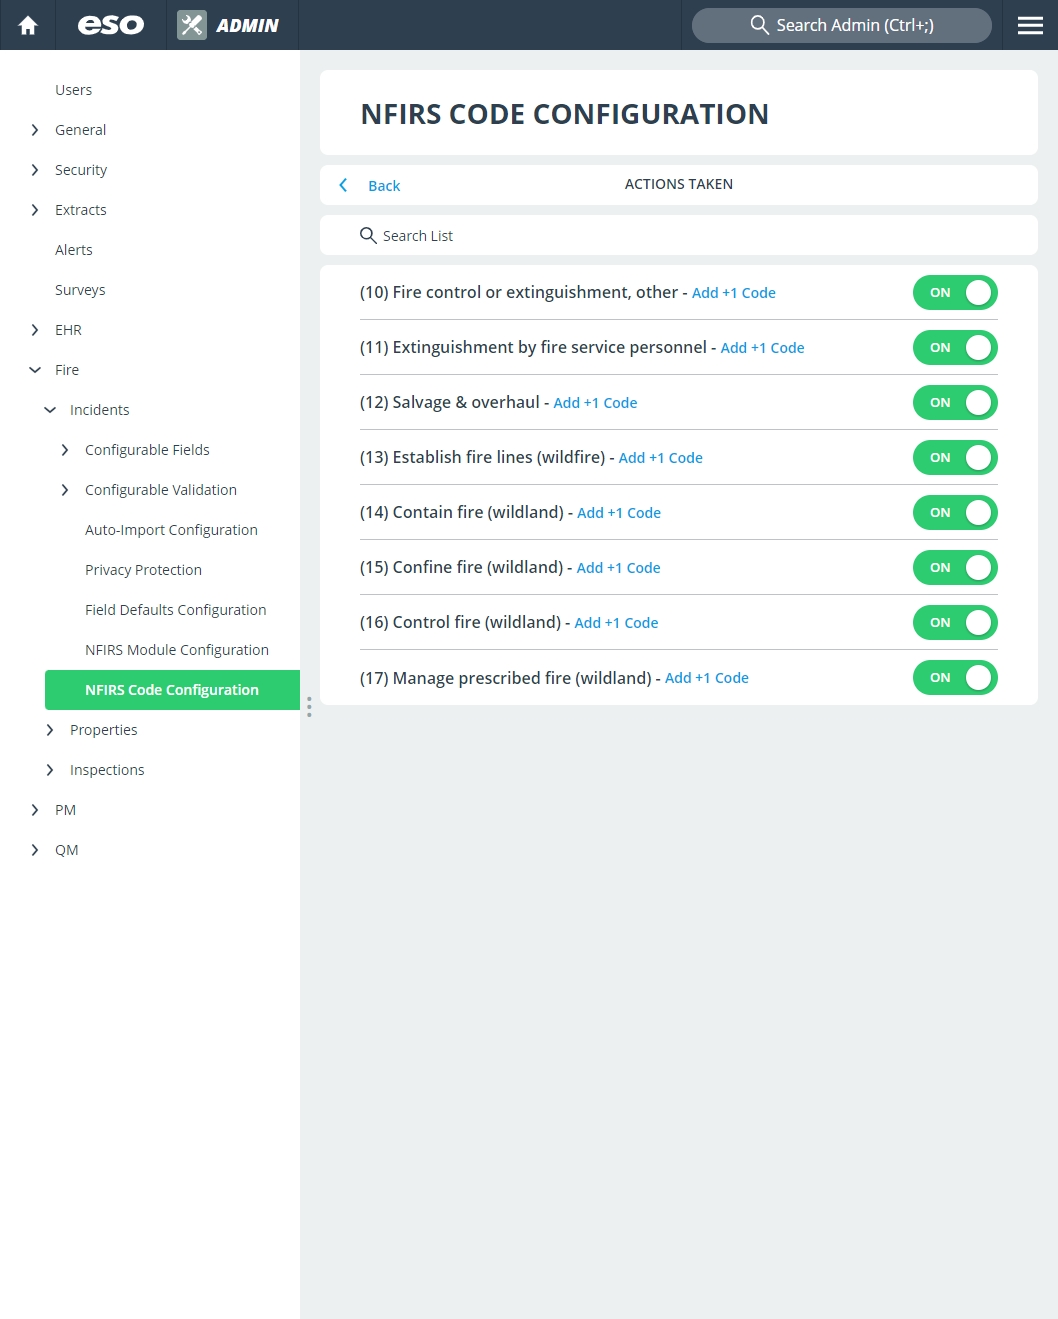
(If necessary) Continue navigating through the code group until the specific code you want to activate appears.
Example: To find the Salvage & Overhaul code, you would navigate into Actions Taken > (1) Fire Control or Extinguishment, then scroll down the list to (12) Salvage & Overhaul.
-
For the code you want to activate, on the right side of the list item, drag the slider button to the left, until On appears.
Note: You can activate or deactivate the display of NFIRS codes in the fire Incidents module. If you add
+1codes to the list, they always appear in the fire Incidents module, even if you deactivate the NFIRS code they are added under in the Admin module.Example: If you added a
+1code calledPickup truckto the NFIRS code (99) Privately owned vehicle,Pickup truckappears in the Fire-Incident module even if you deactivate (99) Privately owned vehicle.You must delete a
+1code in the Admin module to keep it from appearing in the Fire-Incident module. You can not delete a NFIRS code.
Add a +1code.- Navigate to the NFIRS code you want to add the
+1code under, as described in Activate a+1code. -
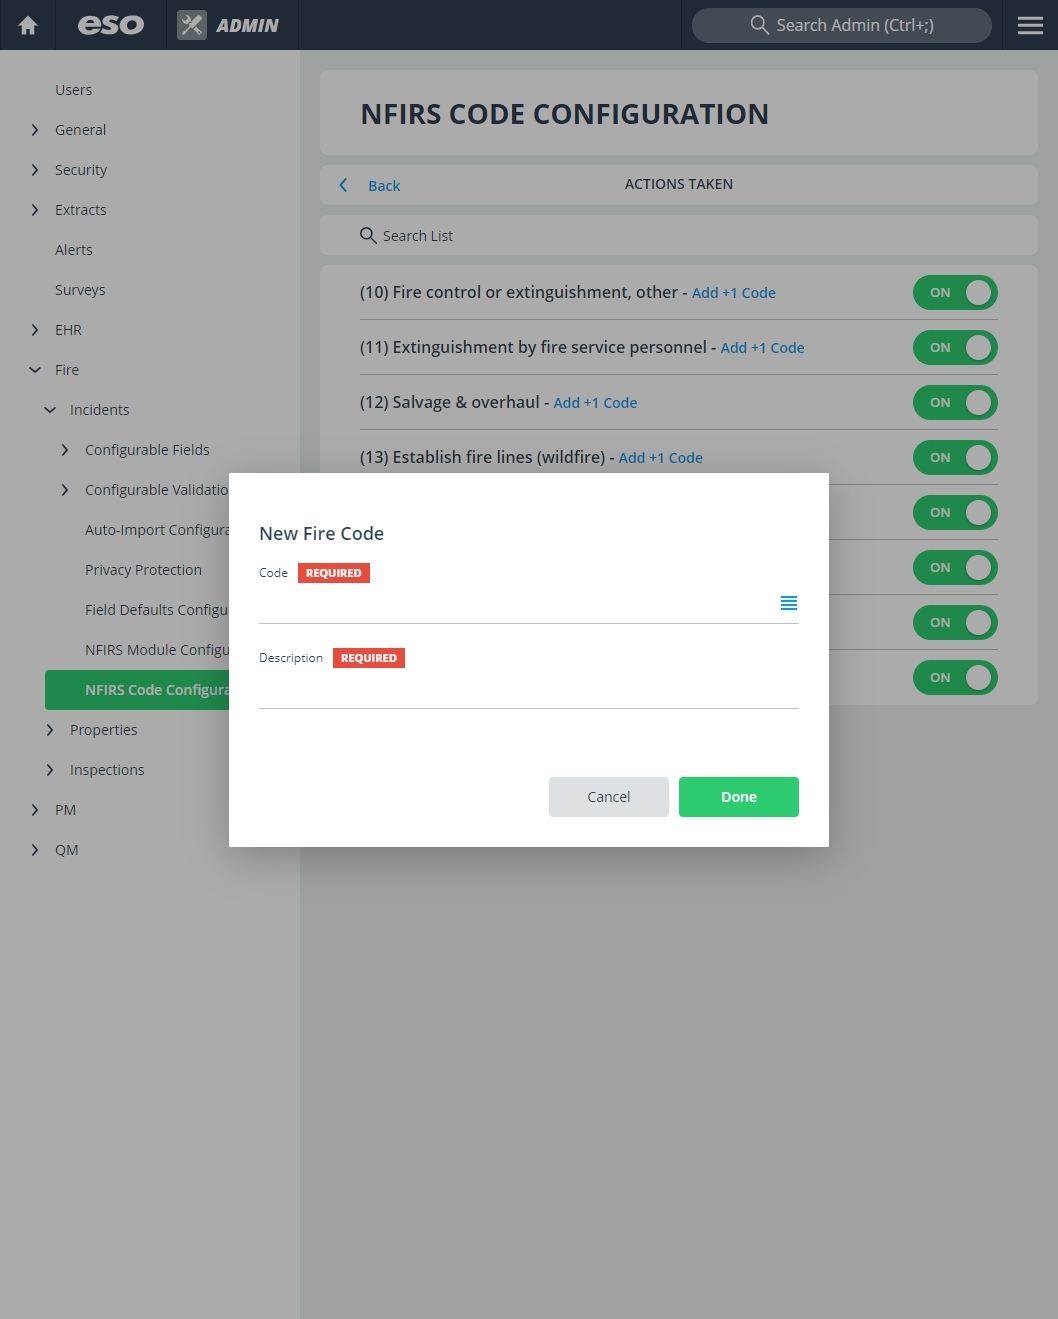
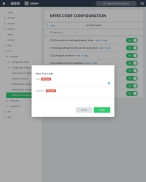
Click Add +1 Code.
The New Fire Code dialog box appears.
-
For Code, click the field or the list icon to the right of the field, then select the appropriate single option from the menu that appears.
You can add up to 10
+1codes below a NFIRS code. The+1code is automatically prefixed with the NFIRS code number, and you can select the+1code number to follow the prefix. You do not have to use sequential numbering for+1codes, but you must choose a+1code between0and9.Example: If you are adding a
+1code under (10) Fire control or extinguishment, other, you can select10-4for the code, even if is the first code+1code added under (10) Fire control or extinguishment. -
In Description, type the text you want to appear as the name or description of the
+1code.Note: The description must be unique within a NFIRS code list, even if you are adding a
+1code under a different NFIRS code in that list.Example: In the code group Apparatus or Resource Type, if you added a
+1code namedPickup Truckunder (99) Privately owned vehicle, you can not add another+1code namedPickup Truckunder (92) Chief Officer car. -
Click Done.
The +1 code you created appears under the NFIRS code.
Note:
+1codes always appear in the fire Incidents module, even if you deactivate the NFIRS code they are listed under in the Admin module.Example: If you added a
+1code calledPickup truckto the NFIRS code (99) Privately owned vehicle,Pickup truckappears in the Fire-Incident module even if you deactivate (99) Privately owned vehicle.
Edit a +1code.You can not edit a NFIRS code, but you can edit
+1codes you have added.- Navigate to the
+1code you want to edit, as described in Activate a+1code. -
For the
+1code you want to edit, click Edit.The Edit Fire Code dialog box appears, displaying the values already specified for the code.
- Change the information in the fields as needed.
- Click Done.
Delete a +1code.You must delete a
+1code in the Admin module to keep it from appearing in the Fire-Incident module. You can not delete a NFIRS code.- Navigate to the
+1code you want to edit, as described in Activate a+1code. -
For the
+1code you want to edit, click Edit.The Edit Fire Code dialog box appears.
-
In the lower left corner of the dialog box, click Delete.
The Confirm Delete dialog box appears.
- Click OK.
-